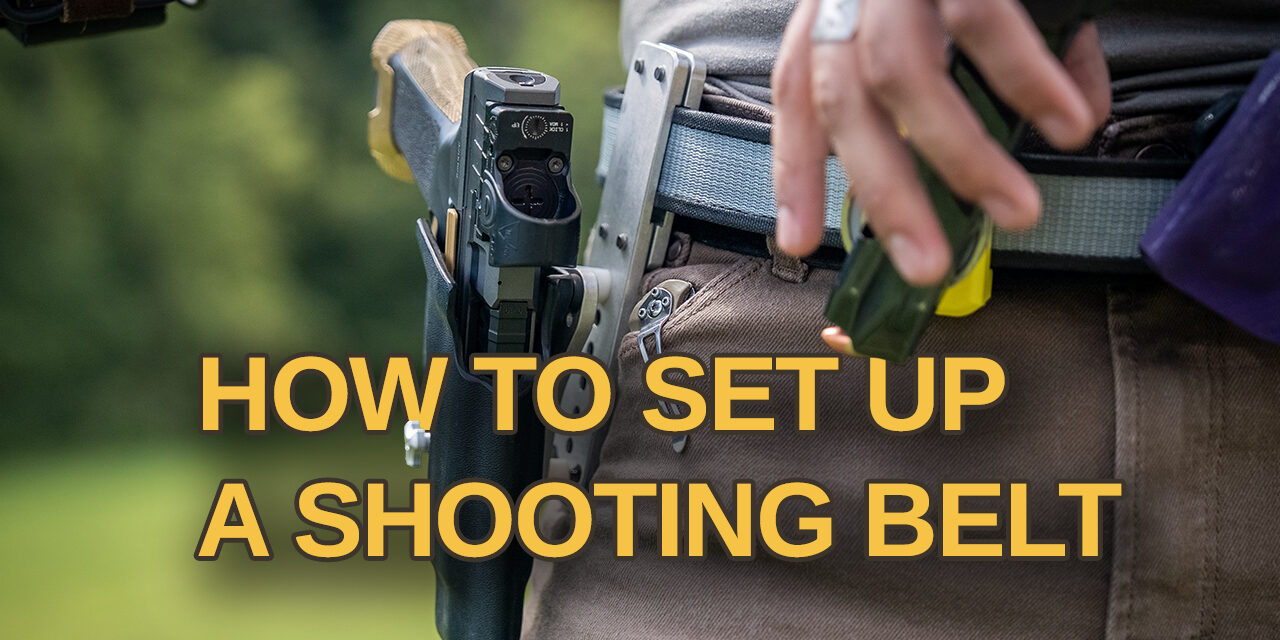
Once you’ve selected the foundation of your belt setup (the belt itself), it’s time to determine what you want to put on it and the placement of each item. Something that you will see across every setup in this article is ammunition and some sort of emergency medical equipment. From the most basic setups to the ones loaded to the max.
More complex setups will generally include extra magazines and general purpose storage to support longer outings or professional requirements.
What Type of Shooter Are You?
Continuing from a previous article where we’ve talked about selecting the best battle belt, let’s organize shooters into three categories. This will help us look at what type of belt setup is right for you.

3 Types of Shooters (Generally)
- Recreational
- Competition
- Professional
Recreational Shooters
A recreational shooter is anyone who enjoys casual range time – whether it’s shooting drills, plinking targets or a large scale training junkie who wants to hone more “dynamic” skills. A recreational shooters motivation to train can vary greatly so the setup that fills this role needs to pull double or perhaps triple duty.
Competitive Shooters
Competitive shooters may participate in sports such as USPSA. IPSC and PRS matches. It could also be someone who likes to shoot in a similar structure because of the fun and energetic pace associated with shooting sports.

Credit: Nolan M. 2025
These various competitive disciplines serve as a way to provide shooters the opportunity to compete for score against other shooters firing the same course of fire. The best belt setups for competition prioritize fast reloads, mobility, and consistency under stress.
Professional Shooters
The professional is someone who carries a gun for a living. Whether that’s military service, law enforcement, security officers, etc. A professional is expected to maintain the ability to employ their firearm skillfully if necessary.

Military style two-piece battle belt.
These belts generally have an SOP (Standard Operating Procedure), which ranges from the color, to the types of pouches and placement of particular items. These belts carry specific tools and follow stricter rules.
Battle Belt Basics
With each category, there will be differences in setup however, no matter what type of belt you have or category you fall into, a belt needs to be able to serve two main functions:
- Carry ammo
- Carry some sort of emergency medical kit
Extra Ammo
If you shoot a pistol, you will need pistol magazines. If you shoot a rifle, you’ll probably want a few rifle magazines too…So on so forth.
Medical Equipment
Emergency medical items are important to have anytime you are around firearms, especially with inexperienced shooters. Even if you aren’t anticipating a traumatic gunshot wound, accidents happen and it’s important your friends don’t have to watch you bleed out because you failed to keep medical equipment on you.

Fanny packs are my preferred way to carry medical supplies. It is independent of any pants, belt, or carry setup.
Your Safety is Your Responsibility
Put simply, firearms and safety must go hand in hand. Even the most cautious people can make mistakes. In the event of a serious accident or just taking a nasty spill while training, keeping medical equipment accessible should be a priority, and is your responsibility.
Let’s go through one setup in each category so you can determine which direction to take your own belt! Remember, no matter which category you fall into, your gear should be tailored to you.
Recreational/Training Belt Setup
Like I mentioned earlier, if you only go to the range to shoot drills, a basic setup will work fine. In most cases you’re never too far from your vehicle or a shooting table, so there’s not much you need to have on you.

Kenneth basic battle belt setup.
A holster for your handgun, one or two magazines and an IFAK (Individual First Aid Kit) is a great place to start. I would consider this a “default setup”. This will get most people by just fine. If your activities involve training with others, you may want to include pouches to carry water or additional role-specific tools.
Best Belt Setup for Hunters
Though rarely discussed in belt setup guides, hunters also benefit from a belt setup. A belt for hunting will likely skip a reload, but a handgun and/or bear spray in certain parts of the country is a smart idea. Other useful items could include a small butt-pack pouch like the Hill People Gear M2016 for snacks, gloves, a rangefinder, or other hunting equipment.
As always, we ought not forget about emergency supplies. You may want to add water, a knife, and an IFAK as well. If you’re hunting small game like birds, a roll-up dump pouch could serve as a way to tote spare shells or other useful items.
Competition Belt Setup
If you’re new to competition shooting, watching how other shooters set up their belt is a good indicator of what to change or add on yours. Before you’re first match though, don’t worry about having the perfect setup. Start with the basics. You can add as you notice what you need more regularly on competition days or during training.
Modular Belts
One thing that commonly distinguishes competition setups from others is modularity. Many competitive belts are built in such a way that allows shooters to add, remove, or swap pouches as well as modify the pouch positions on the fly. This is helpful during matches, but is also convenient for training on the range! One of the most popular modular pouch systems is the Safariland ELS.

Safariland ELS: A modular magazine pouch system.
Two-Gun Belt Setup
In competition shooting, you generally know the course of fire before you shoot. If a common two-gun stage requires a handgun, a pistol reload and a rifle reload, then a modified recreational battle belt setup would cross over easily. This might look like a holster, two handgun magazines, two rifle magazines, and an IFAK.
USPSA Belt Setup
For USPSA (The United States Practical Shooting Association), you will be focused on pistol shooting with an emphasis on speed and accuracy. Setups reflect this with a multitude of magazines, and a streamlined profile.

Kenneth training for a competitive pistol match.
Moving in and out of shooting positions quickly and efficiently is a tremendous aspect of USPSA. Some shooters elect to limit medical equipment to a tourniquet to save space and increase mobility. Luckily there are almost always medical bags and trained personnel on stand-by in case of an emergency, but even still, it’s wise to keep a bare minimum of a TQ close by.
A common trend in USPSA belts is keeping a large magnet towards the front of the belt. This provides a quick way to hold your starting magazine, or to place your last magazine after you unload and show clear at the end of each stage.

USPSA shooting belt
PRS Belt Setup
For a PRS (Precision Rifles Series) shooter, you may not need a handgun at all. Your pouches will need to be more accommodating to larger, rifle magazines. A good option for pouches that can carry a multitude of magazines is the Haley Strategic SRMP. For shooters who have long courses of fire and see a lot of inclement weather, a jacket or hat tied to your belt may be the most useful item.
Professional Belt Setup
This category has a much wider variance due to required gear. A Marine rifleman is going to have different needs than a machine gunner, and each will have different needs than a law enforcement officer maintaining a safe presence in a crowded downtown area. Keep this in mind as I outline the most basic form of a professional belt setup.
Best “Battle” Belt Setups
Many infantrymen find themselves carrying far more than your average range goer. It’s not abnormal to see 2-3 magazines on their belt. Additionally they may have grenades, their IFAK, a maintenance kit, a pouch for night vision and much more!
The main benefit of carrying more on the belt-line is maintaining access to gear that doesn’t require taking off a pack during a short halt. Most units are not issued handguns, so the largest priority is carrying equipment that supports the rifle and other mission-specific gear.
Law Enforcement Belt Setups
Law enforcement officers belts look drastically different. Instead of gear related to combat, they are required to carry all sorts of items. Most setups feature the following items:
- Handgun
- Spare magazines
- Handcuffs
- Radio
- Taser
- OC spray
- Flashlight
- Tourniquet
Key Considerations of a Battle Belt Setup
Finding your ideal setup is a process. Like any gear, you’ll likely start by adding too much, then trim it back to too little before you find a sweet spot. The aim should be to meet your needs without excessive bulk. Most get by with a pouch for a reload and a small water bottle, others may want a full system.

Developing your belt around your needs will take time.
Before you set up your belt, spend time thinking about what your specific needs are. Are you planning on using it as a standalone system? Or in conjunction with load bearing equipment like a plate carrier?
Round Count
If you plan to use a chest rig or plate carrier, you’ll want to know how many magazines you need to carry in total to know how many you need on your belt to reach that goal. You may need 6 magazines of 10 rounds as opposed to 3 magazines of 30 rounds.
Extra Equipment
Some firearms are known to have certain quirks that others don’t, so having those things like a multitool, or lubricant might save you from a range trip cut short.
How Much is Too Much?
A belt setup like the one shown below may seem overkill if your needs are limited to casual shooting or weekend matches. If your car is nearby or you’re shooting from a bench, you may not need a full battle belt. Overloading your belt “just in case” will reach diminishing returns quickly.

Military battle belt, setup.
Distribute the Load
While hips are great for bearing weight, heavy setups will wear on you after time. You can distribute the weight around your body to make it more comfortable however, at a certain point, heavy is just heavy and may be counterproductive unless justified by your needs. In those cases, spreading gear across your entire body is and effective way to reduce strain on your shoulders and hips.
Closing Thoughts
The best way to build your battle belt setup is to figure out what you definitely need, what you might need, and what you would like to have. This should be based on your real world applications. Add what supports your role, and remove anything that proves unnecessary. Build it around the essentials, test it, and make adjustments based on performance. Thanks for reading and I’ll catch you on the next one!
If you’re looking for updates on our next piece of content, head over to our socials to get more behind the scenes looks into what’s coming!