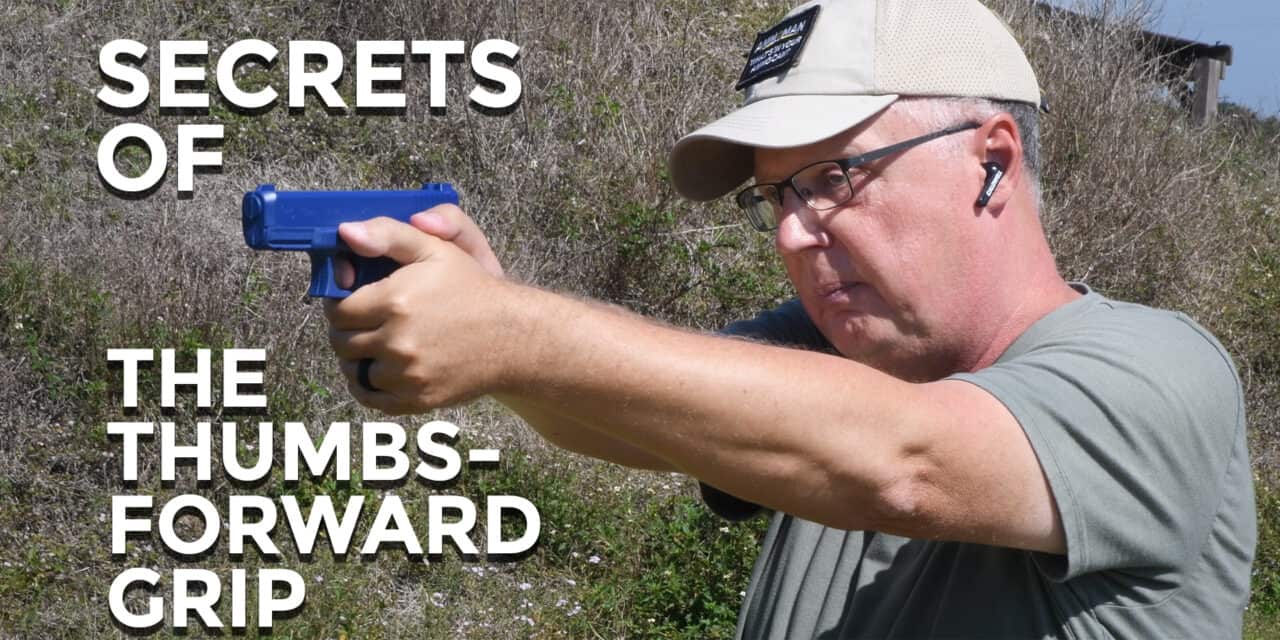
Creating A Thumbs Forward Grip
Handgun training has evolved over the years. Techniques fall in and out of favor as gear changes and our knowledge increases and adapts. Part of that evolution in training is how we hold our pistols. One-handed point shooting used to rule the roost when it came to pistol shooting. Now, however, we shoot with two hands on the pistol, using a thumbs-forward grip. What changed, and why did it change?
To get a better understanding of how things changed, let go back to the origins of the Modern Technique of the pistol. Jeff Cooper this in the years after the Korean War. One of the essential elements of the Modern Technique is the Weaver Stance, which uses two hands on the pistol rather than just one hand. One-handed shooting was the standard at the time. Law enforcement agents were taught to (literally) shoot from the hip, while the military preferred a more disciplined approach that nevertheless favored one-handed shooting.
The Thumbs Forward Grip Changed Shooting
Jack Weaver (the inventor of the Weaver Stance) and Jeff Cooper changed things by showing that the two-handed, thumbs forward grip allowed you to not just shoot at the target, but get hits on the target as well. Getting a good thumbs-forward grip on your pistol is an essential part of pistol marksmanship.
The thumbs forward grip starts with your gun in your holster. You want to have a secure hold on your pistol right from the very start. Fumbling your fingers on the draw is a recipe for disaster. If you can’t get a good grasp on your gun before it leaves your holster, get a new concealed carry holster.
Start With The Strong Hand
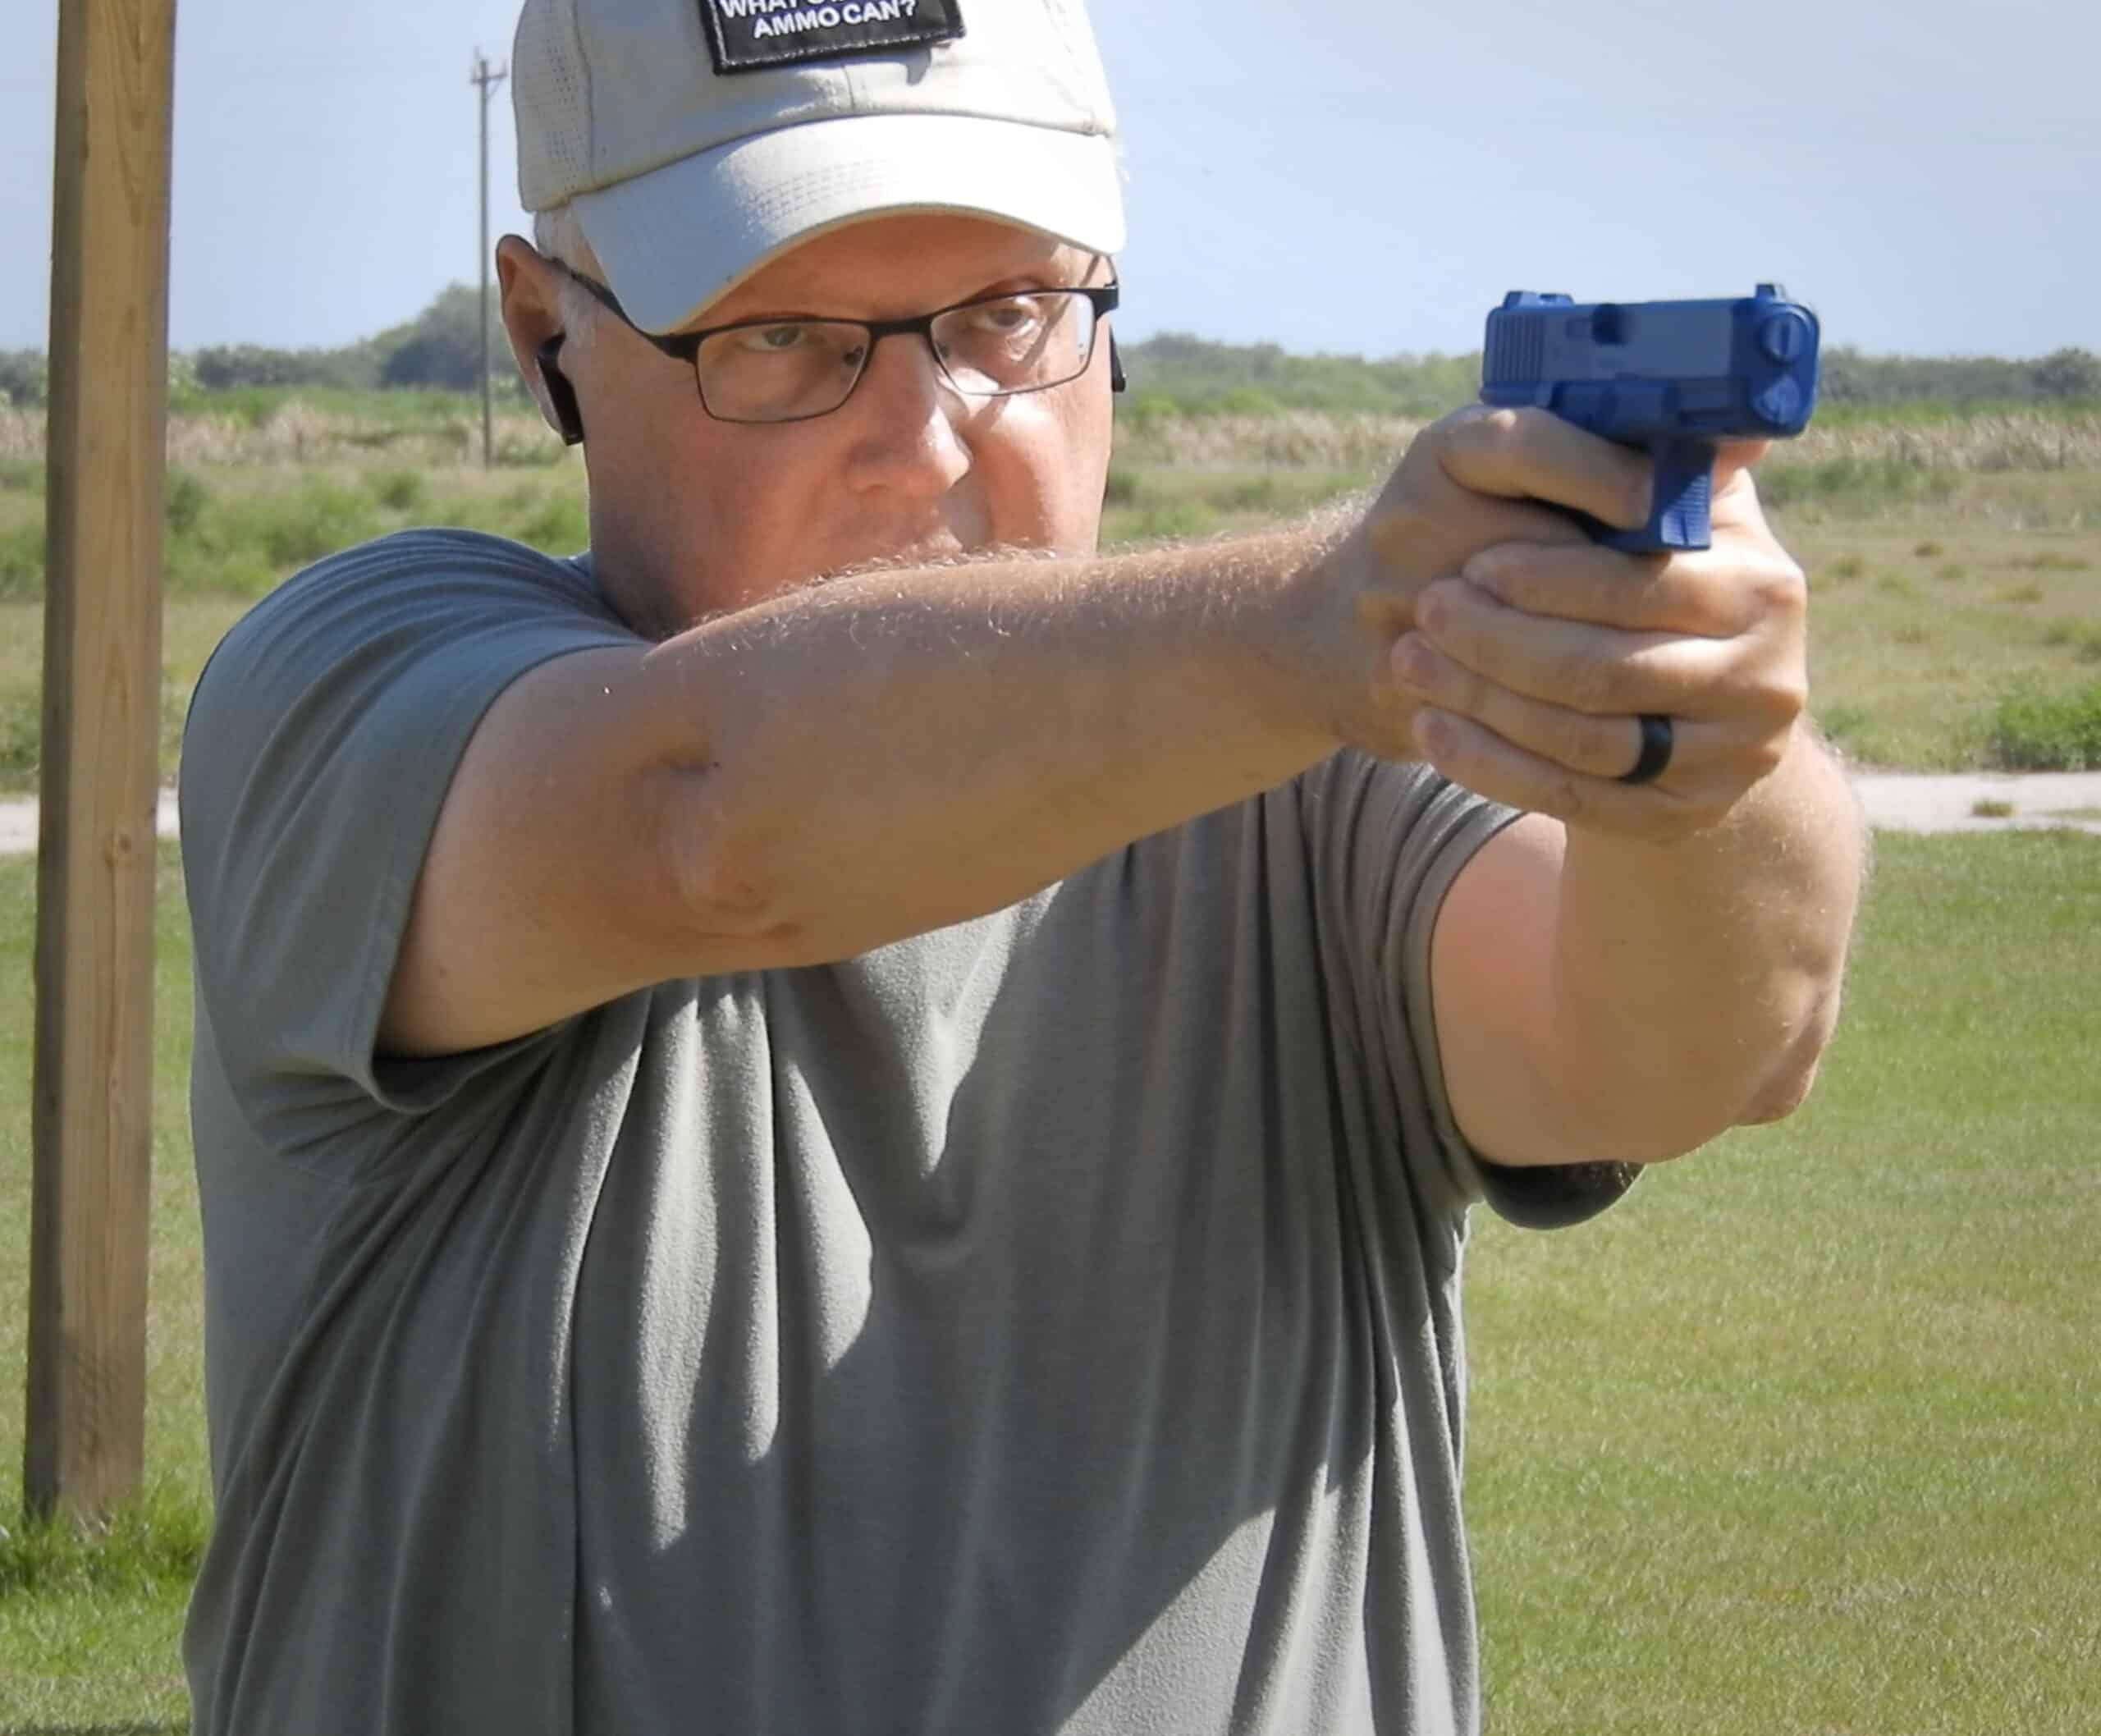
A good grip starts with your strong hand, the one you write with. Place the gun high up in the hand, with the webbing of your hand, the loose skin between your thumb and index finger placed as far up on the back of your pistol as possible. This is important because a gun moves like a lever during recoil. The front of the pistol moves up, while the rear of the pistol hardly moves at all. This lever-like motion will affect a number of things in our grip, including how high we need to place our hand on the back of the gun.
As much as possible, get both hands on the gun
Next, the fingers of your strong hand should wrap around the grip of your gun. If your gun is too small to get all four fingers around the grip, that’s okay, do the best you can. The middle finger of your strong hand should nestle up against the bottom of the trigger guard. The other fingers of your hand should wrap up tight against each other, forming a solid bond.
The Support Hand Is Key
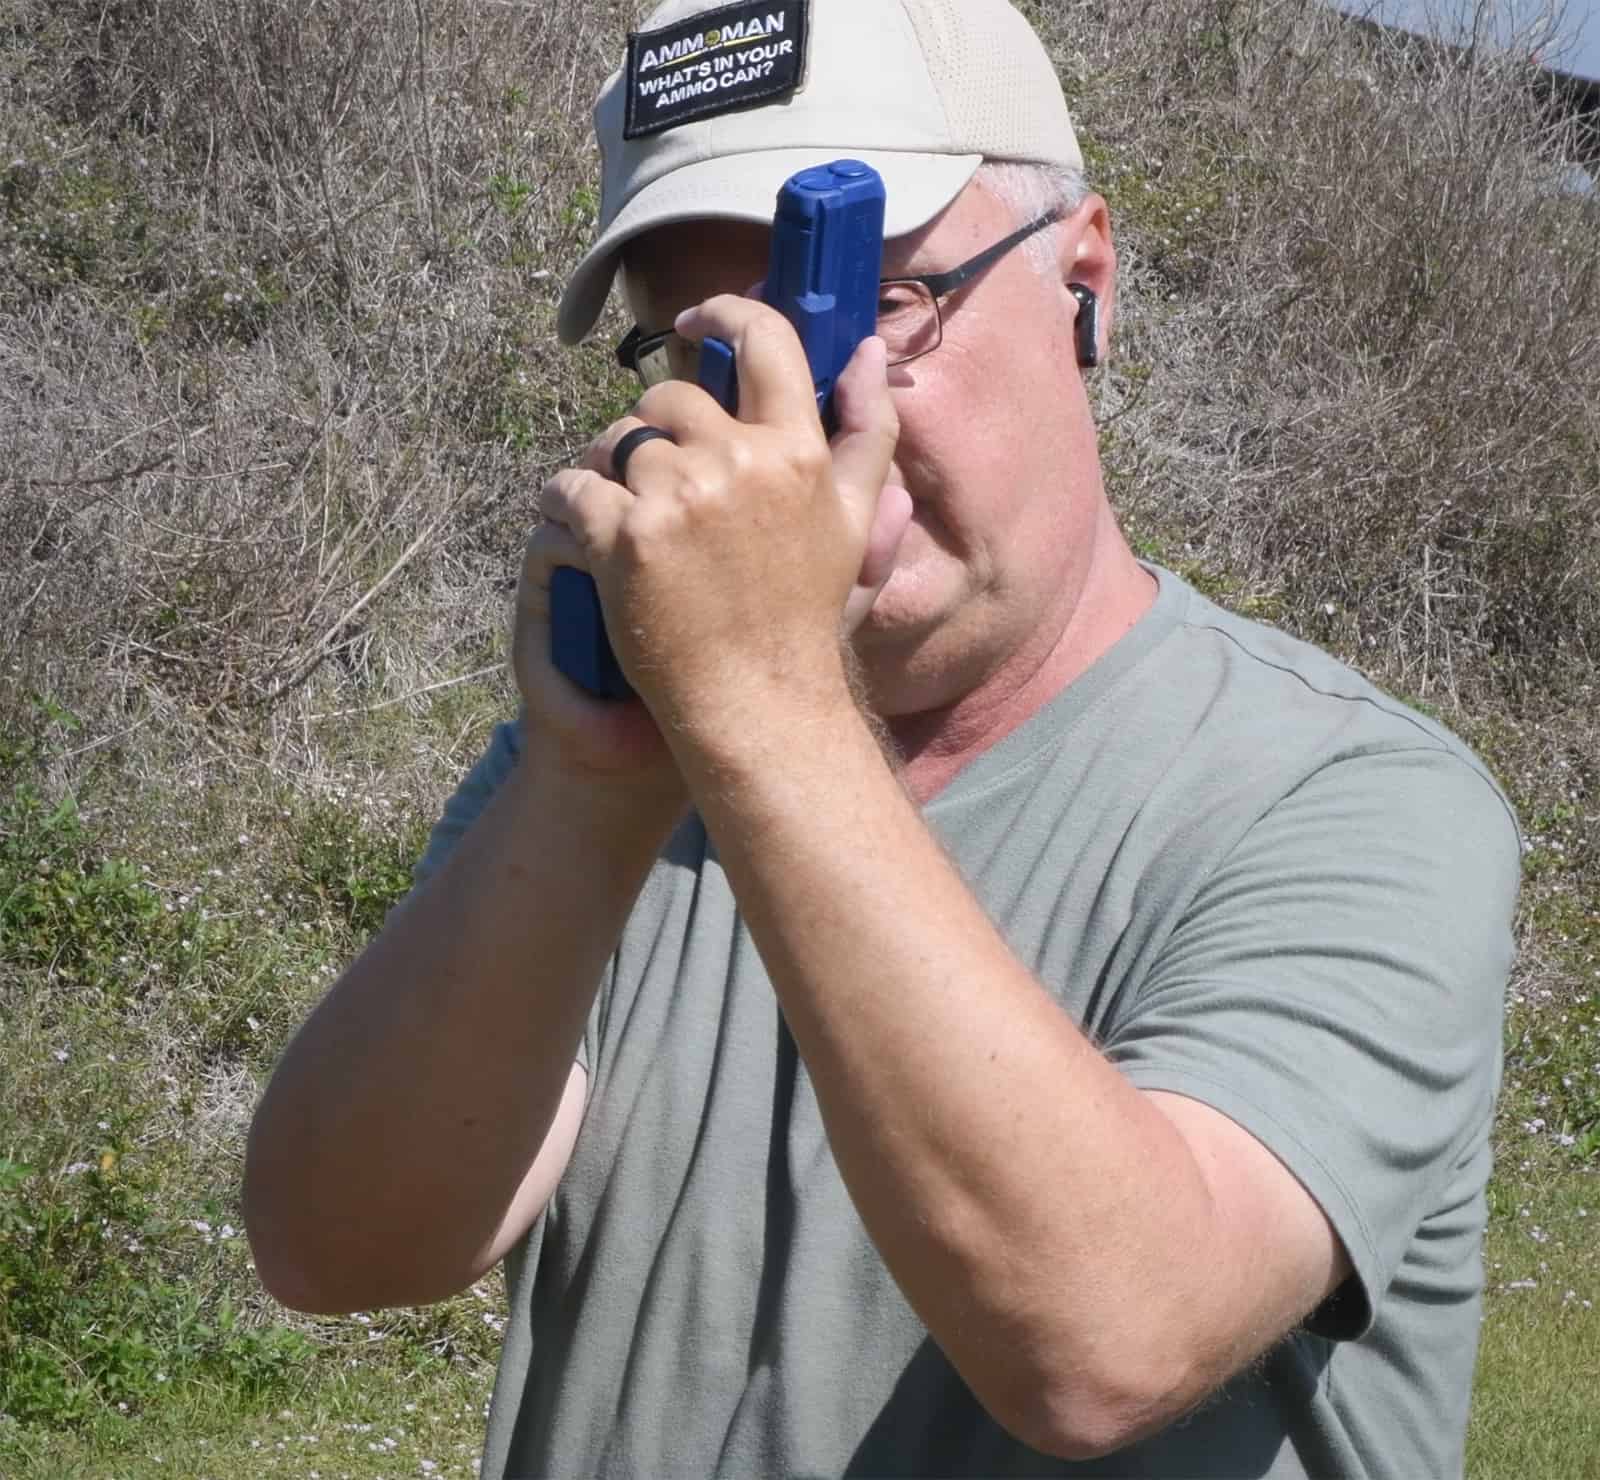
You will be tempted to do this. Resist that temptation
The placement of the support hand, your non-dominant hand, is in many ways more important than the placement of your strong hand. The meaty part at the bottom of your support hand palm should fit up against the tips of your fingers on your strong hand hand. Your fingers should then wrap around the fingers of your strong hand that are already on your gun. Pay particular attention to the middle finger of your support hand.
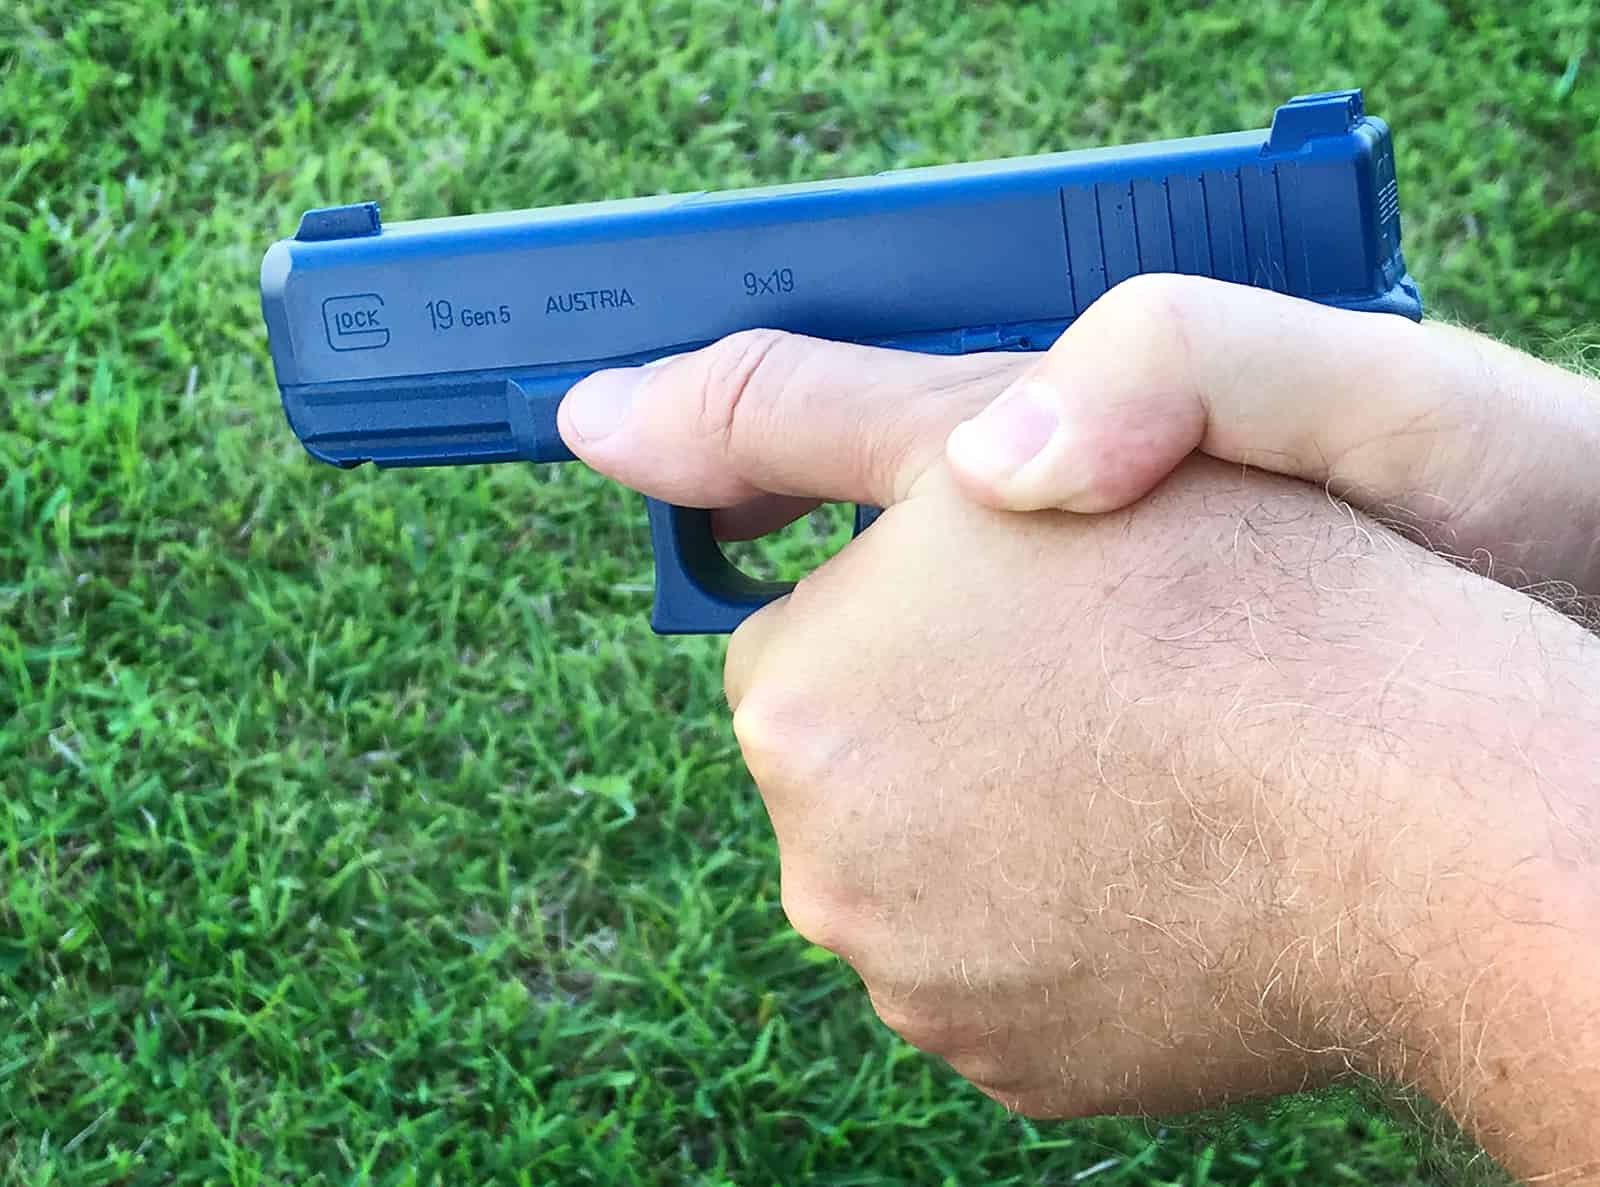
The middle knuckle of that finger should fit right on top of the middle knuckle of the middle finger of your strong hand. In this position, your thumbs should naturally fall on top of one another along the frame of your gun. The thumb of the strong hand should be resting lightly on top of the support hand thumb. This creates the thumbs forward grip on your pistol.
Controlling Recoil with Thumbs Forward Grip
With your hands in this position on your gun, you now have an effective way to move the lever of recoil in your favor. The middle finger/index finger combination works in conjunction with the webbing on the back of your strong hand to form the fulcrum of a lever when your gun recoils. Now it’s time to control that movement and get your sights back on-target as quickly as possible.
We want to get the front end to the lever, the muzzle and front sight, back on target as quickly as possible. This means we need to control the movement of that end of the lever with movement at the other end of the lever, whatever fingers is hanging on to your gun at the very end of the grip. Those fingers, especially the support hand fingers, are going to be the key to keeping your sights on-target with a thumbs-forward grip.
Variations On The Thumbs Forward Grip
I have good friends who shoot like this, I have good friends who don’t. Make your own decision
There are some variations to the thumbs-forward grip that we should discuss. Some people say you should place your thumbs high up on the frame, almost in-line with the slide. Some say your thumbs should be lower, resting up against the frame of the pistol. Others eschew a thumbs-forward grip altogether, and place the support hand thumb along the frame and the strong hand thumb over the back of their support hand. This can work, but I find that it weakens the strength I have in my fingers if I place my thumbs that way. This also reduces my ability to move the lever of recoil the way I want it to move.
When you find a version of the thumbs-forward grip that works for you, make sure you practice so your grip is available at a moment’s notice. This where dry fire practice comes in. By safely practicing getting a good grip without any ammo in your gun, or even any in the room where you’re practicing, you can train your hands to naturally go where they’re supposed to go in a thumbs-forward grip. This, in turn, will help you get rounds on-target when you need them the most, which is the essence of defensive pistol marksmanship.