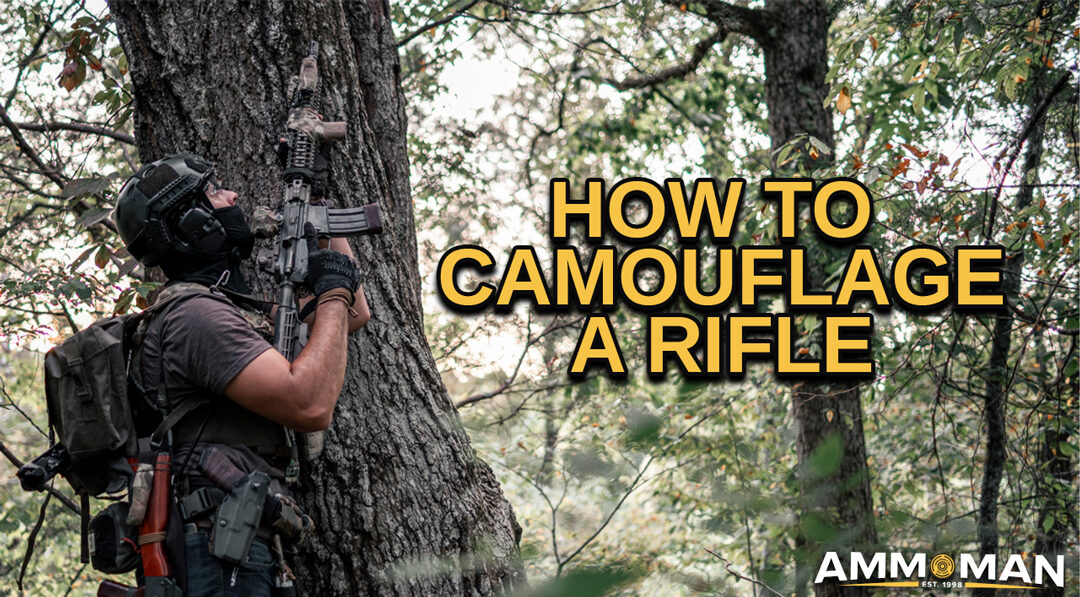
Asking anyone how to paint a rifle will ellicit a variety of responses. Some prefer the spray paint approach, while others go for a vinyl wrap, or smooth Cerakote finish. No matter how you choose to camouflage your rifle, what’s important is that it works in the environment you plan to use it.
In the article below, I’ll guide you step-by-step through spray painting your rifle. I will show you what to, and not to do during the process. Want to see a demonstration instead of reading about it? See the video below:
What We’ll Cover
- Tools and supplies
- Safety Checks and Preparing the AR-15
- Where and where NOT to paint
- Painting the rifle
- Alternative ways to camouflage your rifle
- Functions test for the AR-15
Getting Started
Useful Tools and Supplies

Various supplies you’ll want on-hand for painting a rifle.
You probably have everything you need to do this project on hand (besides the paint) so that makes it pretty straight forward. Below is a list of all the recommended items I think will help when painting a rifle.
- PPE (personal protective equipment) ie. disposable gloves + mask
- Cleaning cloth + alcohol wipes
- Tape
- Paint
- Stencils
- Surface to paint on, or a way to suspend the parts in the air.
Camouflage Stencils
You do not need an actual stencil in order to create a good pattern on your rifle, but if that’s the look you want, check out stencils on Amazon or an art store. They are cheap, reusable and effective.
Stencils are a good option if you just want to play with a few different camo patterns. If you would like a stencil but don’t want to order one, you can find a picture of the desired pattern online, print it off and cut out the different shapes and sizes and use from there. Other great options for a stencil include fake or live plants, dried sponges, netting etc. There are no limits to what can make an effective stencil.

Stencil options for painting rifles.
Safety First! Don’t Shoot Your Eye Out.
Safety is the highest priority so make sure before you begin this project you have already removed any live ammunition from your workspace and gun.

Checking the empty chamber of an AR-15 with finger.
Preparing Your Rifle for Paint
You might be concerned about the impact on the functionality of the rifle after painting. From my own experience, I have learned the best looking and feeling paint jobs are the ones you take your time taping off the parts you don’t want to have any paint get in or on. You can disassemble the parts of the rifle, if you wish.
Today, we’ll paint a new upper receiver so our prep is quite simple:
- Remove the stock, weapon light, iron sights and all other accessories. (I’m leaving my optic on the rail and taping it off to avoid having to sight it in again)
- Put an empty magazine in the rifle and tape off everything according to my preference for this paint job. (This just saves me some time and from having to put everything back together again at the end if I chose to paint the parts separately)
After you remove any accessories you don’t want painted, you can start wiping your rifle down. Using a clean rag and some rubbing alcohol, remove all dirt, grease and oils from each surface you plan on painting. This is going to help the paint coat evenly.
I have heard people say to go over the rifle with a coarse brush or sandpaper in order to allow the paint to adhere better. While this is generally good advice for painting, I personally dislike it in this context. I want the rifle to naturally shed some of the paint. This will make the pattern wear in nicely and be a better camouflage as opposed to perfect paint lines. I also don’t like the idea of sanding the metal parts because I want to keep the original factory finish in as best condition as possible to protect the firearm. Do as you wish though.
Staging
Once your rifle is wiped down and ready for it’s new look, we just have one last step! Taping off all of the important bits. Below is a list of all critical components of the AR-15, as well as a few optional parts that you can choose whether or not you want to paint.

Different parts of a rifle.
Critical Components:
- BCG (Bolt Carrier Group)
- Muzzle device threads or inside the barrel
- Trigger group assembly
- Optic lenses/scope glass/iron sight posts
- Information (serial numbers and scope dials)
- Inside the magazine well
Optional Parts:
- Magazine release
- Forward assist
- Pistol grip
- Top of the buttstock where your face will interface with the rifle
- Barrel (exterior)
- Buffer tube (exterior)
- Charging handle
- Lights/Lasers (exterior)
Step 3: Painting the Base Coats and Patterns

Painted AR-15: base coat and color coat.
Add the lightest color as a base coat to the rifle using best practice techniques as directed by the paint can. It will look better if you do thin, even coats. Allow at least 10 minutes in-between coats or until reasonably dry to the touch. If you rush the coats it will just peel off prematurely. This isn’t the end of the world but it won’t look as nice and it will feel “tacky/sticky” when you shoot it.
Next, you can add the darker colors and patterns with the stencils of your choice. You can do any touch ups necessary along the way and then and allow it to cure. When you are happy with your work you can remove all of the tape, reassemble and do a functions test. If you need guidance on the functions test for an AR15 style rifle, I outline each step at the end of the article.
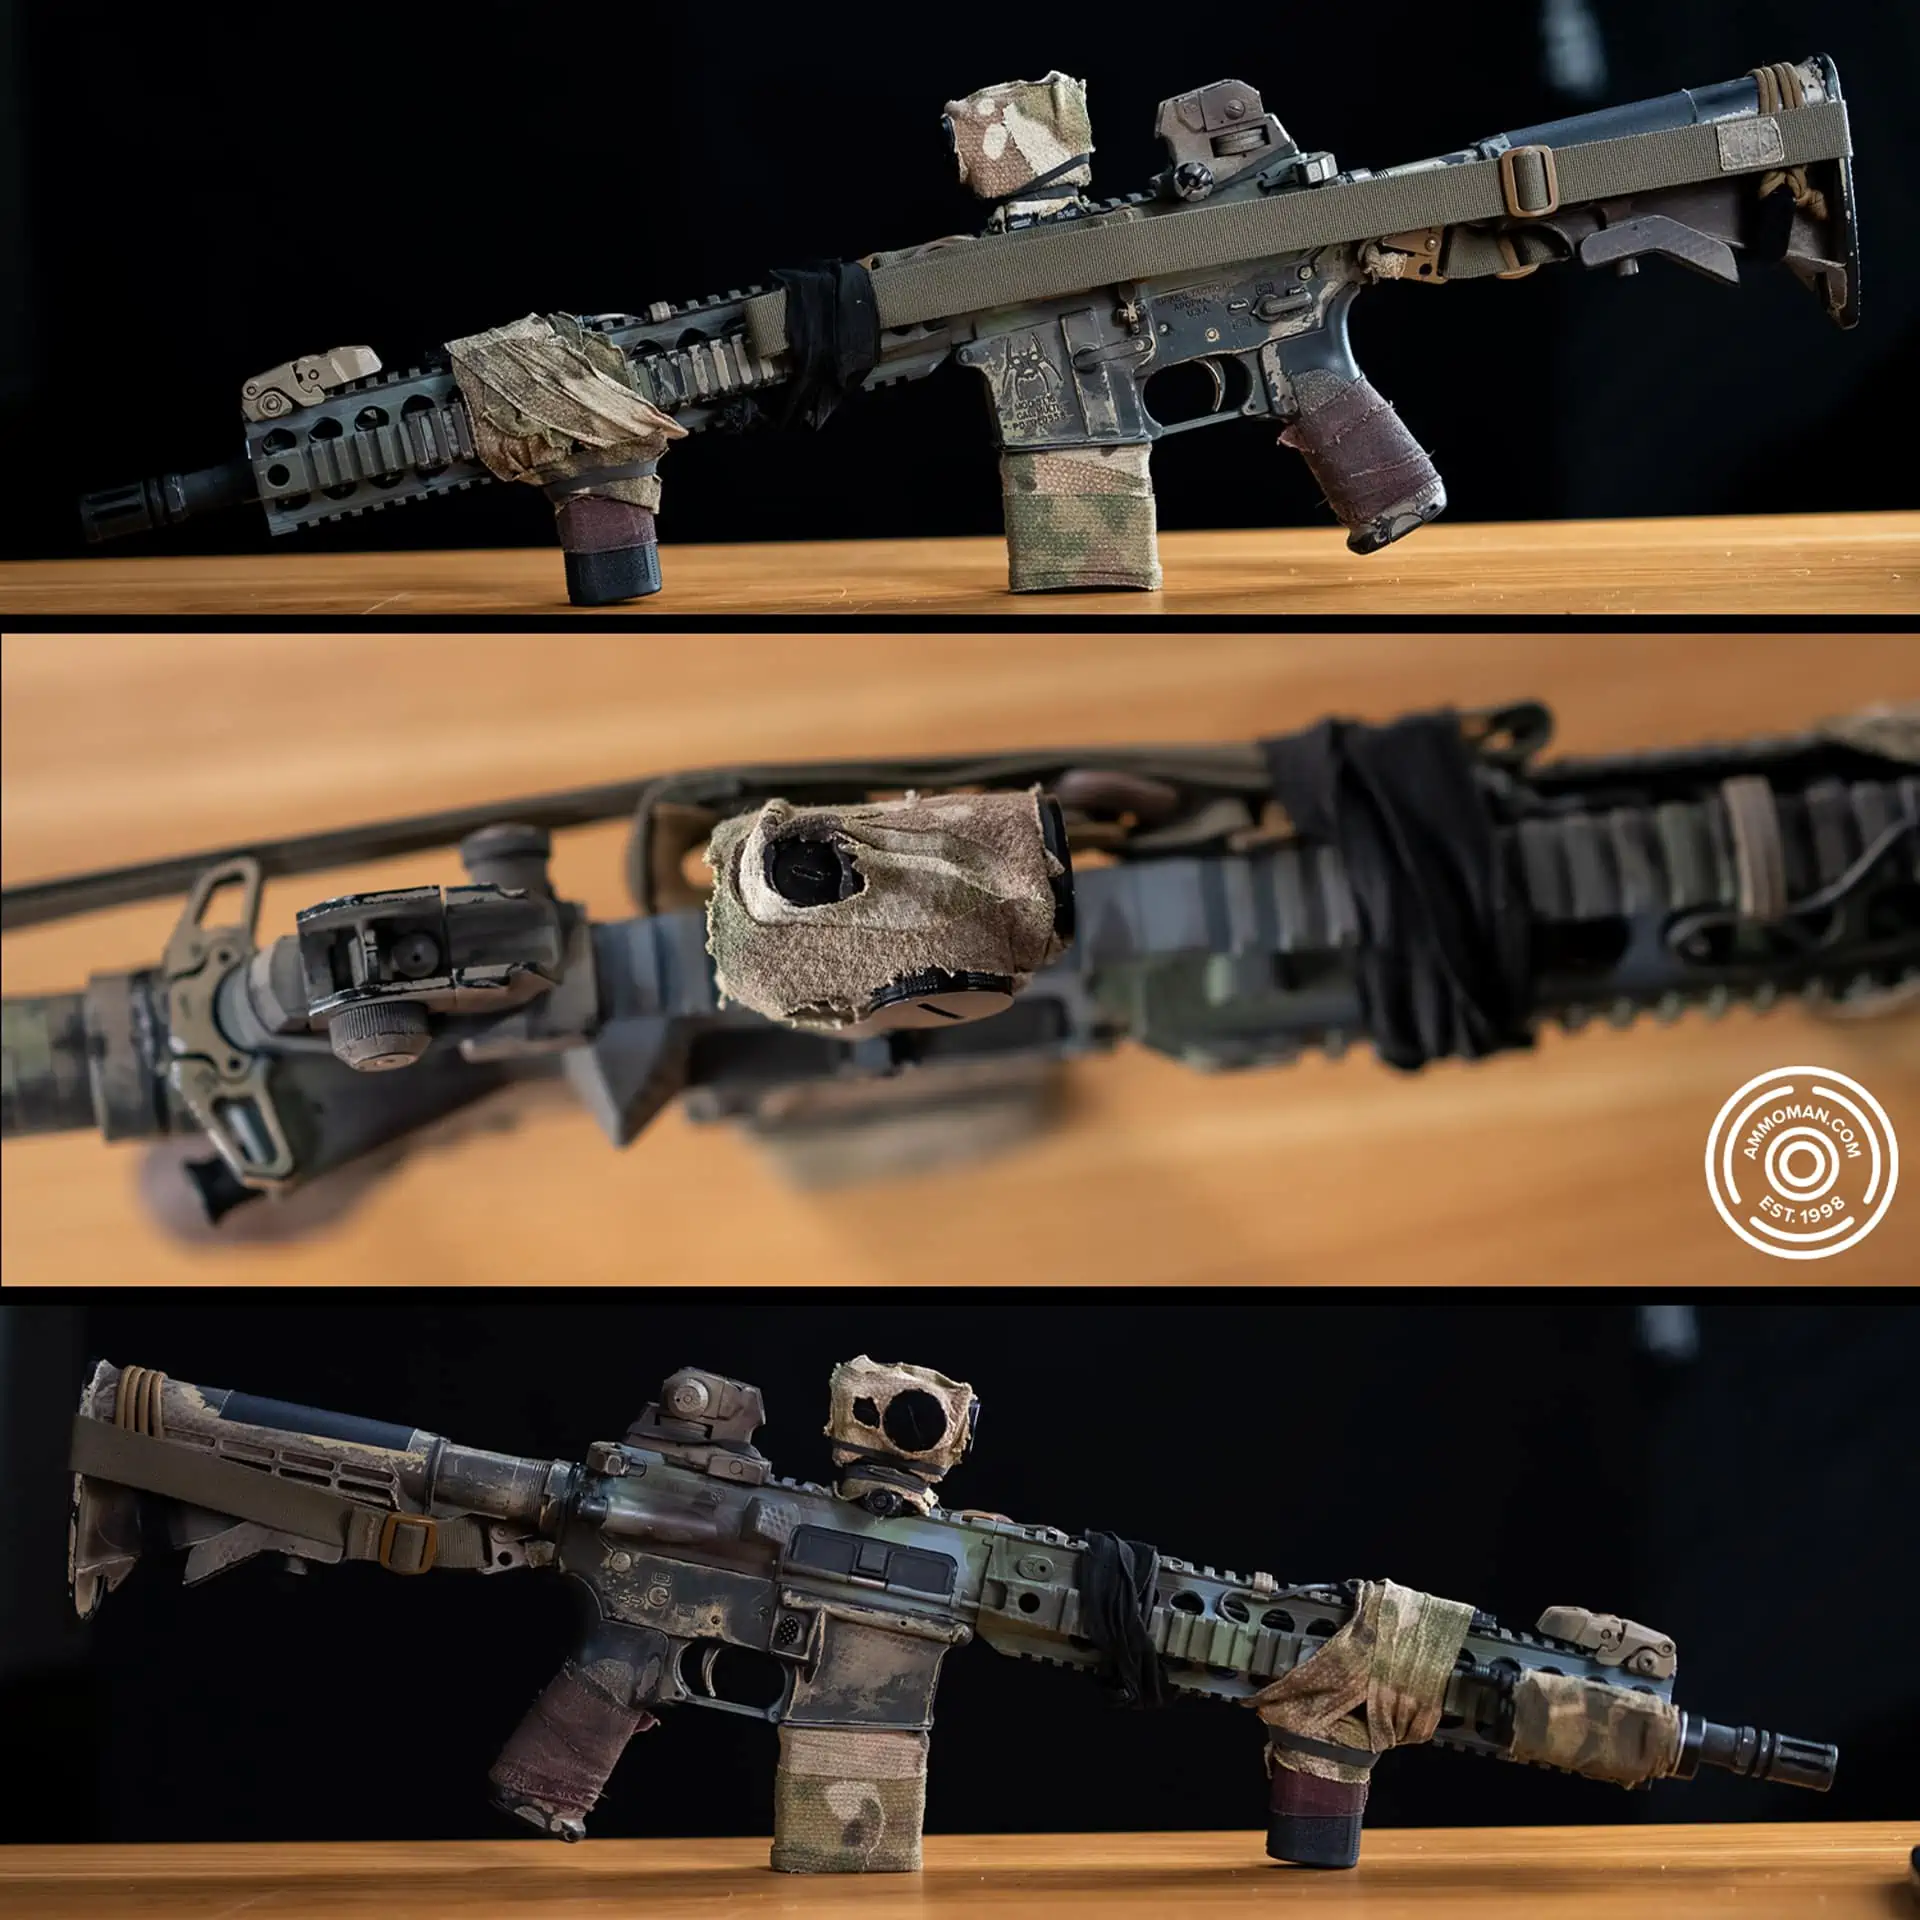
Final painted rifle.
Why Paint Your Own Rifle?

Hiding in woods with painted rifle.
Painting and camouflaging firearms is nothing new. Hunters, soldiers, airsoft players and prop masters in Hollywood have long practiced the art of changing the appearance of their weapons to suit their various needs. Let’s go over some reasons why you should consider painting your rifle!
Individuality and Self Expression
Not only will it be easy to spot your own rifle in a lineup of other guns, but painting your rifle gives you the opportunity to stretch your creative muscles. It also doesn’t hurt that it looks pretty cool.
Concealment
On a more serious note, the real reason most people are going to paint their rifle is that the shape is easily identifiable, even at a great distance. Some of the things that make it easy to spot are the sharp outline, long profile, chrome barrel, and reflective accents, just to name a few. A black gun stands out against just about every color you would find in nature. This makes the rifle very easy for not just animals but also the human eye to pick out in the wild. For hunters, this could cost you your expensive hunt and precious food. If you are a soldier, this could reveal your position and expose you when it’s critical that you go unnoticed.
One of the best ways to circumvent this problem is to disguise your rifle with colors and patterns that will match your anticipated environment. This will allow you to remain concealed and take that perfect shot when it matters most. You can achieve this by either adding physical layers of material to your weapon (ie. netting, wraps, vegetation) or by simply painting the rifle itself. Painting is easier and less time consuming, but it does not offer as much of a three-dimensional look as it does when you add synthetic and/or organic materials. The choice is yours!

Man standing behind tree with painted rifle.
Simplicity
You will be hard pressed to find a more convenient method for camouflaging your rifle than using a few cans of spray paint. They are cheap and easily accessible in a wide variety of colors and brands. The process takes no longer than 15-20 minutes even in the most stringent time crunch and only one or two days if you like to take your time. One of the wonderful things about using rattle cans is that if you make a mistake or if you need a new camo for a different environment or season, you can simply redo it! Some will say you need to strip the paint each time, which you most definitely can do, but if it’s just a few layers of paint you should be more than okay to simply add it on top of the previous pattern.
Cost Effective
Two or three cans in different shades is plenty to do a great job of breaking up the outline of a black rifle. Another cool thing is that you’ll have plenty left over to do touch ups later on, paint an additional rifle or even just gear. Other than the cost of the paint, all you really need is a way to block or cover important parts of the rifle from getting paint on them. A roll of painters tape does this well but you can use anything you have on hand.
- Paint cans x3: approx. $25
- Roll of tape: $7
- Stencils: Free-$15
Alternative Options for Painting a Rifle
I know it can be hard to commit to taking your rifle that you have spent your hard earned dollars on and choose to desecrate it with a couple of $8 cans of spray paint from the hardware store. You may be worried that you will mess it up and make it look horrible or even worse…disable your working firearm. You will be happy to know, It will be okay! The paint will not hurt the function of the rifle so long as you do not directly apply it to the internal mechanisms. However, just so you can have peace of mind, here are some alternative solutions.
Whether you want a factory finish look, or to leave the rifle as untouched as possible, here are some ideas for those who don’t want to take the plunge with paint but still want a camouflaged rifle.
Cerakoting
- Ship your rifle to a professional who can cerakote your rifle in the color and pattern of your choice.
Note: The pricing for a cerakote finish is a wide range and it depends on a few things. Do you want a complete rifle or just certain parts cerakoted? Solid colors or a camouflage pattern? And of course, which company you pick. Be aware it can get expensive quickly.
DIY Vinyl Kits
- Purchase a vinyl wrap kit and assemble the parts on your rifle yourself. (~$70-$150)
Camouflage Wraps/Adhesive bandages
Buy GearAid Camo Form. (~$15/roll) Two rolls should be more than enough to cover any rifle and have plenty left over for other uses. (Keep in mind, you can always paint on top of the wrap as well)

Painted AR-15 leaning on a log.
The “non-destructive” method I referenced is simply covering the rifle with a wrap before you paint. This way you can remove the wrap and return to the original look. Or, you can omit the paint altogether. Burlap strips can come in handy for this. You can use the regular tan ones or you can even find camouflage versions at hunting stores. Burlap can be an easy way to weave natural vegetation onto the rifle.

Man sitting in a field holding a rifle camouflaged with burlap netting.
Deciding a Color and Pattern
Colors
While I can’t explicitly tell you which colors to choose, I can recommend certain types of paint and brands. I’m sure there are countless options that will all work well. My experience is limited to the camouflage line of paints offered by Krylon and Rustoleum These work well and I have been able to find any of the colors I would need for different seasons.
The problem starts when someone purchases a set of paints that are not a true flat finish. They may buy a “matte” and think it is good to go but it still ends up leaving the rifle with a glare that is noticeable even with a good color choice. Do a couple of test sprays before starting on your rifle to confirm the look is truly a “flat” color with no gloss or semi gloss finish.
The correct colors to choose could vary from browns and greens, to grays and tans. The best advice I can give is to go out and explore your local area. Look at the colors around you and maybe take some pictures so you can go through and see what the common colors are. This will change with the seasons and location you are in, so just take the majority of what you see and don’t overthink it.
Patterns
Selecting a pattern is a different matter altogether. There is incredible science behind how eyes work and how to disrupt the ability to recognize a shape or color. This can go deep into camouflage techniques. What’s important when selecting a pattern for starters is to keep the pattern running longways instead of completely straight up and down. A general rule is to paint the parts that stick out a bit darker and the parts that are underneath or shaded a bit lighter.
Don’t Forget: Function Test Your AR15
Once your paint is dry, and your masking tape has been removed, you’ll need to make sure everything is operational. First make sure the rifle is clear and unloaded. Checking to see that there is no live ammunition in either the magazine or the chamber of the barrel. Put the magazine to the side and lock the bolt to the rear and make sure you can rotate your safety selector switch between the positions, “SAFE, SEMI” OR “AUTO” (if applicable).
Next, press the bolt release on the left side of the rifle and place the selector on “SAFE” and attempt to pull the trigger. This should NOT drop the hammer. Now you may move the selector to the “SEMI” position and pull the trigger once more. If properly functioning, the hammer will fall and you will hear a “click”. Leaving your finger on the trigger, maintain constant pressure to the rear and cycle the bolt using the charging handle. Slowly release the trigger and ensure the trigger resets and is able to fire once more. Congratulations, the only thing left to do from here is to head to the range and make sure the rifle works in the intended environment!
This article may contain affiliate links. If you click through and buy rifle painting supplies, we may receive a small commission that’ll allow us to pay for more paint ourselves!