Clearing A Stovepipe Malfunction
A semi-automatic pistol requires good ammunition and a competent user in order to perform properly. A semi-auto will have more malfunctions without good ammunition, and an improper grip can interrupt the proper working of your gun. Which brings us to the second of our articles on pistol malfunctions, the Type 2, or stovepipe malfunction.
The first type of malfunction we covered was the tap rack bang, or Type 1 malfunction. This is caused either by a round failing to eject from the chamber, or a round wasn’t in the chamber when you pressed the trigger. The solution to this problem was tapping the bottom of the magazine to make sure that it’s inserted properly and can feed more rounds into the gun. The next step is manipulating the slide of the pistol (or racking it), which accomplishes two tasks. If the malfunction is caused by ammunition that isn’t working correctly, racking the slide clears the bad round and cycles in fresh ammo. If the problem is caused by an empty chamber, racking the slide after tapping the magazine loads a fresh round into the chamber and gets you back in the action.
Stay Alert, Stay Flexible
 The last step, bang, is applicable only if you’re completing a drill on the range or are in the midst of shooting a competition. These are both situations where you know you’ll need to send rounds downrange once your pistol is back in working condition. Things can get messy in the real world, however, and there’s a chance the person who forced you to send rounds downrange is down and out of the fight, or has decided to quit the fight now that things have gotten serious. Making your gun go “bang” at this point is probably a bad idea, which is why many firearms trainers call this drill a “tap rack assess” rather than “tap rack bang.”
Clearing A Type 2 Malfunction
Knowing how to clear a Type 1 malfunction is important, because almost everything you do to clear that type of malfunction is used to clear a Type 2 malfunction, or stovepipe malfunction. A stovepipe malfunction is the result of a round that fired, but didn’t completely eject from the gun. This is caused by one of three things.
- The round wasn’t loaded with enough powder to cycle the action properly, and the empty shell is now caught in between the slide and the chamber.
- The grip on the gun wasn’t strong enough to hold the gun steady as the action cycled after the shot. As a result, energy that was meant to be used to move the slide backwards and eject the spent casing from the gun was absorbed by a poor grip, and the casing is now stuck halfway out of the gun.
- Problems with the extractor that are caused by either excess grime and dirt or worn parts which cause the spent round to get hung up as it tries to leave the gun. A good cleaning and inspection is in order if stovepipe malfunctions happen on a regular basis.
Get Your Gun Back Into The Action
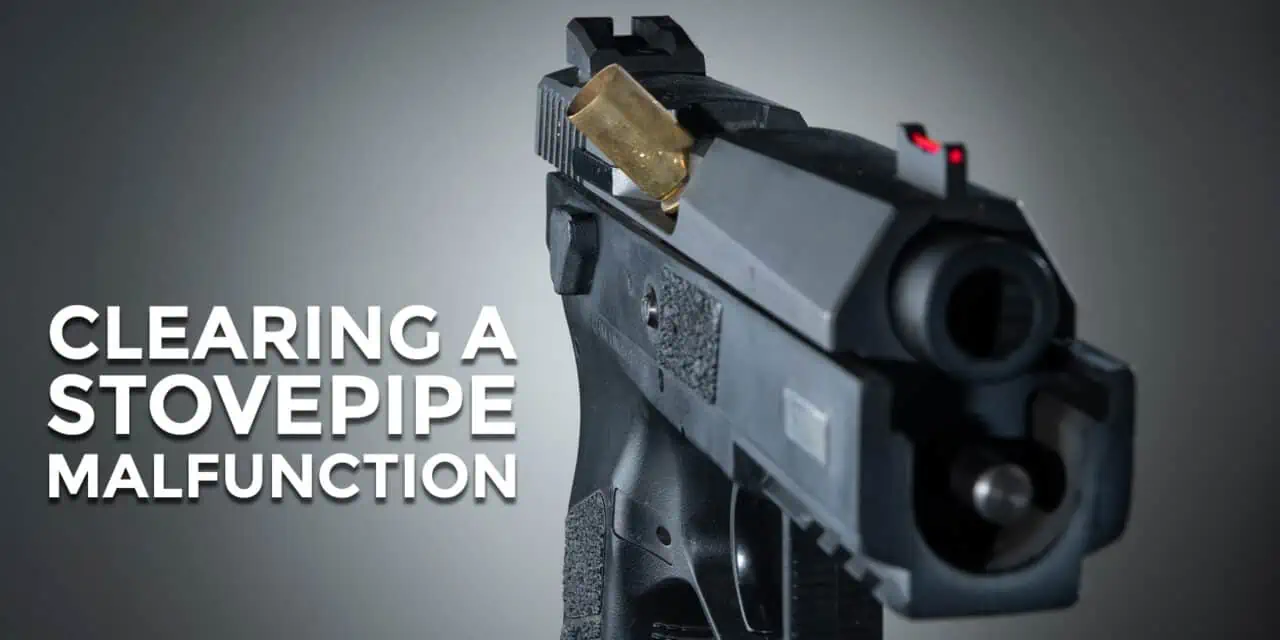
 Now that we know what causes a stovepipe malfunction, let’s look at how to diagnose and solve the problem. Despite what Hollywood may tell you, a stovepipe malfunction doesn’t mean your gun is out of the gunfight. Diagnosing a Type 2 malfunction begins the same way as a Type 1 malfunction: You press the trigger and nothing happens. The next step is also similar: Briefly glance at the ejection port of your pistol. A piece of brass sticking out of the gun like a stovepipe on top of a roof is your clue that you’re dealing with a Type 2 malfunction.
And yes, that’s why they’re called stovepipe malfunctions.
 Fixing A Stovepipe Malfunction

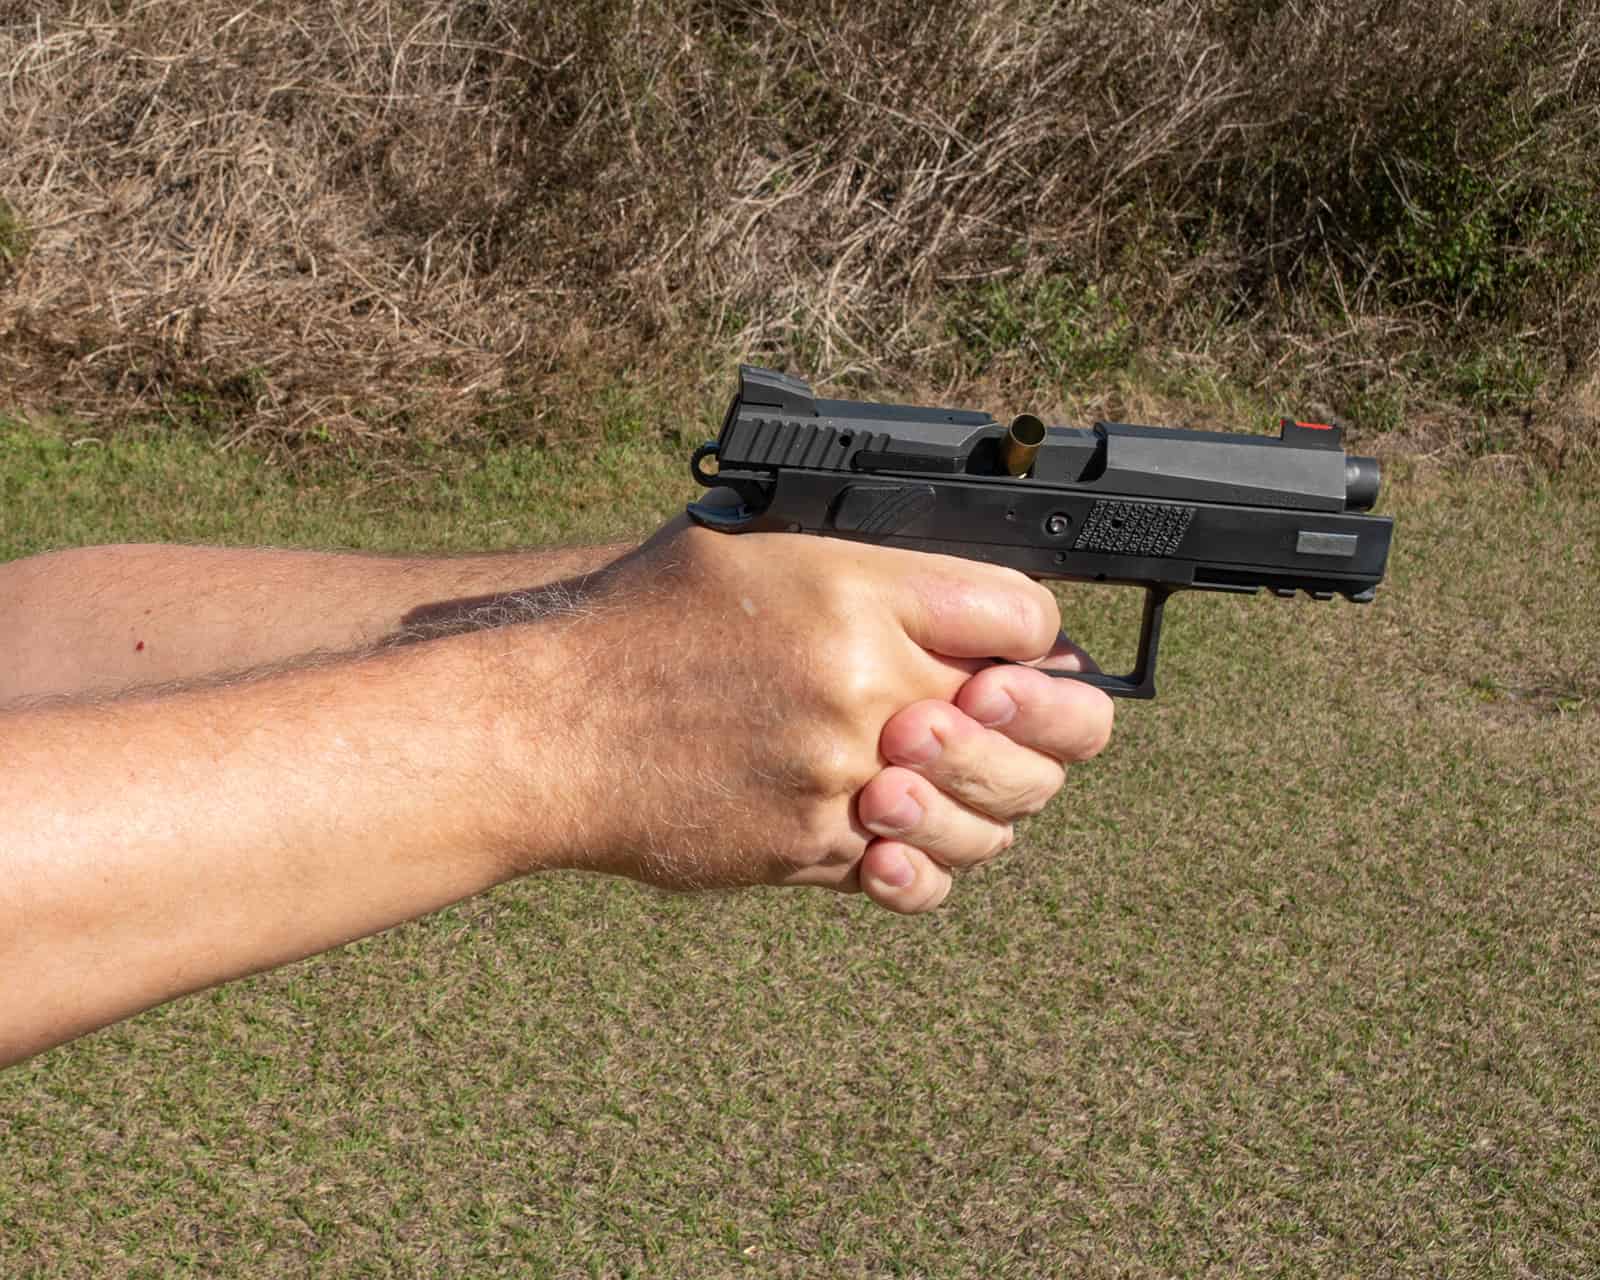
- Tap the base of the magazine to make sure it’s seated correctly.
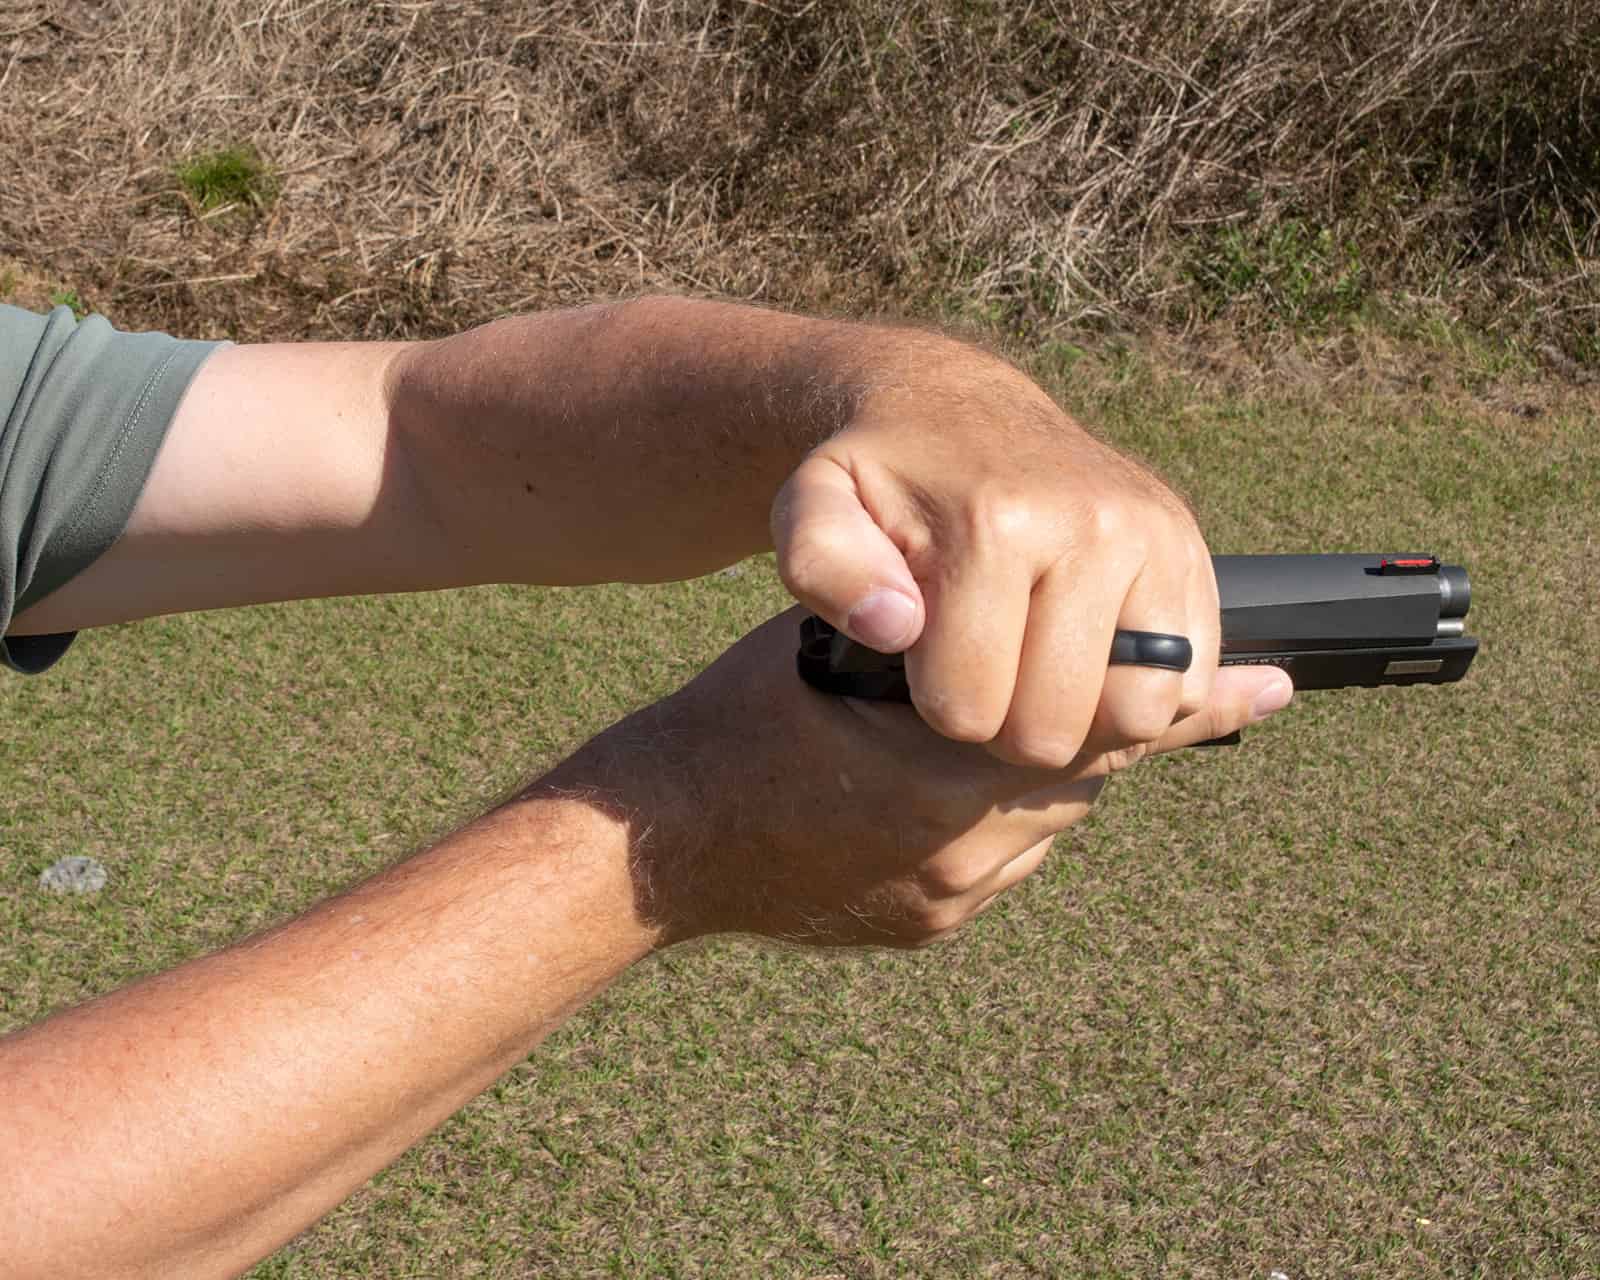
- Rotate the gun to your right so the ejection port faces downward so that anything kicked out the pistol falls to the ground and not back into the gun.
- Grab the slide of your pistol forward of the ejection port and rack the slide.
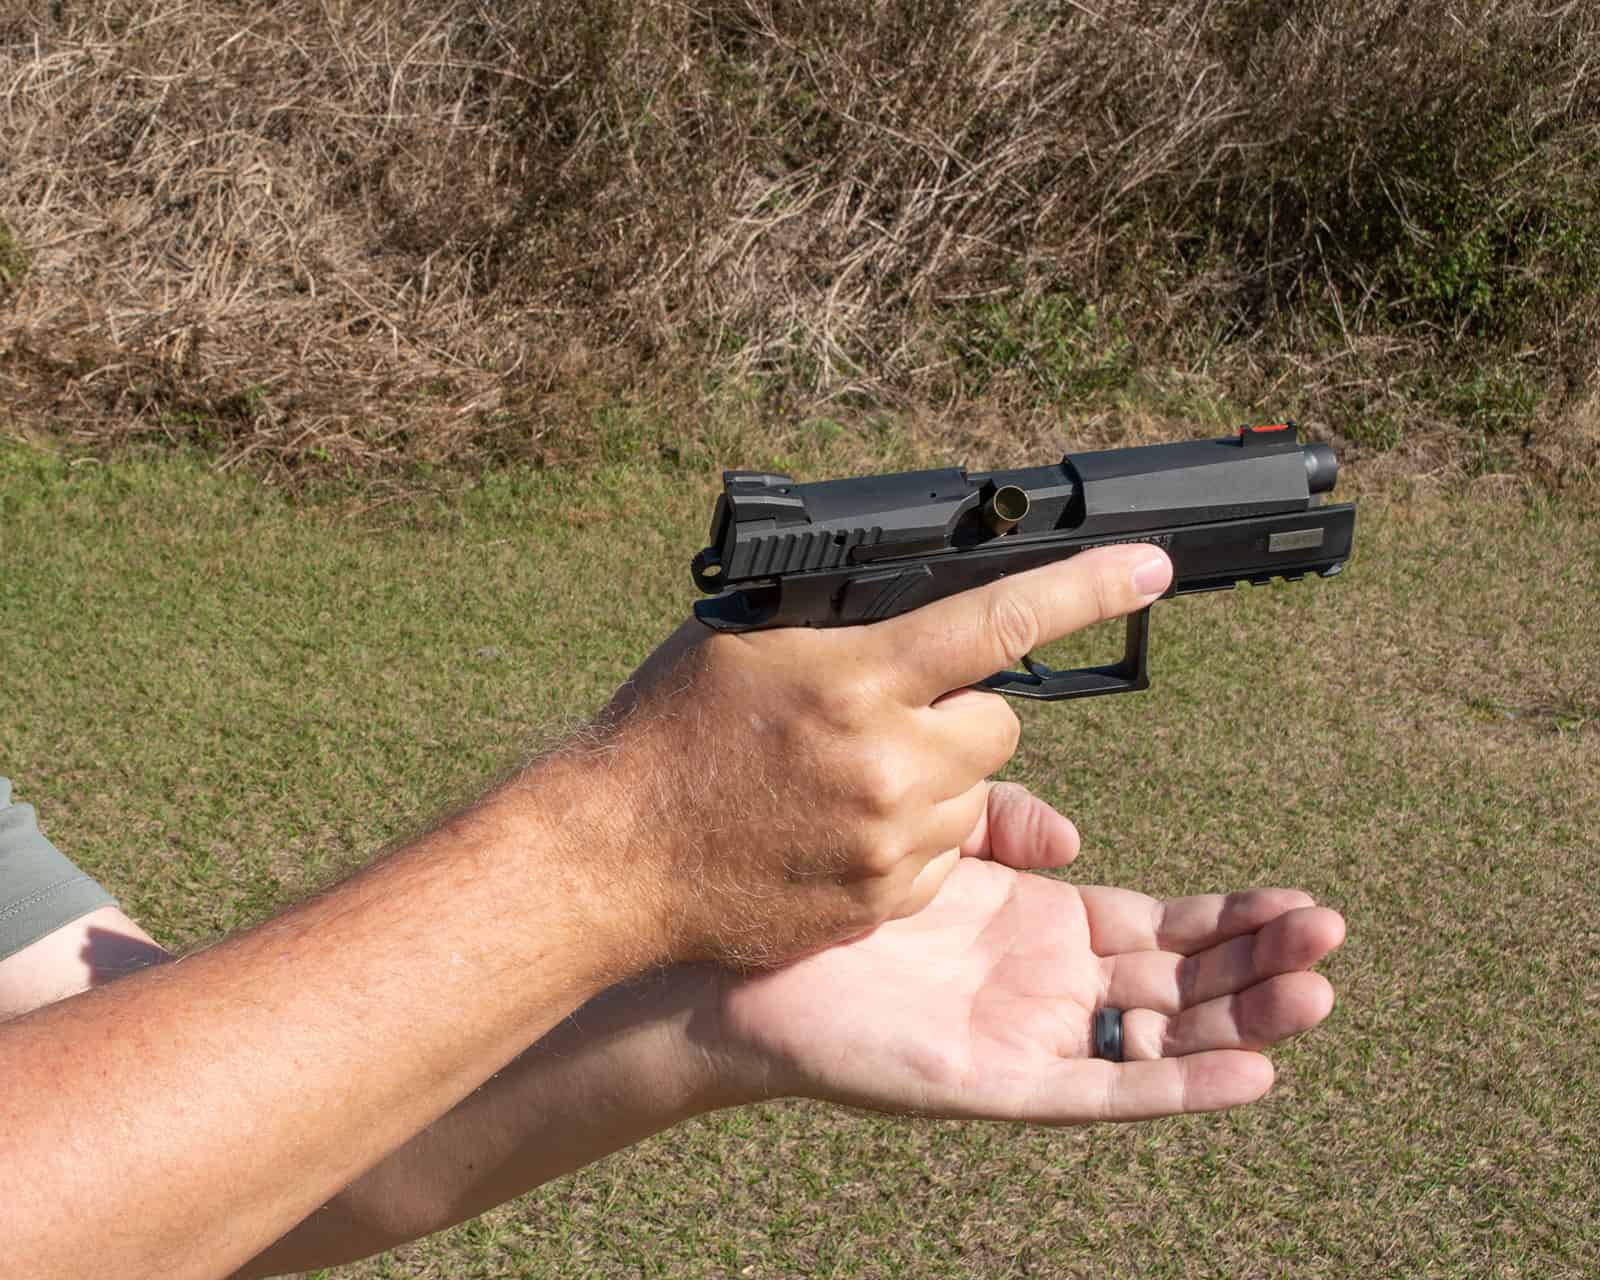
- As the slide moves backward, let your hand move along the slide so it meets the round stuck in the slide and kicks it away from your gun
- Keep the slide moving backwards until it stops, then let go so it moves back into battery, ready to be fired again.
- Assess the situation. Shoot more rounds if they’re needed.
 You Have Work To Do Before It Goes Bang
Step Five probably needs a little more clarification. This step serves two purposes: It begins the process of cycling the action and getting your gun back in the action, and it clears the empty shell from your gun. Moving your hand back along the slide as you work the action allows you to push the round out of your gun. Keeping it on the slide as the slide moves backwards cycles the action, loads a fresh round into the chamber so it is ready for use.
 The errant shell casing sticking out of your gun is easy to spot, which means that stovepipe malfunctions are some of the easiest to diagnose. Clearing a stovepipe malfunction is also very similar to clearing a Type 1 malfunction, which means the skills you practice with that drill are almost completely applicable to this drill. Most of all, knowing what to do when your pistol doesn’t work is an important part of gaining confidence with your defensive firearm. Knowing how to clear a malfunction and get back in the fight gives you one less thing to worry about when lives are literally on the line.