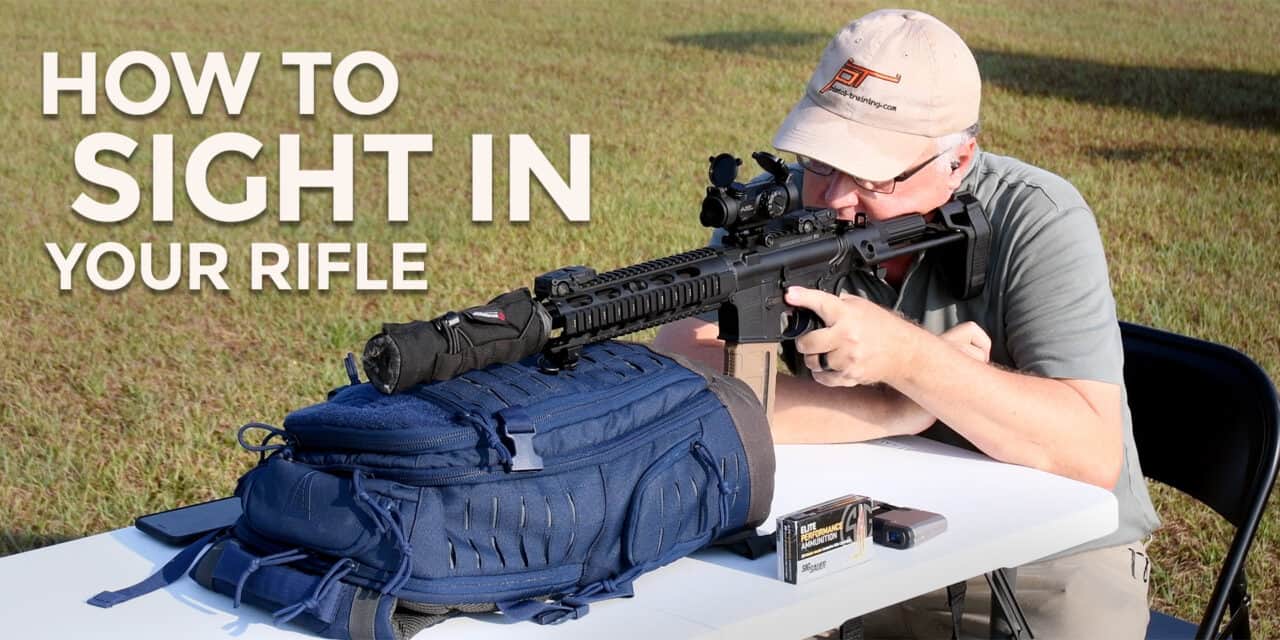
ESSENTIAL RIFLE SKILLS: How to Sight In A Rifle
Earlier this year, I was on the firing line at a public shooting range shooting a rifle for an upcoming article. The gentleman in the next lane started chatting with me about the AR-15 he was shooting. He couldn’t stop talking about how he liked the scope on top of his gun and how 6.5 Grendel was the perfect cartridge for an AR. The only problem was, he couldn’t place rounds on-target with it, even at 50 yards. The AR-15 is a very accurate platform and the 6.5 Grendel is a heck of a cartridge. However, unless you’ve taken the time to make sure your optic, rifle, and ammunition are all working together, you’re not going to hit your target on a consistent basis. We’ll walk you through how to sight in your rifle so you are confident it’s ready to make the shot when it matters most.
START SECURELY
Securely mounting your optic is the starting point to sighting in your rifle. If your optic waves around in the breeze, it’s not going to deliver consistent results. There are a number of different ways to securely attach your optic to your gun. The best way I’ve found is to follow the instructions that come with the optic. If you don’t have the time or correct tools to mount your scope, your local gunsmith can do it for you.
GIVE ME A LITTLE (EYE) RELIEF
We’ll go over the types of optics available for your rifle in more detail in an upcoming article. In general, there are two different kinds on the market:
- Red Dot/Holographic sights with no magnification
- Telescopic sights that magnify the target
You can generally mount red dot sights just about anywhere on top of your gun. Red dot sights do not magnify the light that passes through them. Therefore, they do not focus that light at a specific point. Telescopic sights, however, magnify the light that they gather. Therefore, it’s important that they are focusing that light onto your eye and not somewhere else. This means mounting the scope so that the eye relief (the area where the light is focusing) matches up with where your eyes are when you look through it.
Set Up Your Scope For Success
Eye relief is just one of the areas where there are a lot of different ways to get to the same destination. The goal for all of them, though, is to set up your optic so you can easily see your target no matter how you hold your rifle. To position your scope for maximum eye relief, place the optic in the mounts, but don’t fully lock it into place. Make sure you unloaded your rifle, then check it again.
Get behind your rifle in a prone shooting position. Adjust the movement of the scope back and forth until you can clearly see the full reticle at maximum magnification. Make sure the reticle is not angled in the mount. The last thing you want to do as you sight in your rifle is think you’re moving your shots left on the paper, when in reality, you’re moving them down and to the left. Lock down the scope by tightening the scope mount. Now it’s time to get the scope and the barrel in some sort of alignment.
WHAT IS BORESIGHTING?
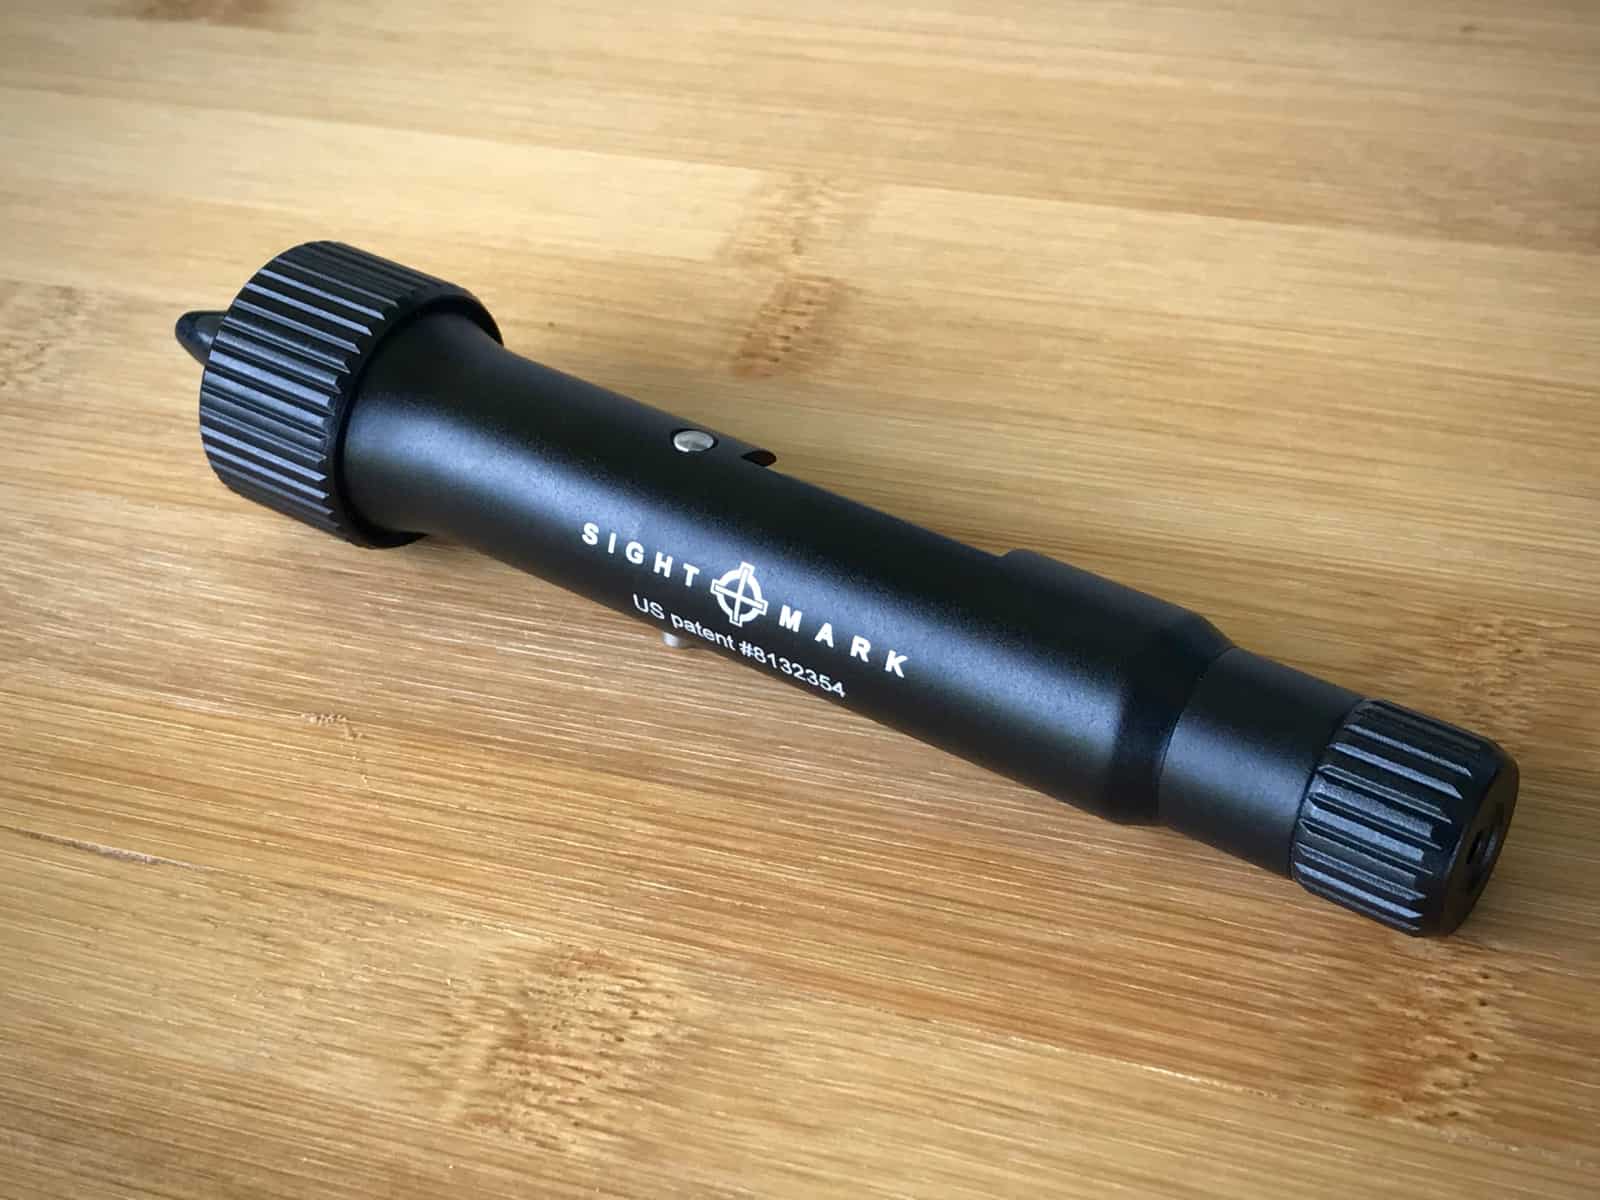
When used safely at home, a laser boresighter helps save time on the range
Boresighting is making sure the bore of your rifle and your optic are pointed at the same point at the same time. The easiest way to do this is to set up your rifle in a stable position. Make sure the barrel is in a safe direction. Point it at something at least 10 yards away and positioned so that you can adjust your scope without disturbing the rifle. You then look down the bore of your rifle and adjust your scope so that the crosshairs match where the rifle is pointed. Now, you’re good to go.
That’s the theory. The reality can be a bit messier. If you’re boresighting a bolt-action rifle, it’s easy to pull out the bolt and look down the barrel from the back of your gun. If you’re setting up a scope on an AR-15, you can pop the upper off the gun, pull out the bolt carrier group and then look down the barrel. However, some guns just don’t allow you to safely look down the barrel from the back of a rifle. That’s where a laser boresighter comes in handy.
Laser Rifles? Well, not quite…
A laser boresighter attaches to the front of your rifle and sends out a laser beam that mimics the path of a bullet over short distances. The beam turns into a dot when it hits a surface. You can use that dot as an aiming point for your optic. Adjust your optic so it’s lined up with the dot, and you’re ready to go.
Whichever method you choose, when you finish, you should have a securely mounted optic on your rifle that’s roughly aligned with your barrel. Now it’s time to go to the range and finish this process.
DID YOU EVER KNOW THAT YOU’RE MY ZERO?
Boresighting the rifle establishes a baseline aiming point. As your optic is mounted on top of your gun, it and the barrel of the gun are not in the same vertical plane. Getting the optic and the barrel to point at the same point in space is called zeroing your rifle. It’s an important thing to know if you want to learn how to sight in your rifle.
There are hundreds, if not thousands, of pages of information out there on what distance you should use as a zero for your rifle. In general, though, 100 yards is a good zero distance for guns designed for long-range shooting. A 25 or 50 yard zero is good for guns set up for shorter-range shooting.
There are also a lot of different opinions about how to establish a good zero. Some prefer to lock down the rifle in a purpose-built shooting sled in order to achieve maximum accuracy. Others prefer a more common shooting position such as shooting off a rest or from prone. Some people shoot just one shot and then evaluate the results. Others shoot three round groups and then judge their shots.
I prefer to shoot three round groups and then evaluate how I need to adjust my optic after each group. All my rifles, though, shoot relatively inexpensive ammunition. If I were zeroing a rifle that shot, say, .338 Lapua, I’d probably change my process so I use fewer rounds to get my rifle sighted in.
ZEROING YOUR RIFLE
The process I use to zero a rifle is quite simple.
- Shoot a three round group
- Adjust my optic to move the rounds towards the aiming point
- Shoot another three round group
Seems simple, and it is. The one difficult part about the process is knowing how much I need to adjust my optic between each group. This is where knowing how your scope works comes in handy, as well as knowing a little bit of geometry.
WINDAGE and ELEVATION
First off, the scope. Pretty much every scope out there is adjustable in windage (left/right) and elevation (up/down). Most scopes have dials on them that adjust each direction separately, in a given amount per click of the dial. We measure that amount in fractions of a minute of angle (MOA). This is where the geometry comes in.
Picture a circle in your mind. Now split that up into 360 degrees, then split one of those degrees into 60 smaller angles. Each one of smaller angles is one minute of angle. The cool part of this is that one minute of angle is darn close to one inch wide at one hundred yards of distance.
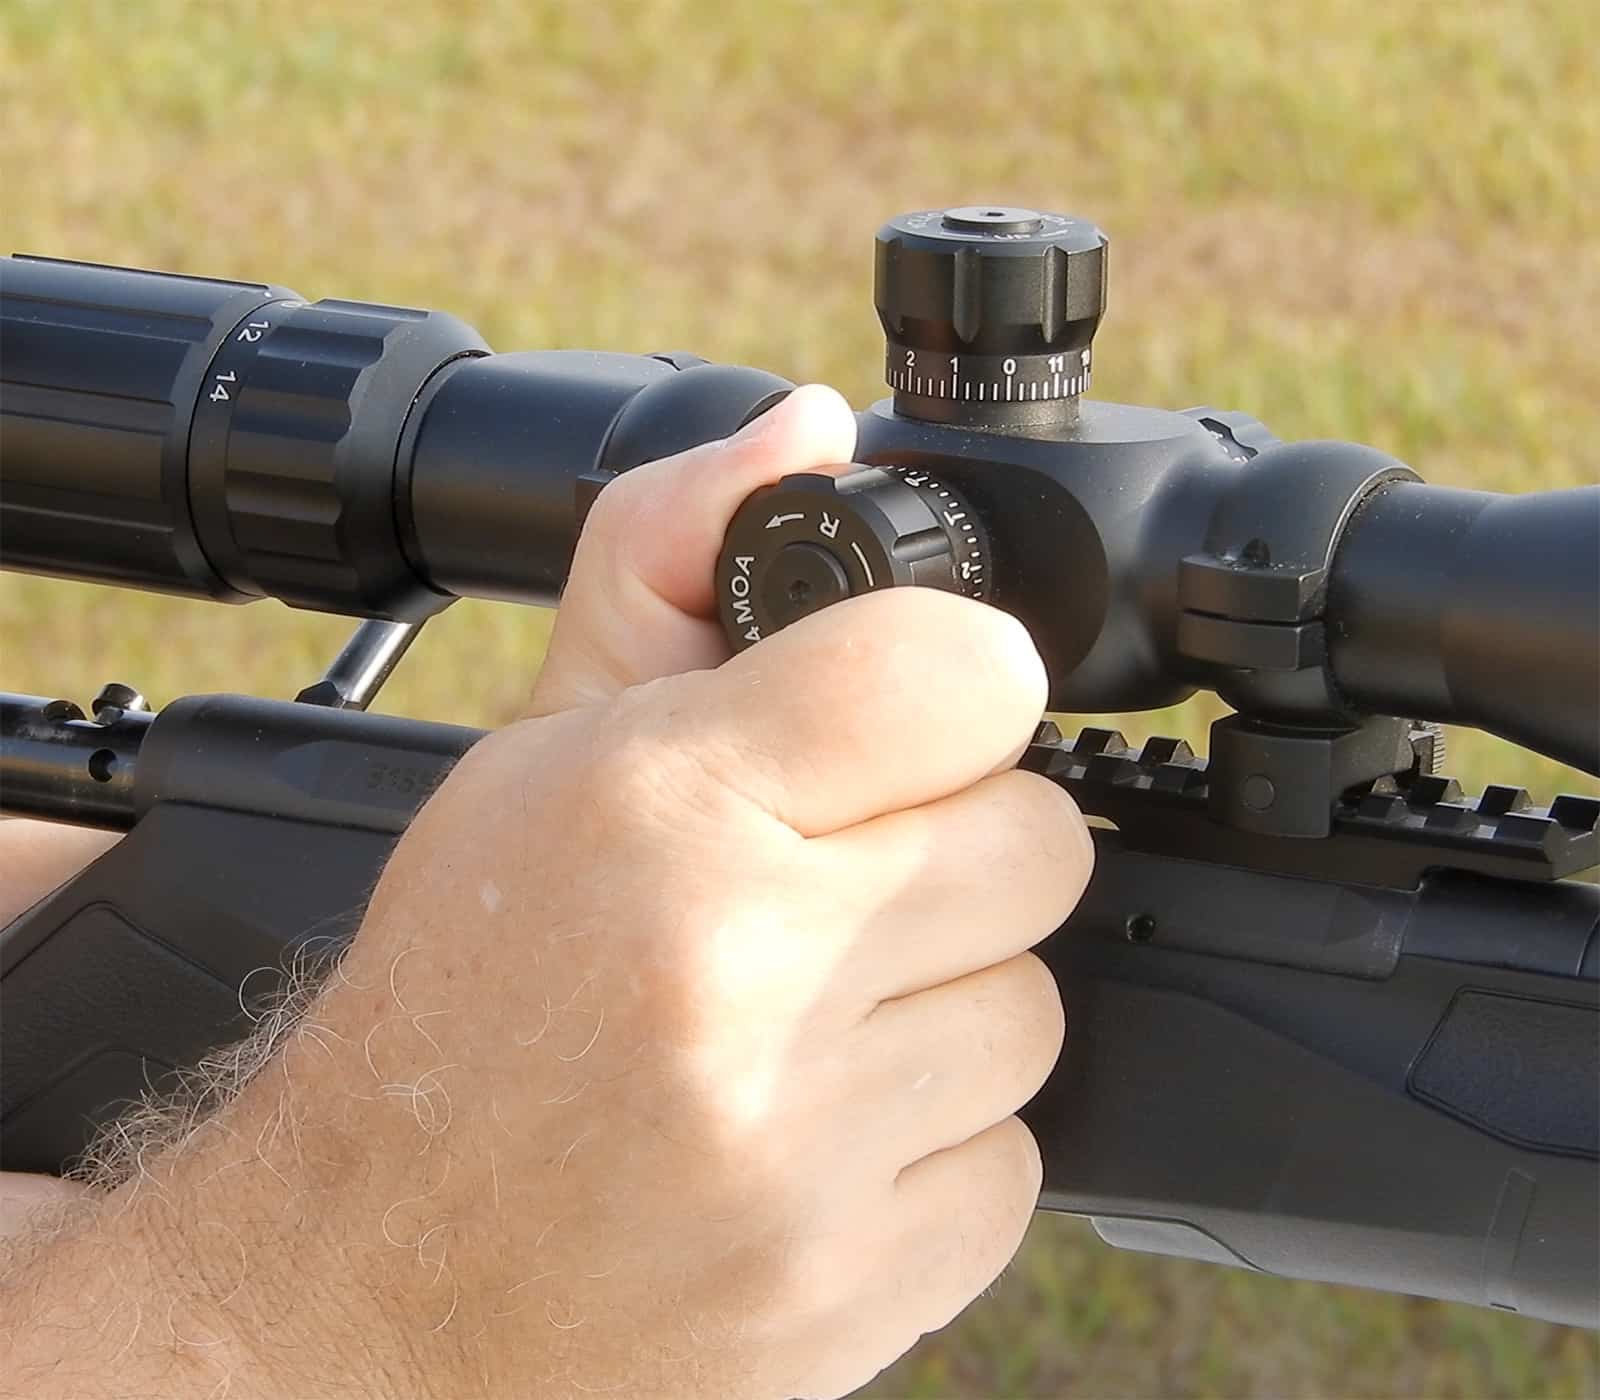
Knowing how to adjust your optic is an essential part of sighting in your rifle
This is really handy for us, because now we can adjust our scopes in terms of math, not measurements. Let’s say that your scope manual says that each click of the adjustment dial is ¼ MOA. This means that one click will adjust the scope to move the bullet impact 1/4″ at 100 yards. However, at 25 yards, this means that you need to make 4x times the number of clicks (16 clicks=1″) to move the bullet impact the same distance. For example, the point of impact on the target below needs to move 1/2″ left and 1″ down. At 25 yards with a 1/4 MOA scope, that’s 8 clicks left and 16 clicks down. At fifty yards… yep, you guessed it, that same adjustment is 4 clicks left and 8 clicks down.
Get Out To The Range
Armed with that knowledge (and your choice of ammo), you can sight in your rifles and get to the point where you know where your rounds will hit at your zero distance. Beyond that, you enter the world of external ballistics, which is the topic of a future post. Speaking of ballistics, though, I heartily recommend you sight in your rifle with the ammo you use most frequently with your gun. Consistent results are the goal here, and different rounds will have different ballistics, even from the same manufacturer.
By the way, if you’re having trouble shooting groups, you can learn the basics of rifle marksmanship by enrolling in an Appleseed Project event near you. No amount of money spent on an optic, rifle, or ammunition is going to make up for your bad habits. It’ll be far better for you and your wallet to learn how to shoot well before you buy an expensive rifle or optic.
Zero Now. Zero Often.
I was out on a hog hunt a few years ago, and one of my hunters had an easy shot at a huge, trophy-sized feral hog. He missed, and he couldn’t figure out why. When we returned to the hunting lodge, we found out that the optic on his rifle was not aligning with the barrel of his gun. He had sighted in the optic a few years prior to the hunt, but hadn’t checked it since. As a result, he missed a golden opportunity to harvest a spectacular feral hog and fill his freezer with delicious pork.
Stuff happens, and the zero on your rifle can move as your guns move about. Wear on your barrel over time and other factors can all affect the relationship between your rifle and your optic. The bottom line is, if you head out to an event where accuracy matters, such as a hunting trip or a shooting competition, take time to verify you’re pointing your sights where they should be.
Repeat this process for every rifle you own, and repeat it as often as needed. Take a moment to verify your zero every time you go to the range. Learning how to sight in a rifle not only helps you get your rounds on-target, it helps you learn how your rifle, optic, and ammunition all work together for maximum effectiveness.