A question I’m frequently asked both in person and online is, “What are some good shooting drills I can try?” After trying to describe some of my favorite drills to individuals, I determined it’s time to write an article that illustrates them better. This can also serve as a reference in the future!
Note: This article is not a complete list for how to practice pistol shooting. But, these three drills have helped me a ton and I believe they are useful for a wide variety of skill levels.
Use it as a guide, and try some of them out the next time you hit the range. If they challenge you, consider periodically coming back to them to see how your practice improves your ability to perform each drill.
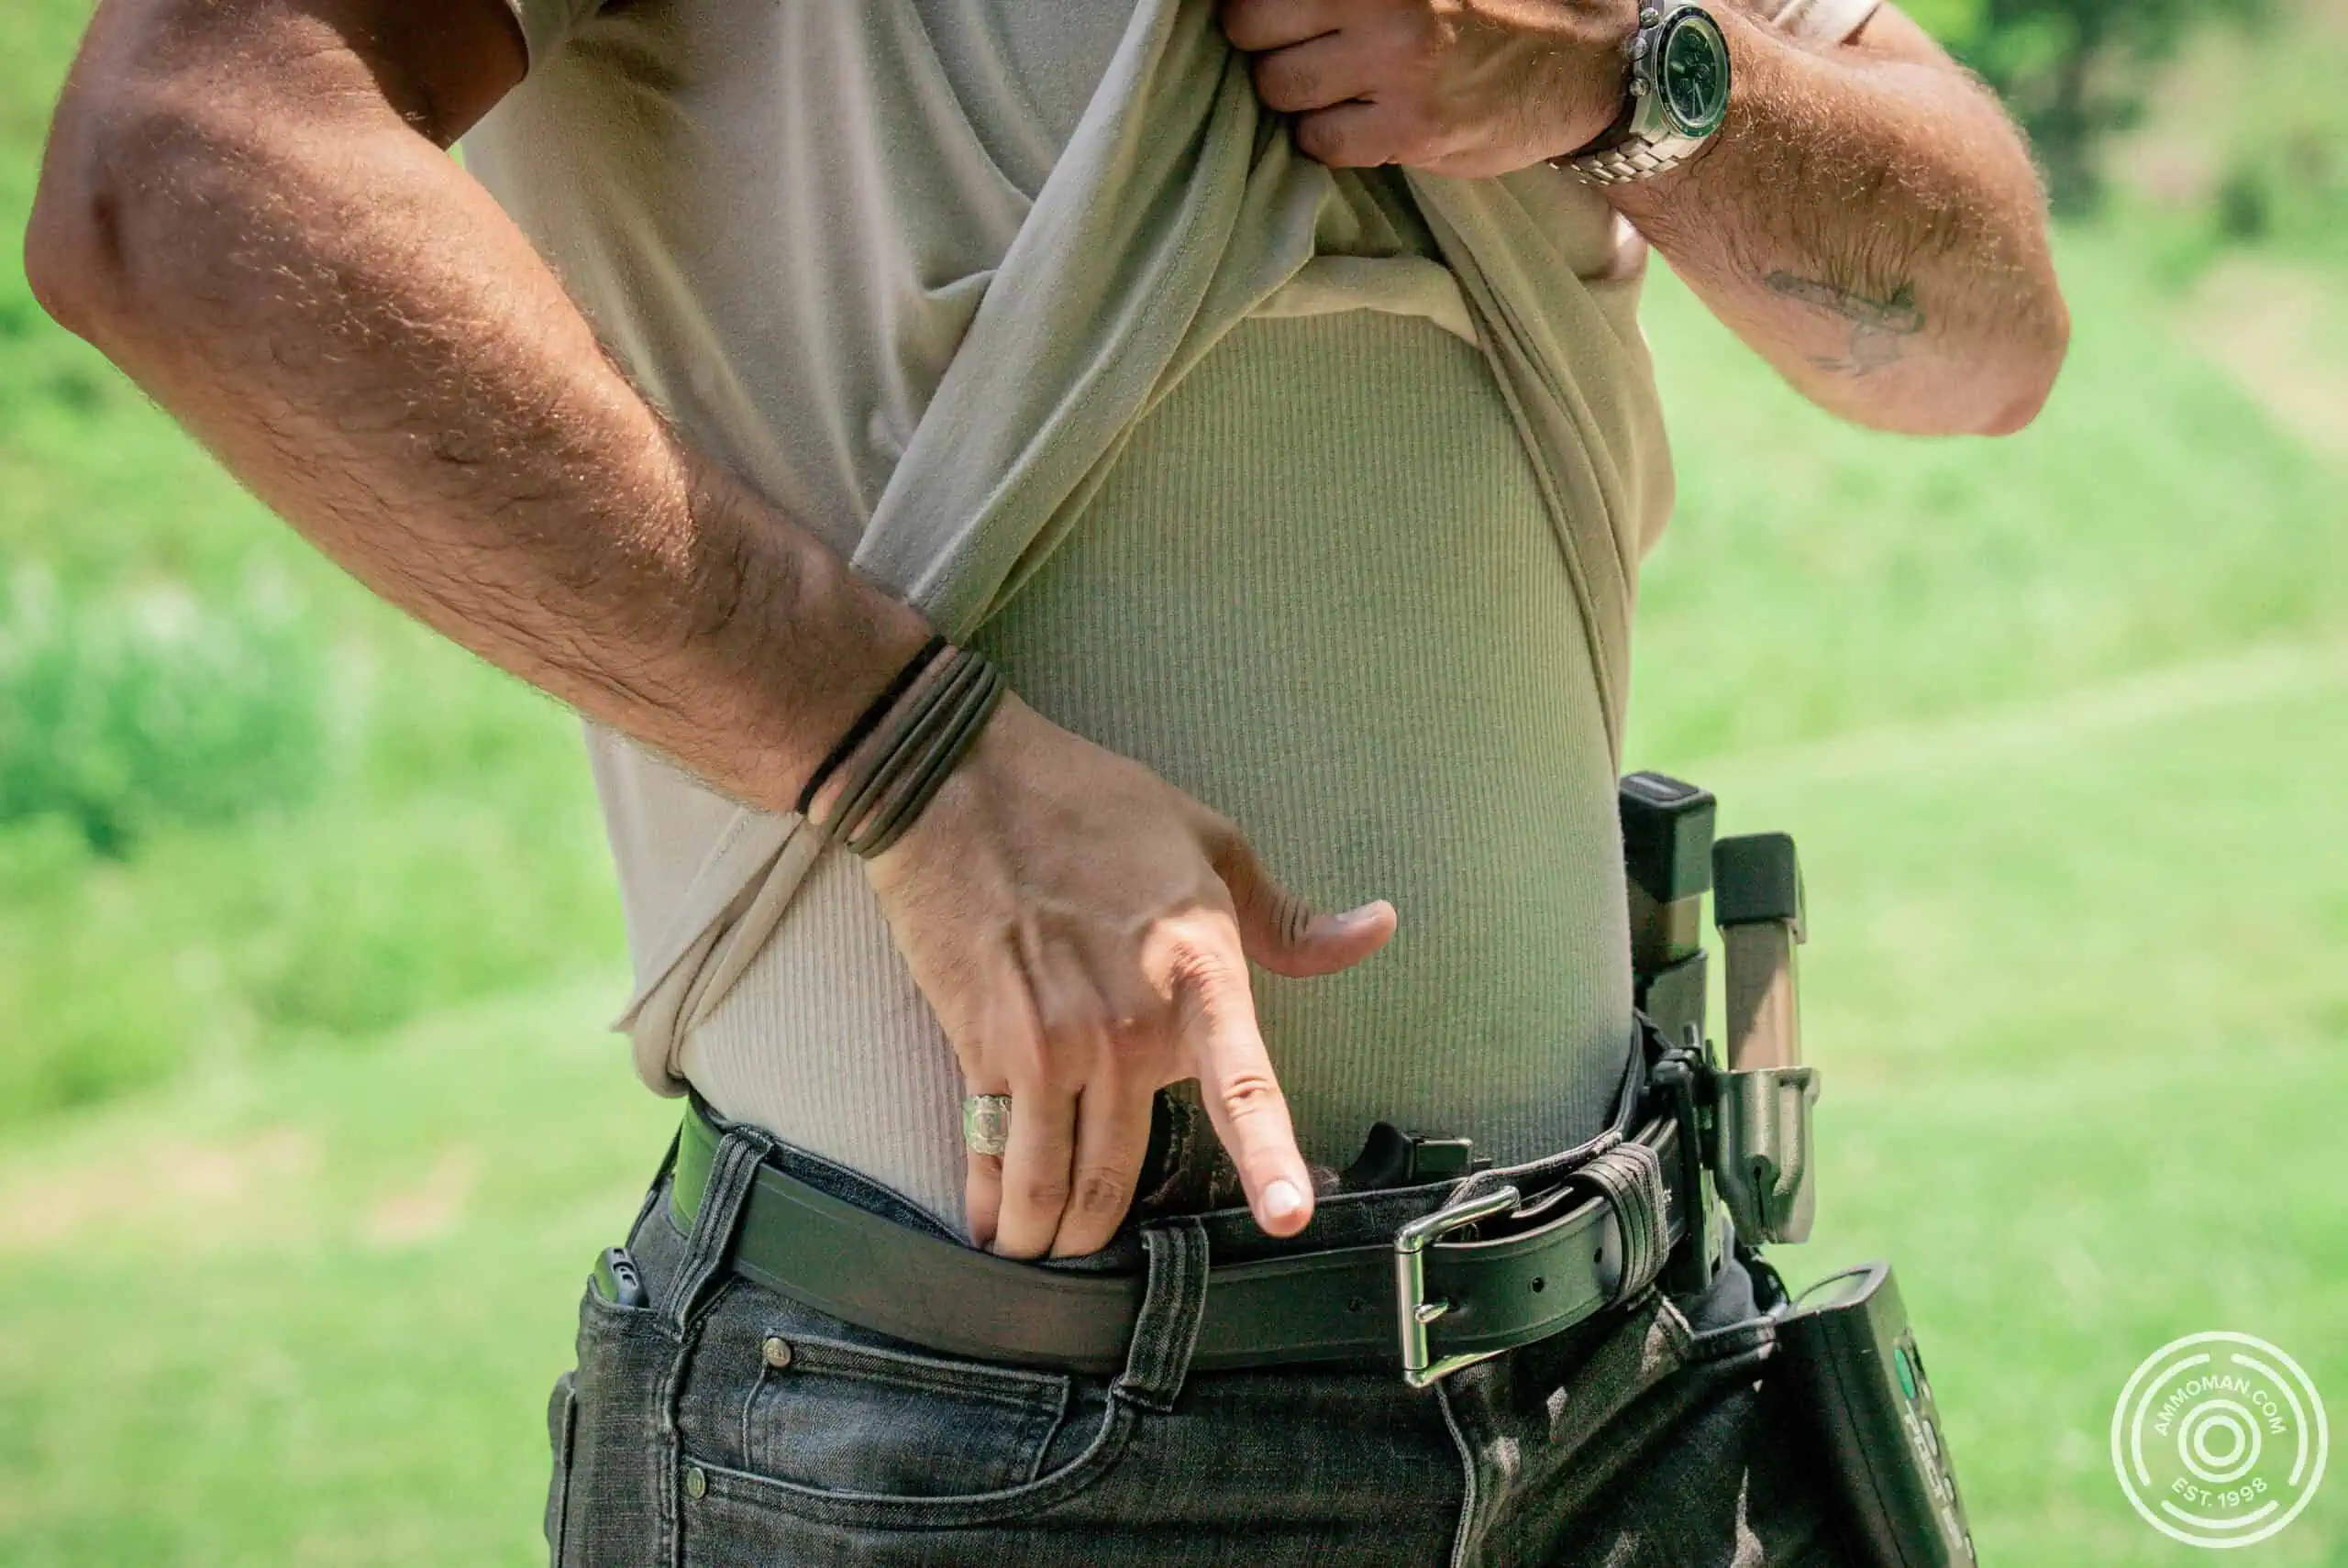
Kenneth drawing from deep concealment on shooting drill.
I went out this week and shot each drill with no warm up, AKA “cold” and you can see my results at the end of each drill section.
Pistol Shooting Drills for Beginners
We’ll start with the drills I think are good for beginners to try. If you are an experienced shooter, don’t skip these! Though rudimentary, they are still very solid drills to test yourself on. If you want, you can easily modify each drill by increasing the target distance, shrinking the time standards or making the target zones smaller.
The Casino Drill
Developed by Tom Givens of Range Master, the “Casino Drill” is designed to practice and test multiple facets of shooting. What makes the Casino Drill great is you only need the Casino target, five yards, three magazines and 21 rounds.
How the Casino Drill Works
The Casino primarily focuses on testing your ability to draw, fire accurately on multiple targets and perform emergency reloads. However, there’s an underlying amplification baked into this drill: Complexity. How does complexity factor in? Let’s talk about it.
The Casino Target
This target is comprised of smaller targets labeled “1-6”, with each ranging between three colors (blue, red, yellow) and three different shapes (circle, square, triangle). Sound confusing already? Just wait.
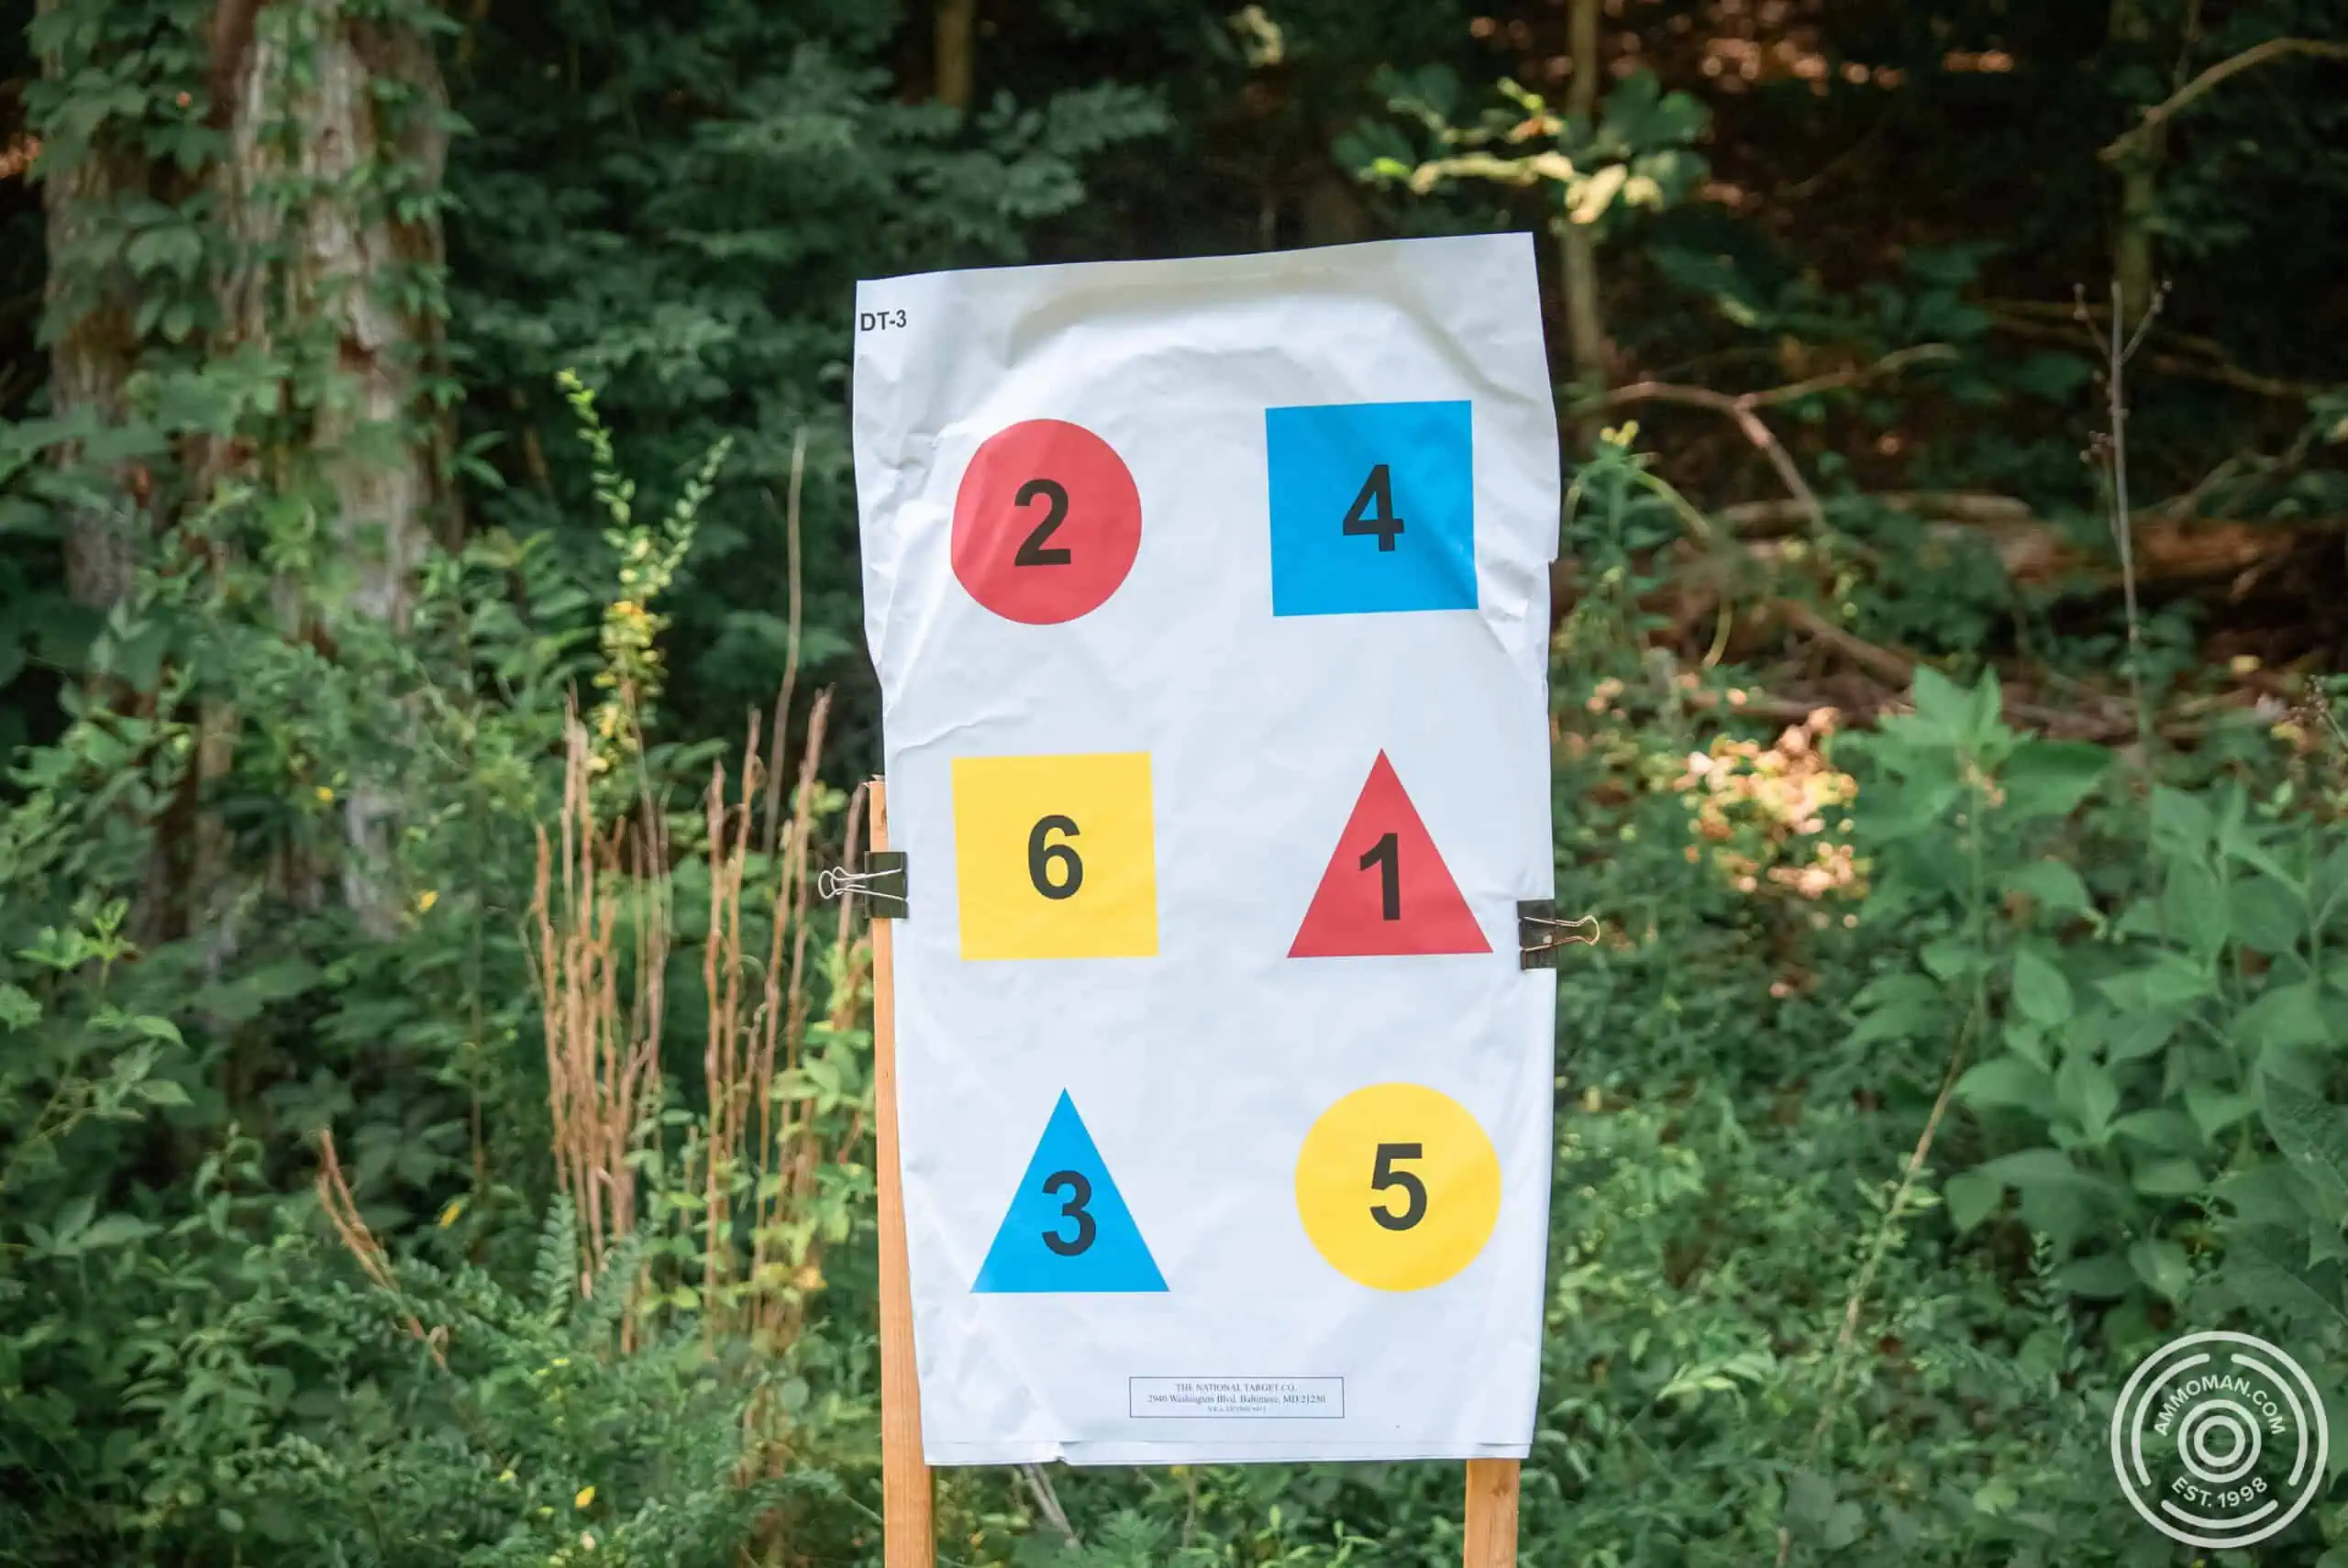
Casino drill target. (version DT-3)
To perform the Casino in it’s most “traditional” form, under the clock you must draw and shoot each zone according to what is labeled in its center. This results in 21 rounds expended. To add more complexity, the Casino requires shooters to arrange these 21 rounds between three separate magazines, forcing the shooter to reload twice during the drill. The most common magazine arrangement is, 7-7-7.
Purpose Behind the Casino Drill
Shooting drills like the Casino forces your mind to process more than just how to shoot.
In order to expend precious mental energy remembering to shoot in the correct order, accurately while under time constraints, your technical skill needs to be competent (if not somewhat subconscious.)
By adding mental tasks while shooting, we reveal how much subconscious competence (skill on demand) we actually have…For better or for worse.
Shooting the Casino Drill
For this drill you will need to purchase a set of Casino Targets, or draw a similar pattern on a blank target. With a loaded gun and two magazines to spare, at the 5 yard line you will draw and fire the prescribed number of rounds for each shape. At some point you will need to reload your pistol while remembering which part of the sequence you are in. It gets tricky quick!
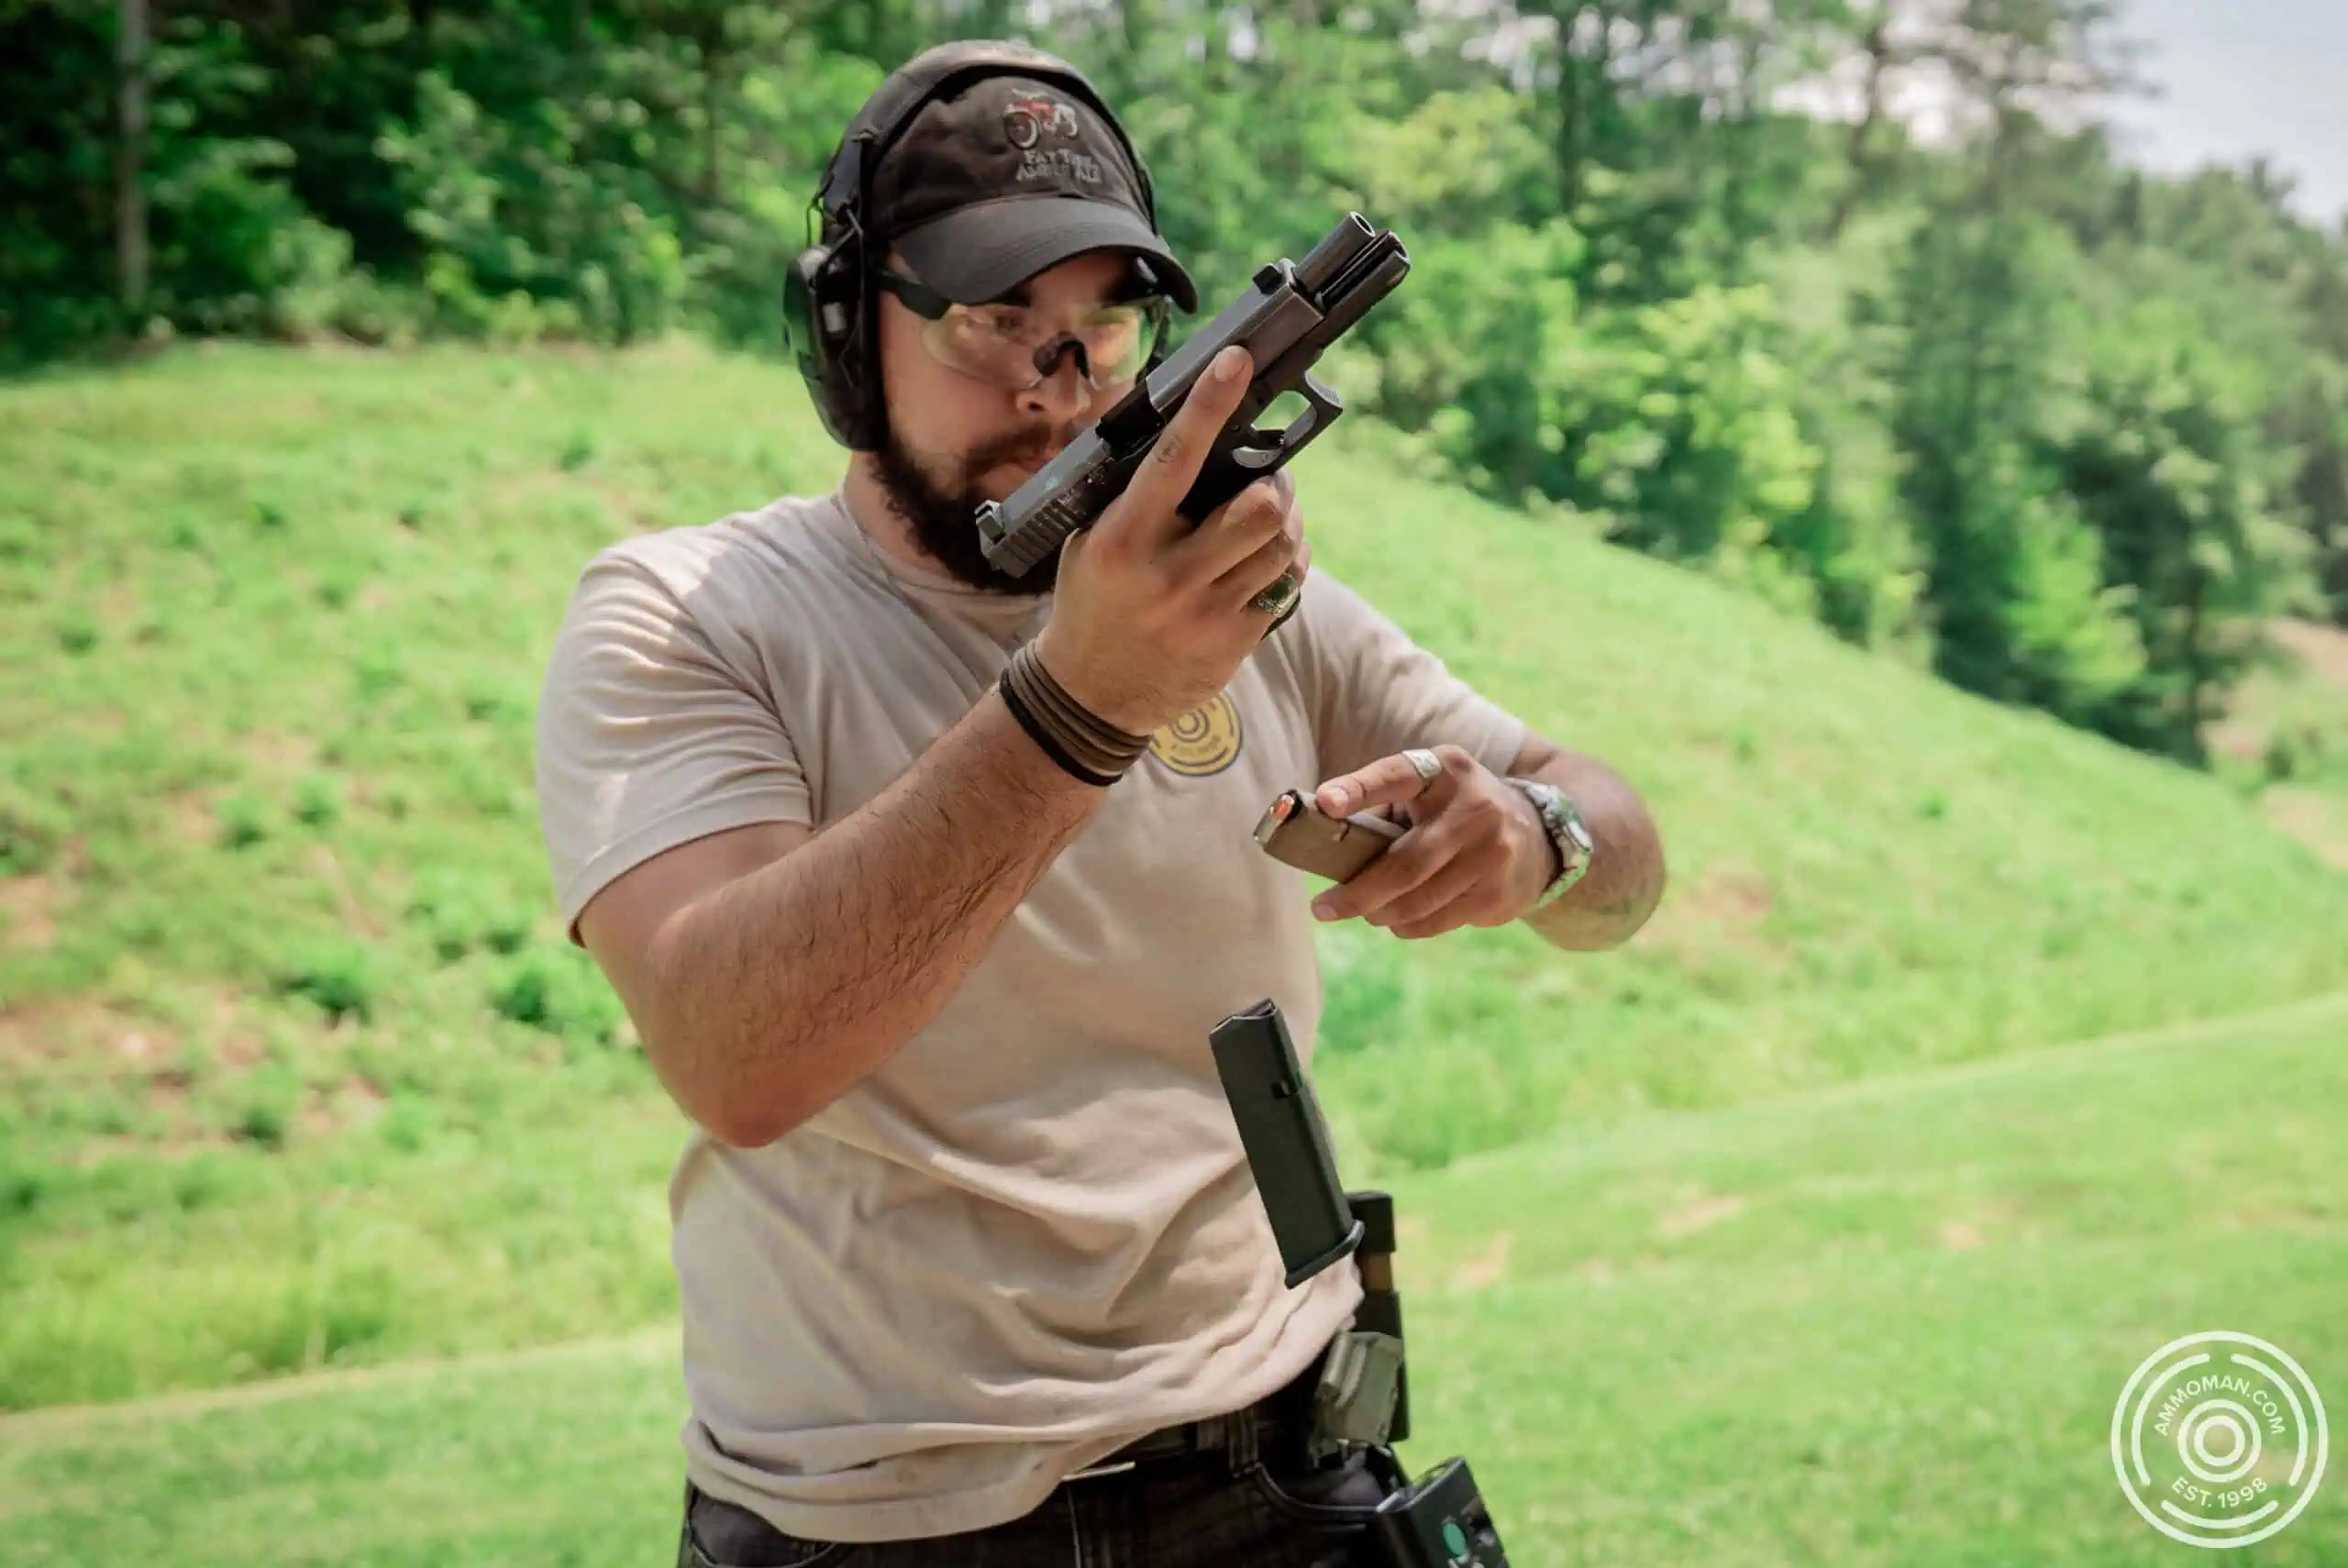
Kenneth performing a reload during the Casino Drill.
Gold standard time is 21 seconds or less. Shooting the wrong target or missing a zone entirely results in a one second penalty per error. My recommendation is to see if you can shoot the casino clean (no mistakes) first, before adding a timer. Next, under 40 seconds is a great place to be if you are still working through how to acquire your sights rapidly and perform reloads.
Increasing the Challenge
As you become familiar with the shot-sequence and more comfortable shooting, switch up the order you shoot the targets! There’s endless ways to challenge yourself with the Casino Drill.
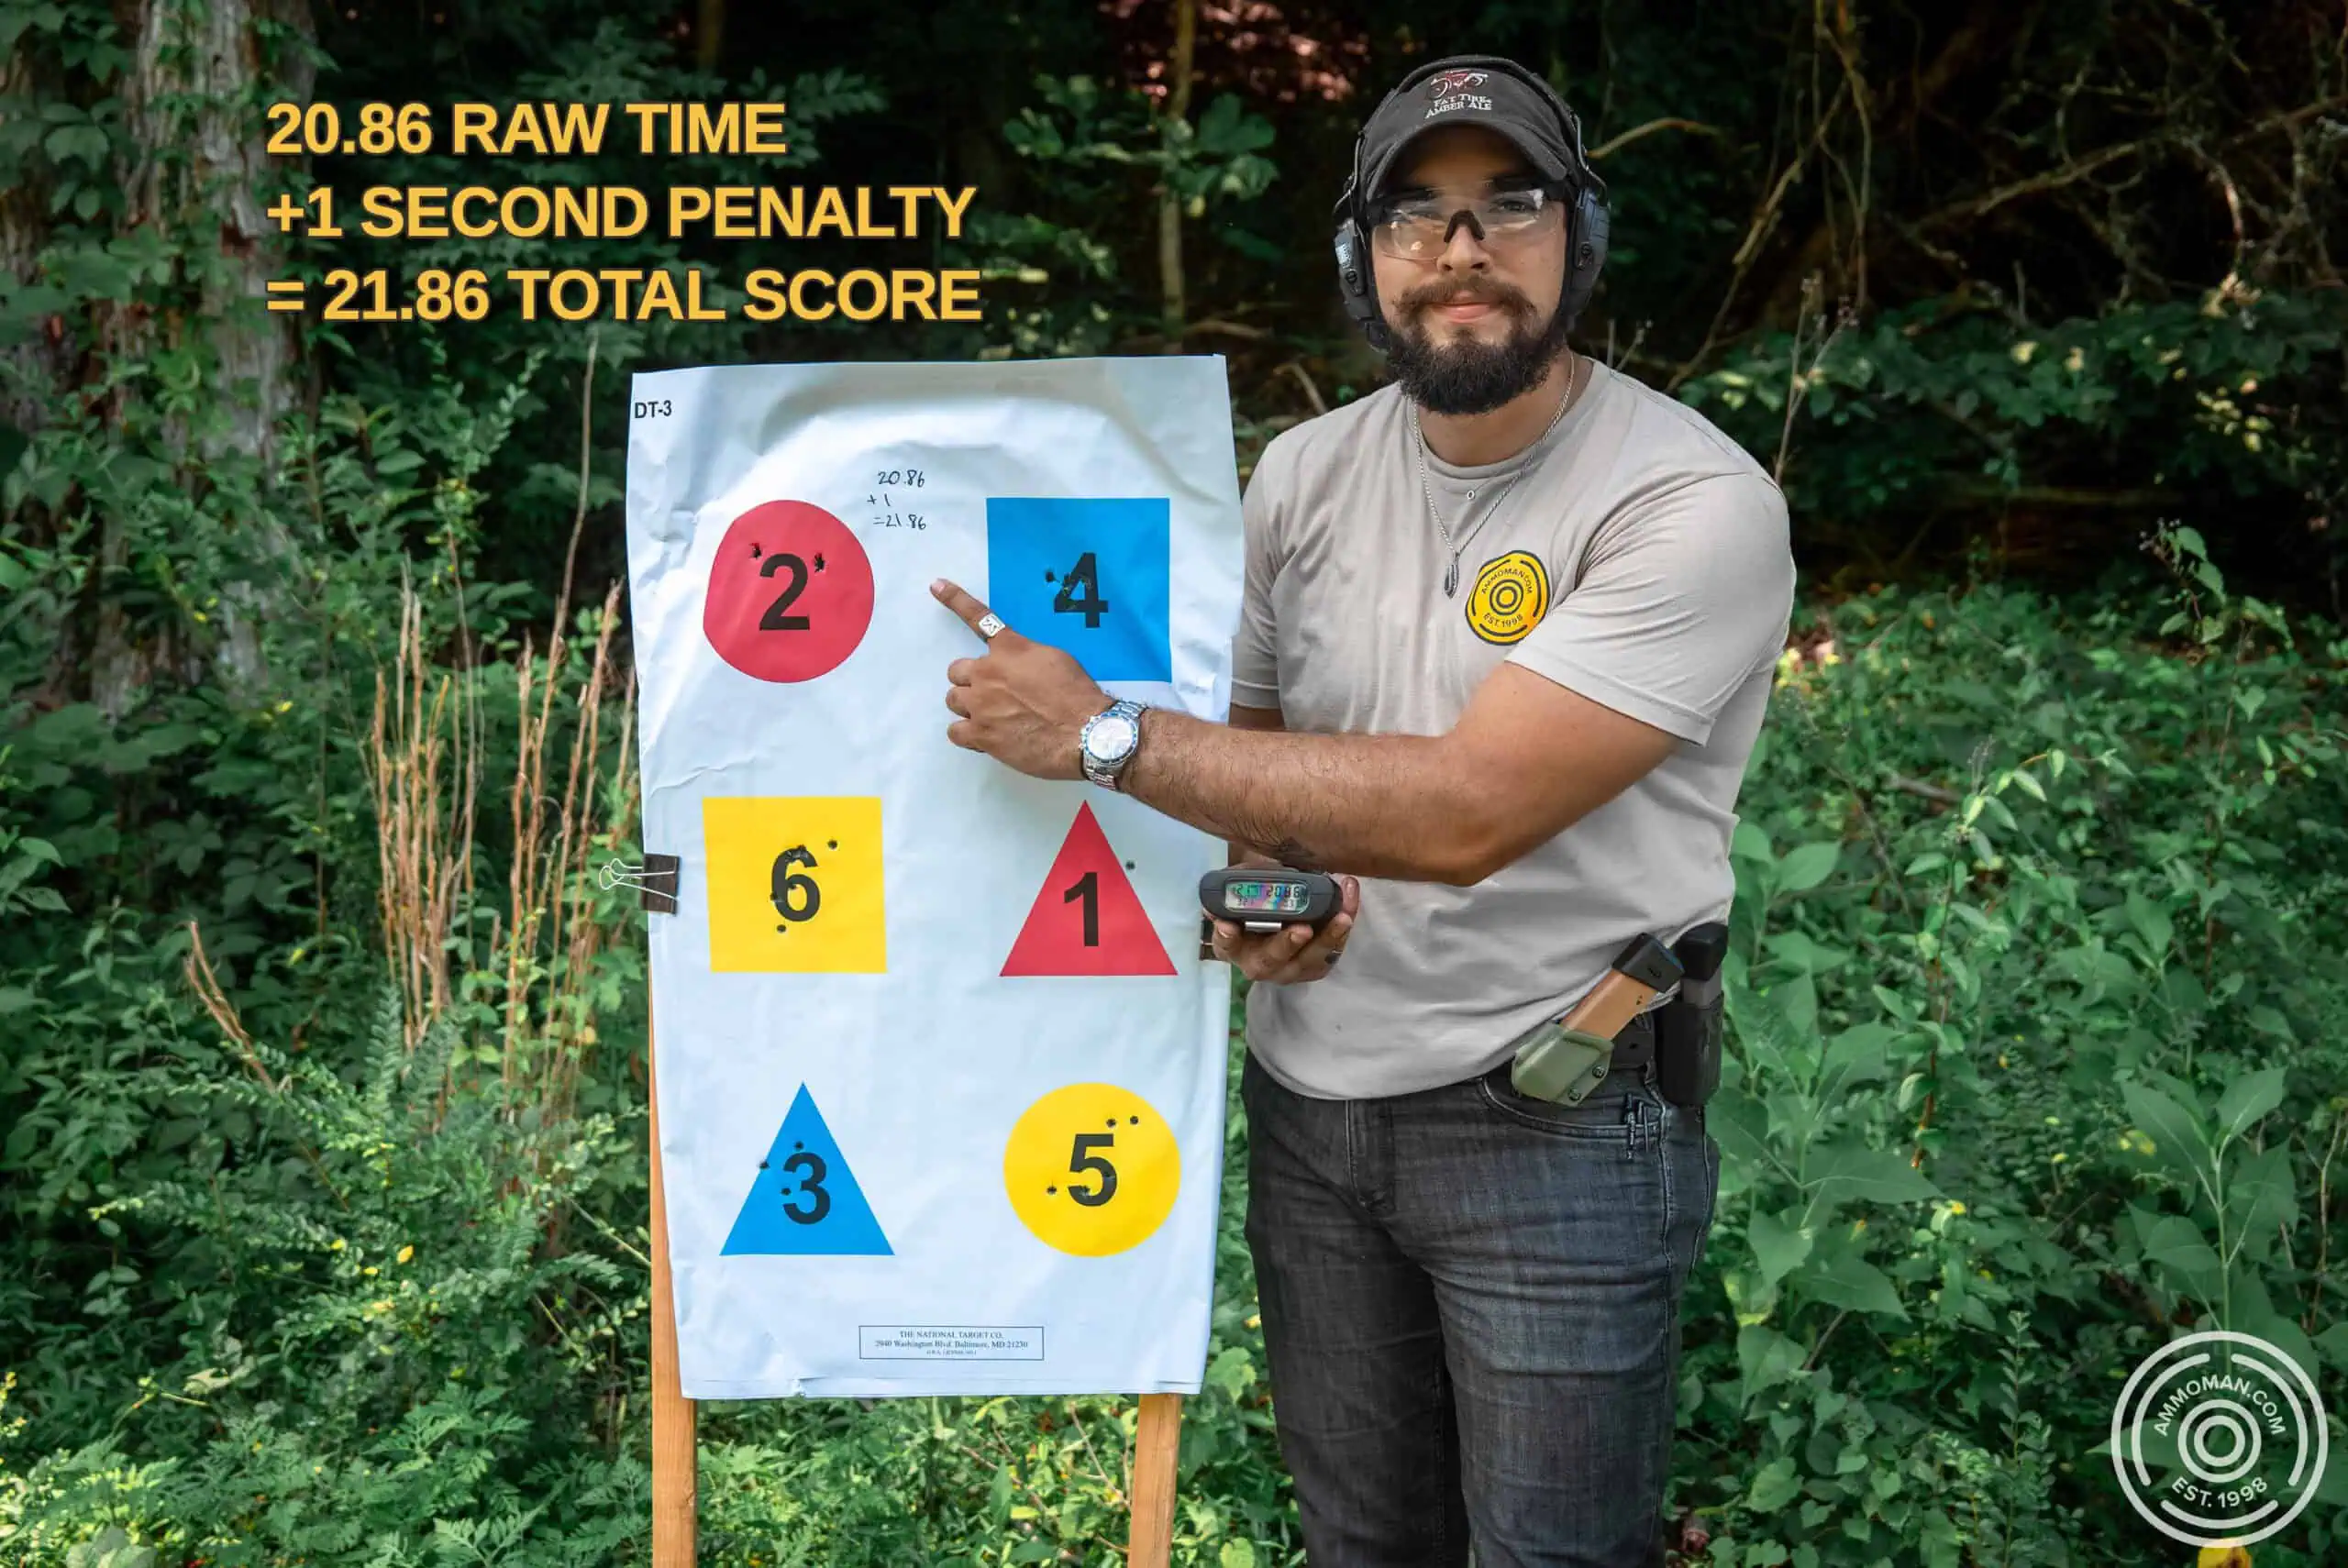
I did not make the standard time, but considering I was working from “deep” concealment, I’m happy with this performance.
A few examples for increasing the difficulty:
- Load the 21 rounds differently in your magazines
- Shoot the target farther back
- Pick a new shape, numeric or color sequence
- Shoot strong hand only
- Cut the time standard to 15 seconds
With the Casino Drill, you can continue to test your ability to shoot a pistol well for years to come!
Doubles
“Doubles” is a common drill in the competition and practical shooting world. It has tremendous value for beginners, intermediate, and experienced shooters alike. At the expense of discouraging you before you try it, I’ll let you in on a secret: You will never master doubles. There is always work to be done, and that’s what makes it so valuable.
Let’s go through how to perform the drill and then I’ll explain its purpose and uses.
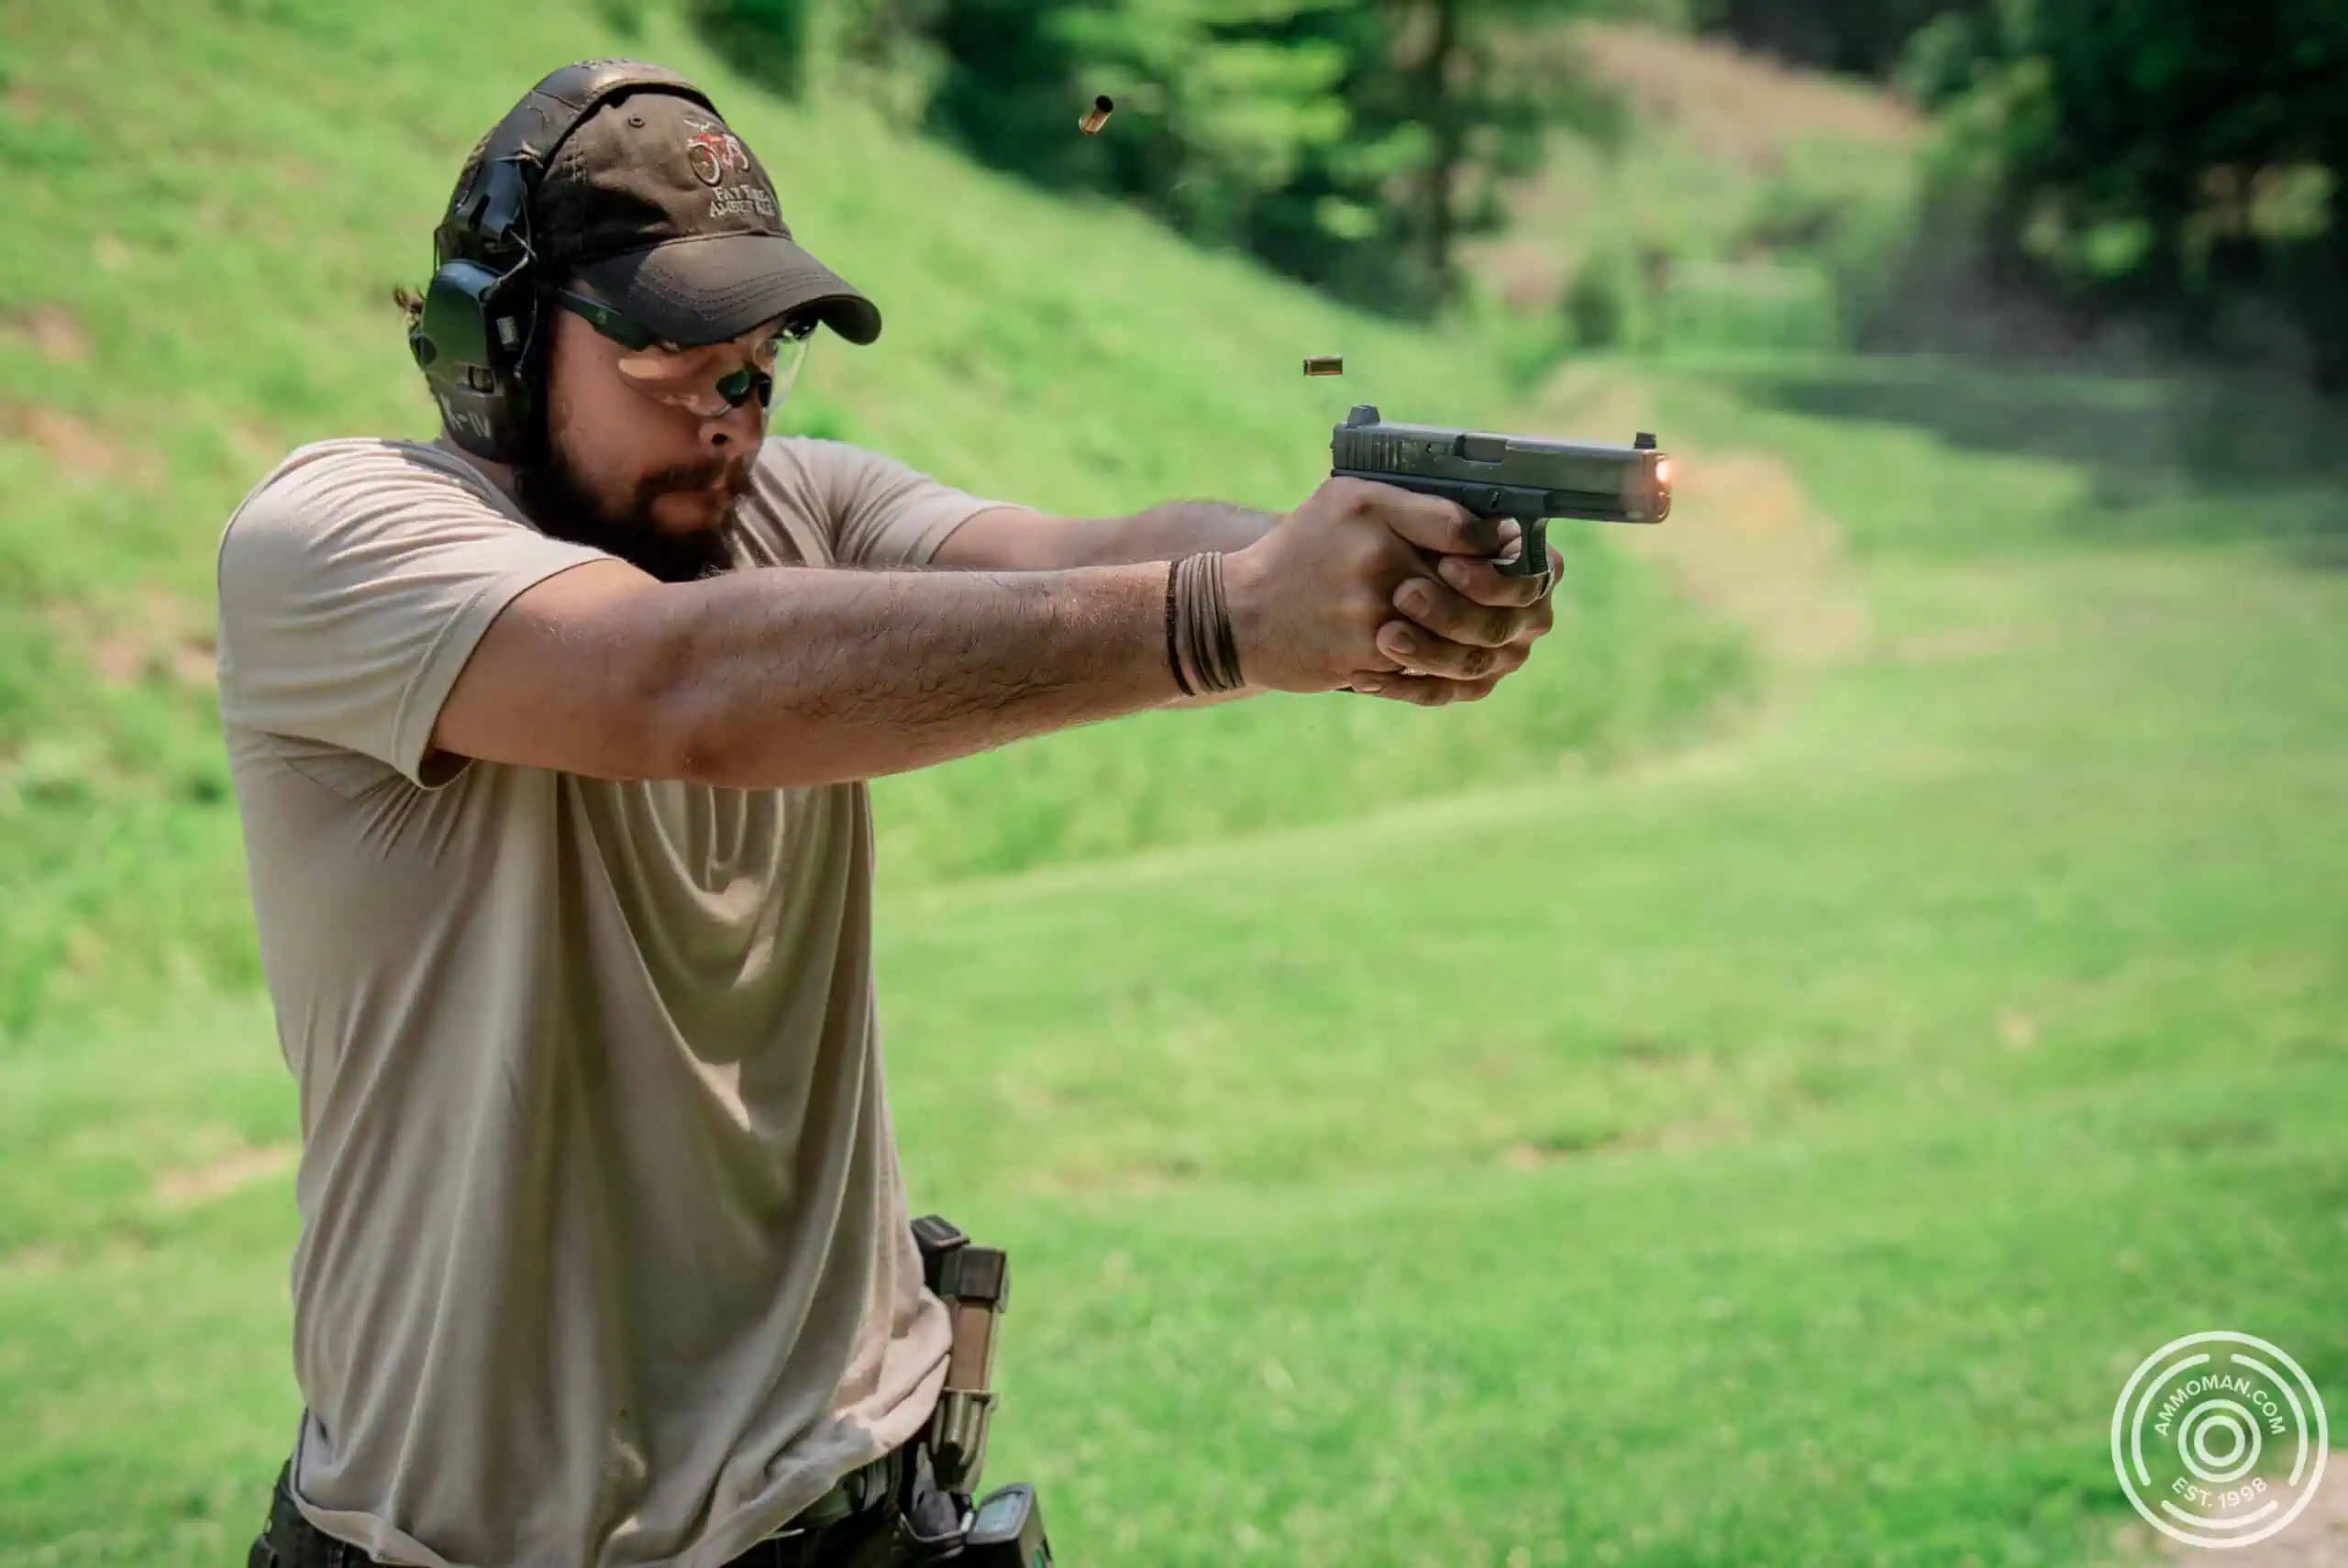
Doubles is a great drill for teaching yourself how to shoot.
How to Shoot a “Doubles” Drill
In order to shoot doubles, place a target at 5 yards to start. Next, draw your pistol and align your sights and focus on a very small point on the target (in most cases I prefer to use a black, square paster). Set the grip pressures you deem as “appropriate” if you were to shoot every round in your magazine.
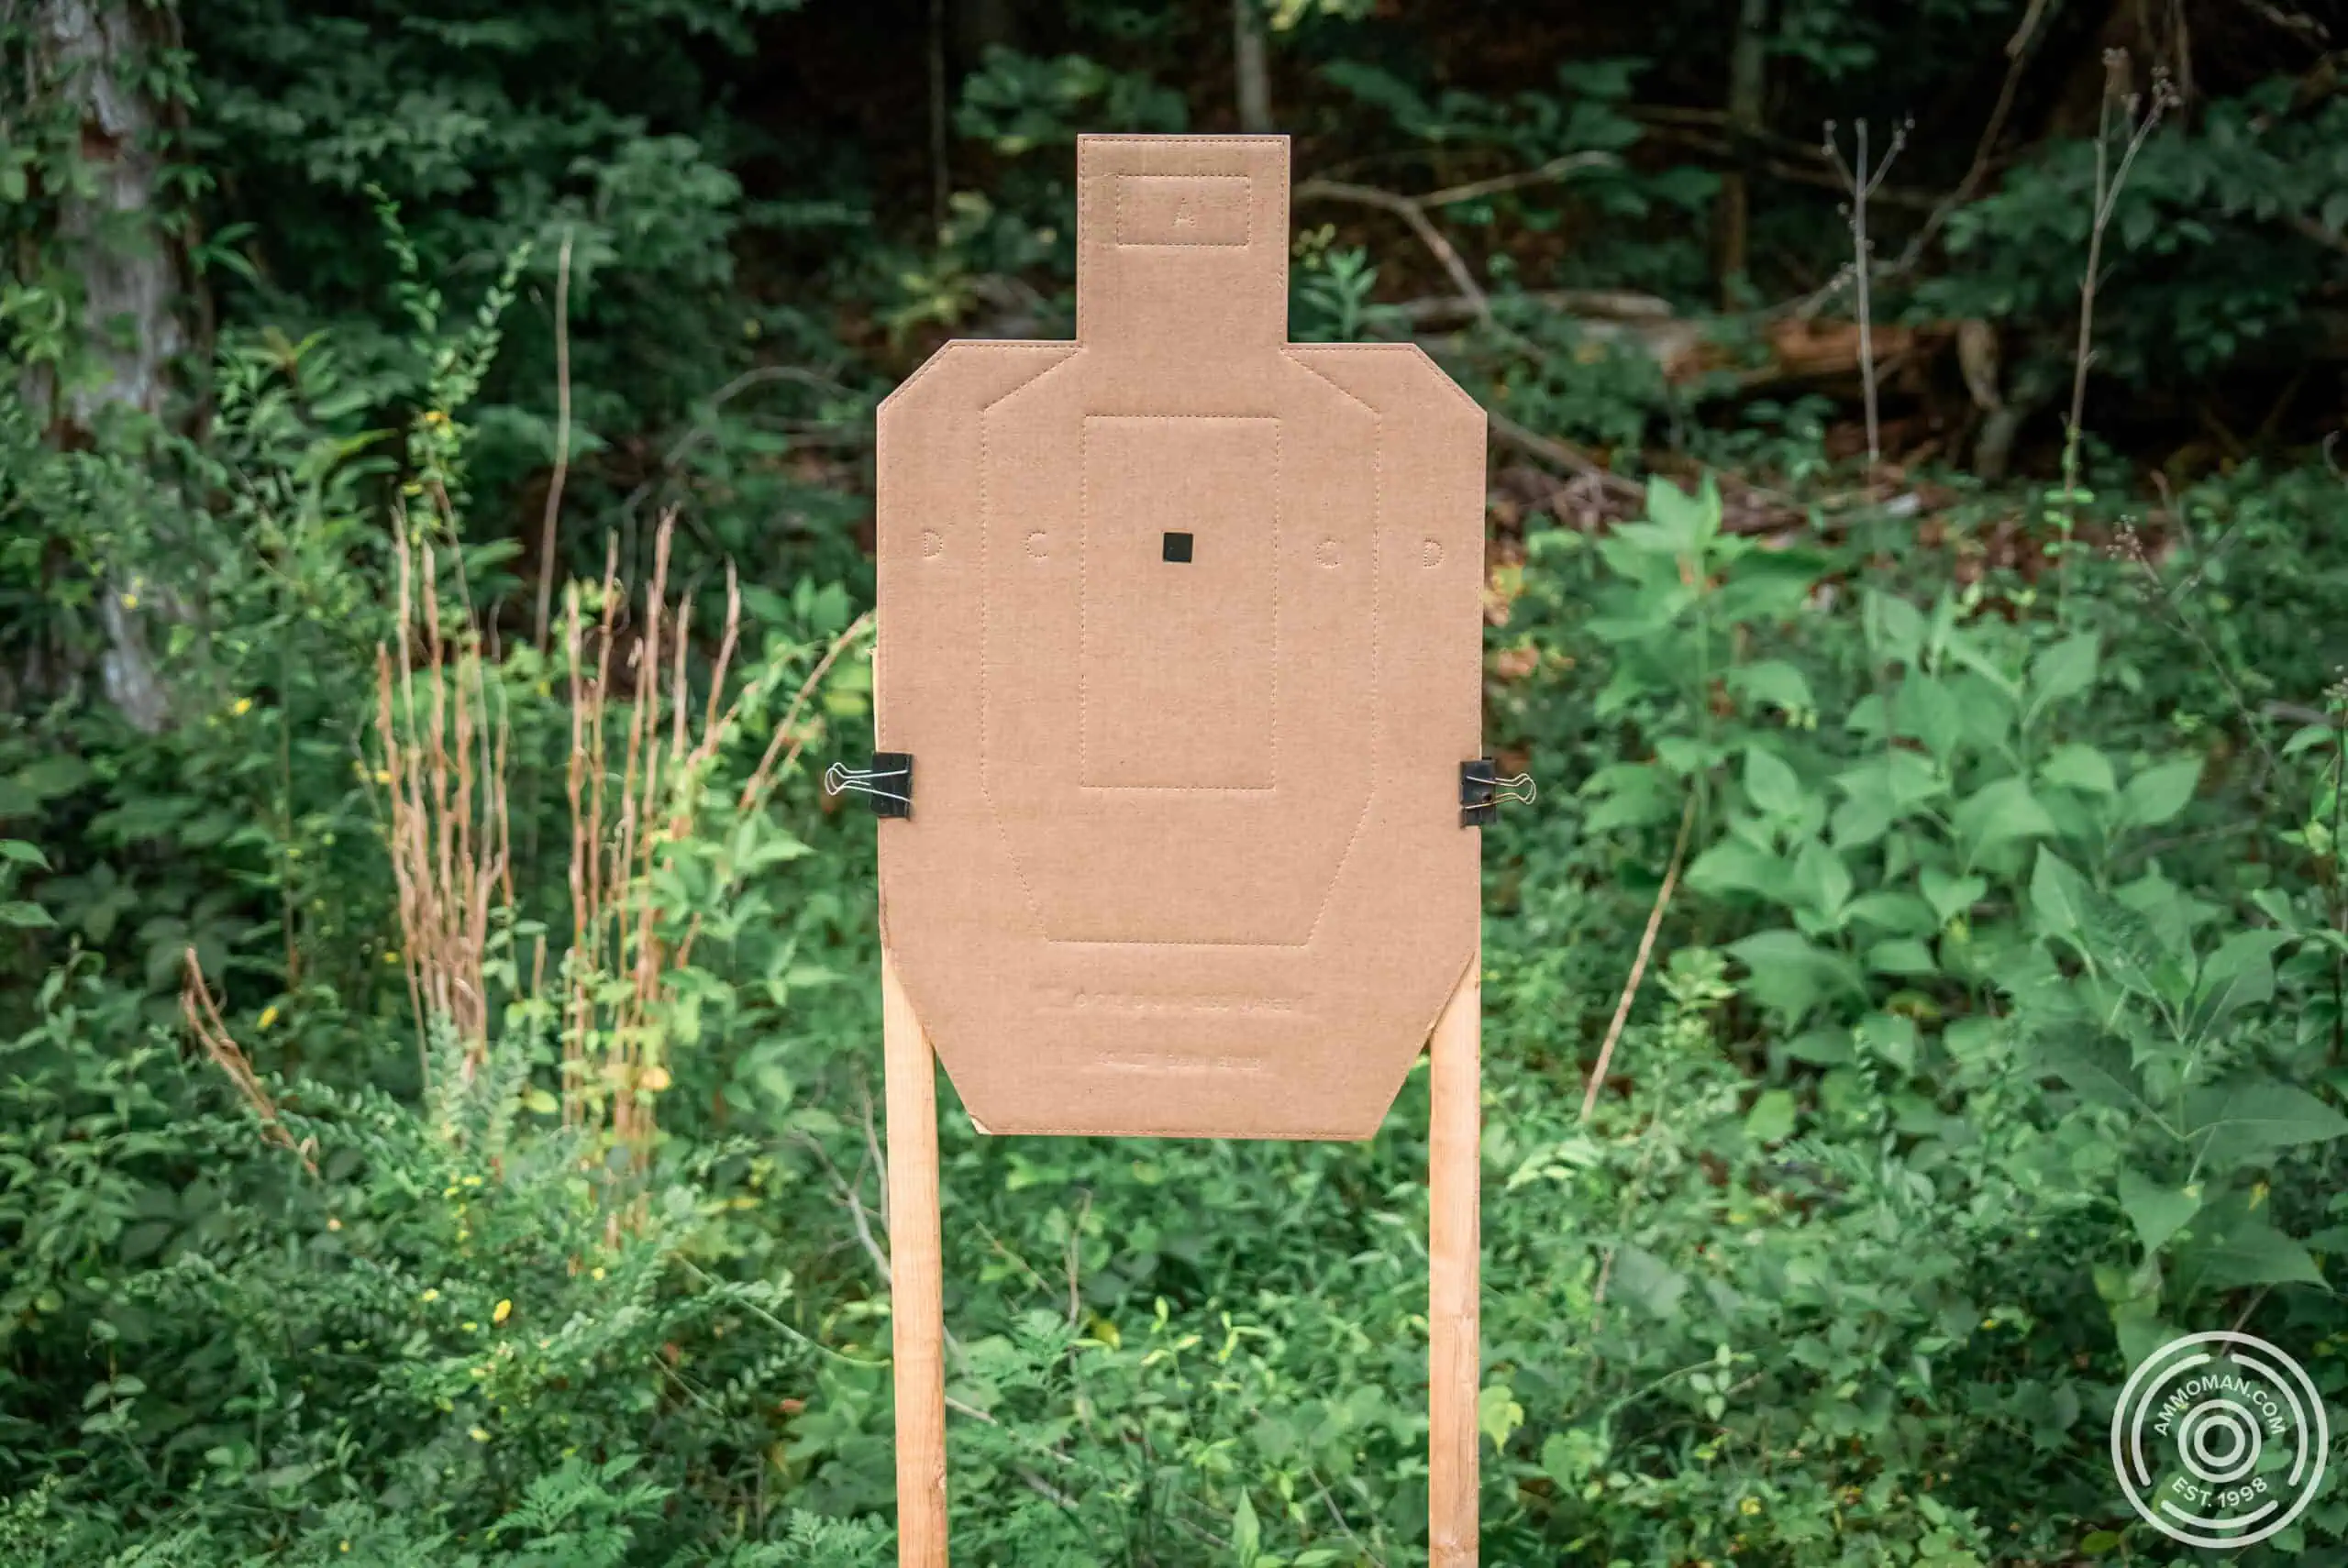
USPSA target with aiming reference.
Here’s where the fun begins. Fire a pair of shots rapidly without waiting to let the sights settle between shot #1 and #2. Repeat shooting rapid pairs in sets of four. It’s important to take a slight pause between pairs in order to reacquire your sights and place them back on the small spot.
Evaluating your Target
After each complete set, holster your gun and take time to recall and assess:
- The way your sights moved/returned
- How your grip pressures maintained, changed or deteriorated
- What happened on the target.
As you evaluate your target, something to keep in mind is that doubles is a process driven drill, not an outcome focused one. What I mean by that is, try not to fixate on whether or not you are making a tight group right away, but rather working to understand the relationship between pressures in your grip, trigger press and the shot patterns on your target.
Don’t Slow Down: “Speed Up and Get Your Hits”
Unless your shots are off target, make sure to shoot each pair rapidly. If we commit to shooting slower, we will be able place rounds where we want. But this drill is all about being able to get hits at speed.
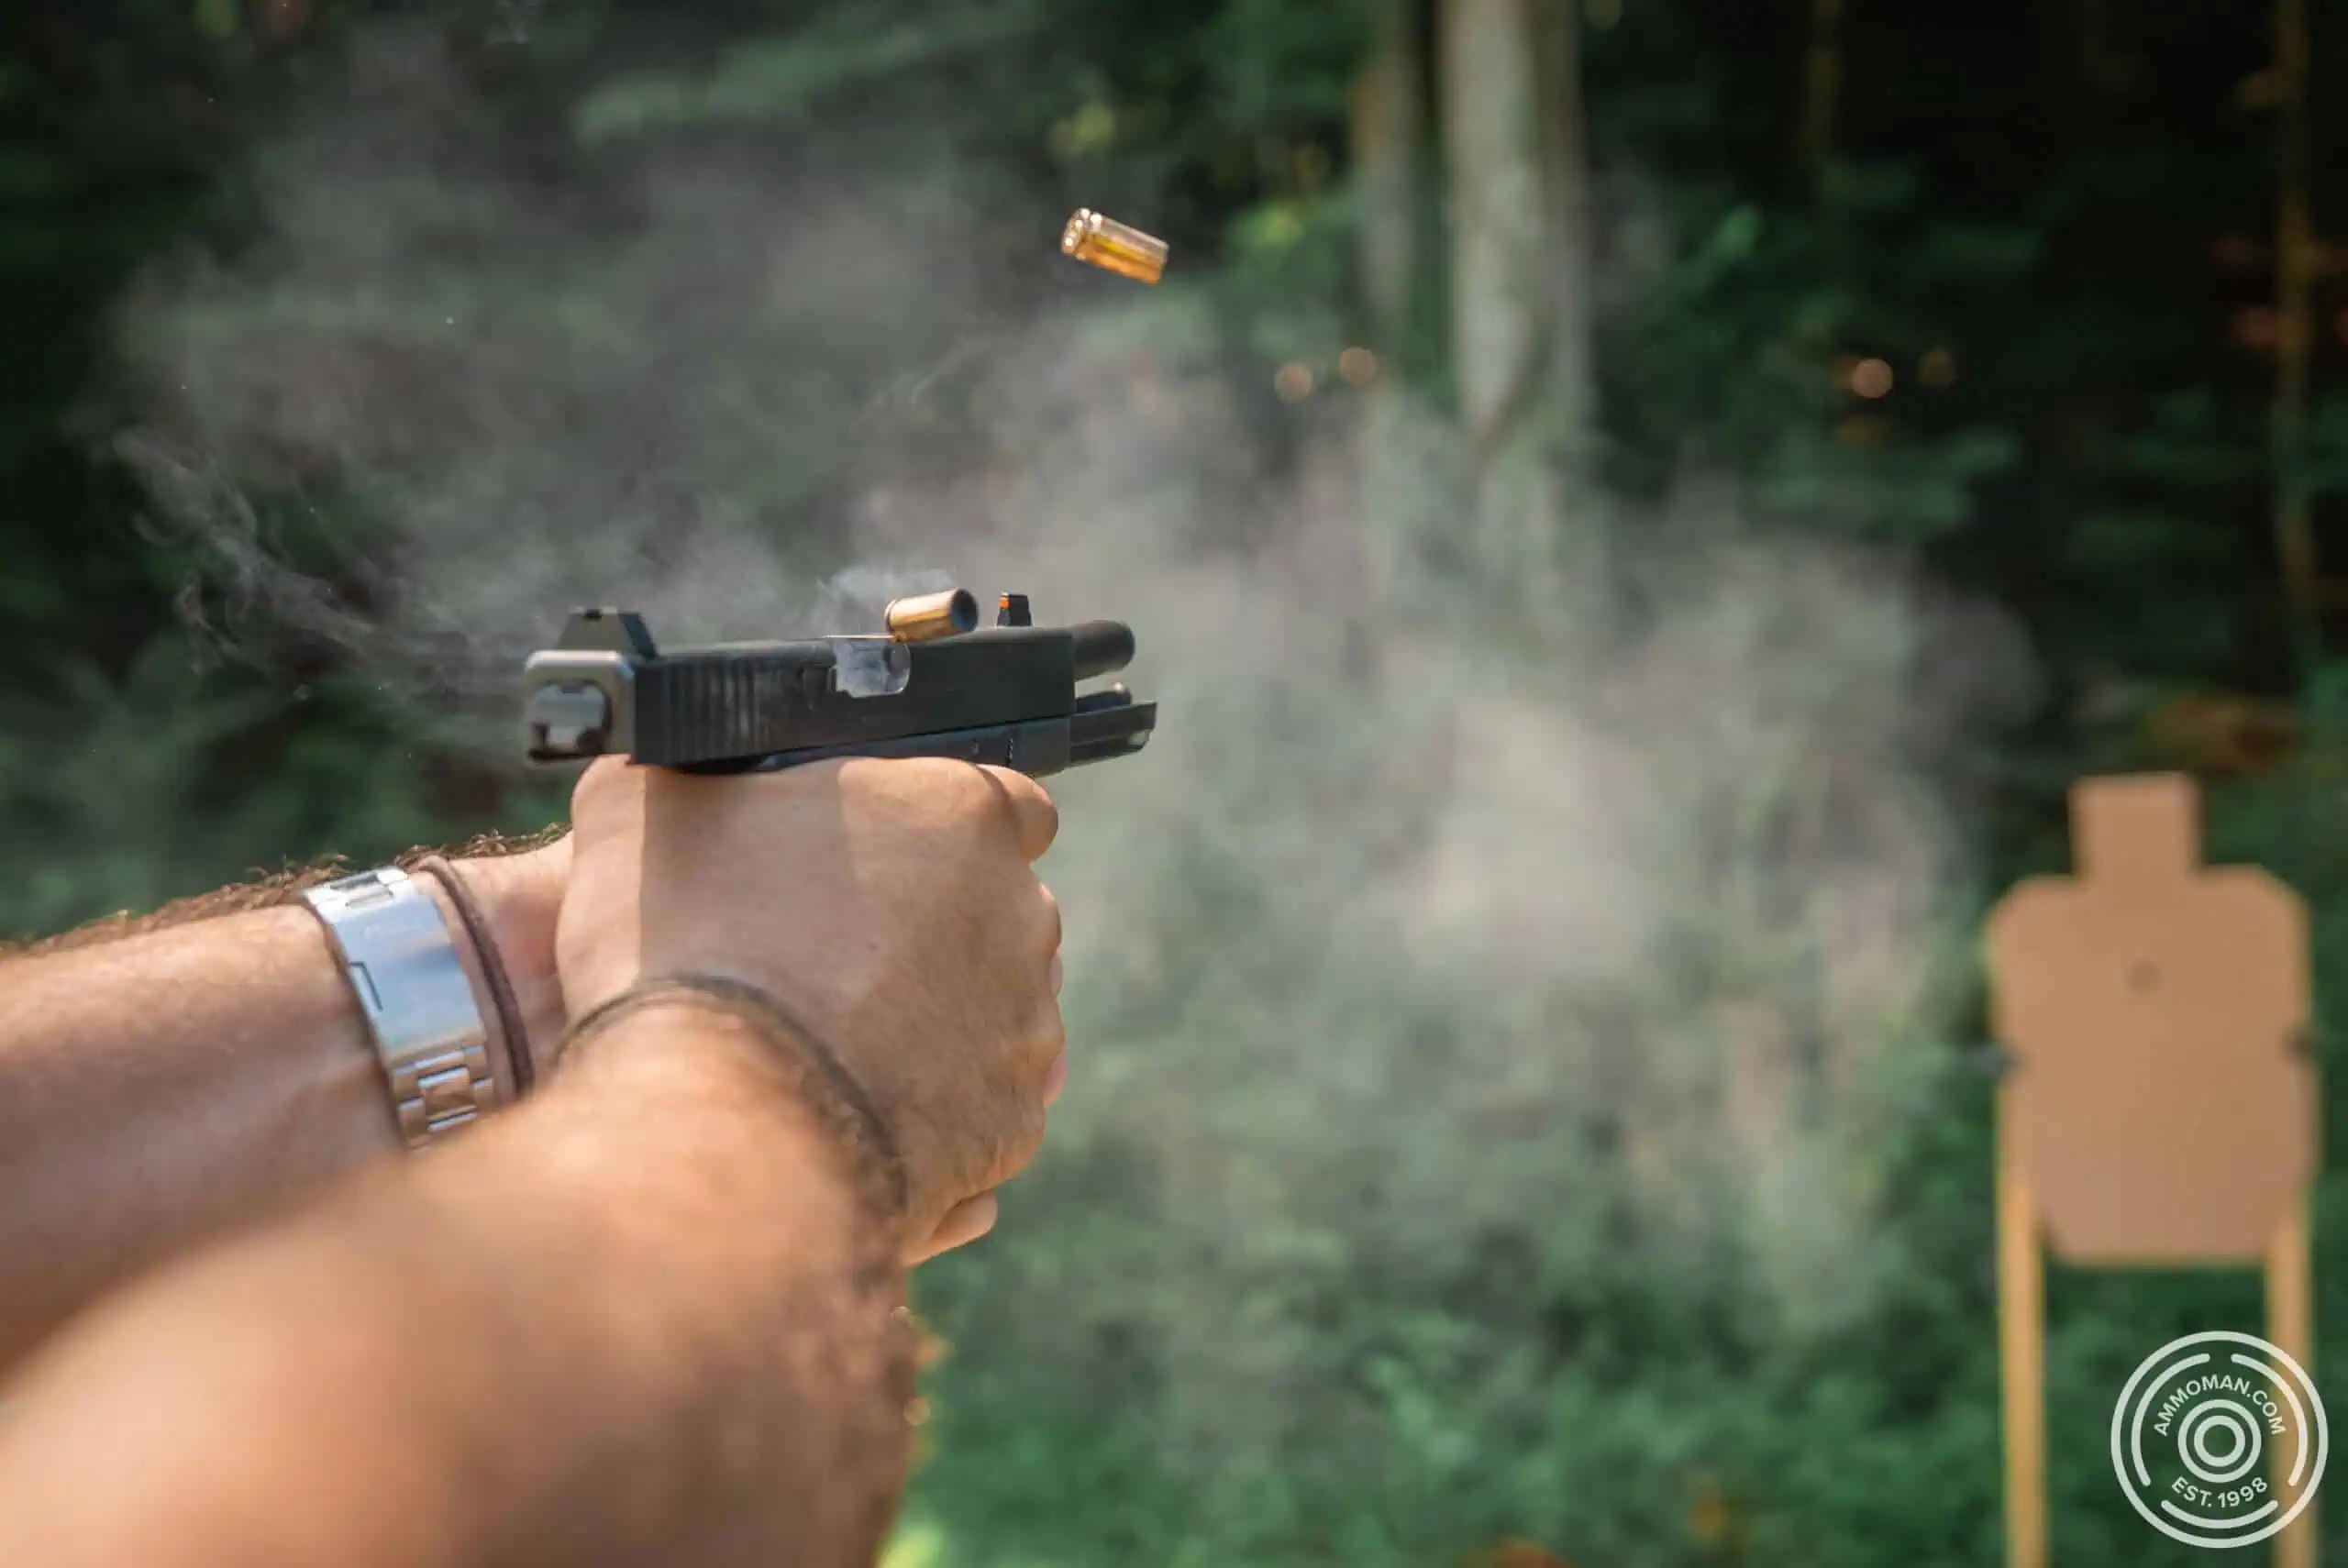
Kenneth shooting a “doubles” pistol drill on a USPSA target.
In order to learn how to shoot at a high level, a certain amount of “exploratory” training must be applied. By safely shooting at speed, we can start to learn how our grip pressures and visual focus work together to achieve accuracy at speed.
Look for Patterns
Over the course of even just one set of doubles, you should be able to notice some sort of pattern. Either some shots are low, some are high…perhaps you start to notice stringing like a seatbelt pattern. Even a largely messy target with holes all over is signaling different influences you are inputting on the gun.
The more sets of doubles you shoot, the more diagnostic data you’ll have to look at. What you do about it is the real art. I could go into the nitty gritty details of all of the potential mistakes and how to resolve them but we’ll get to that another time. For today, let’s quickly cover the most common errors shooters make.
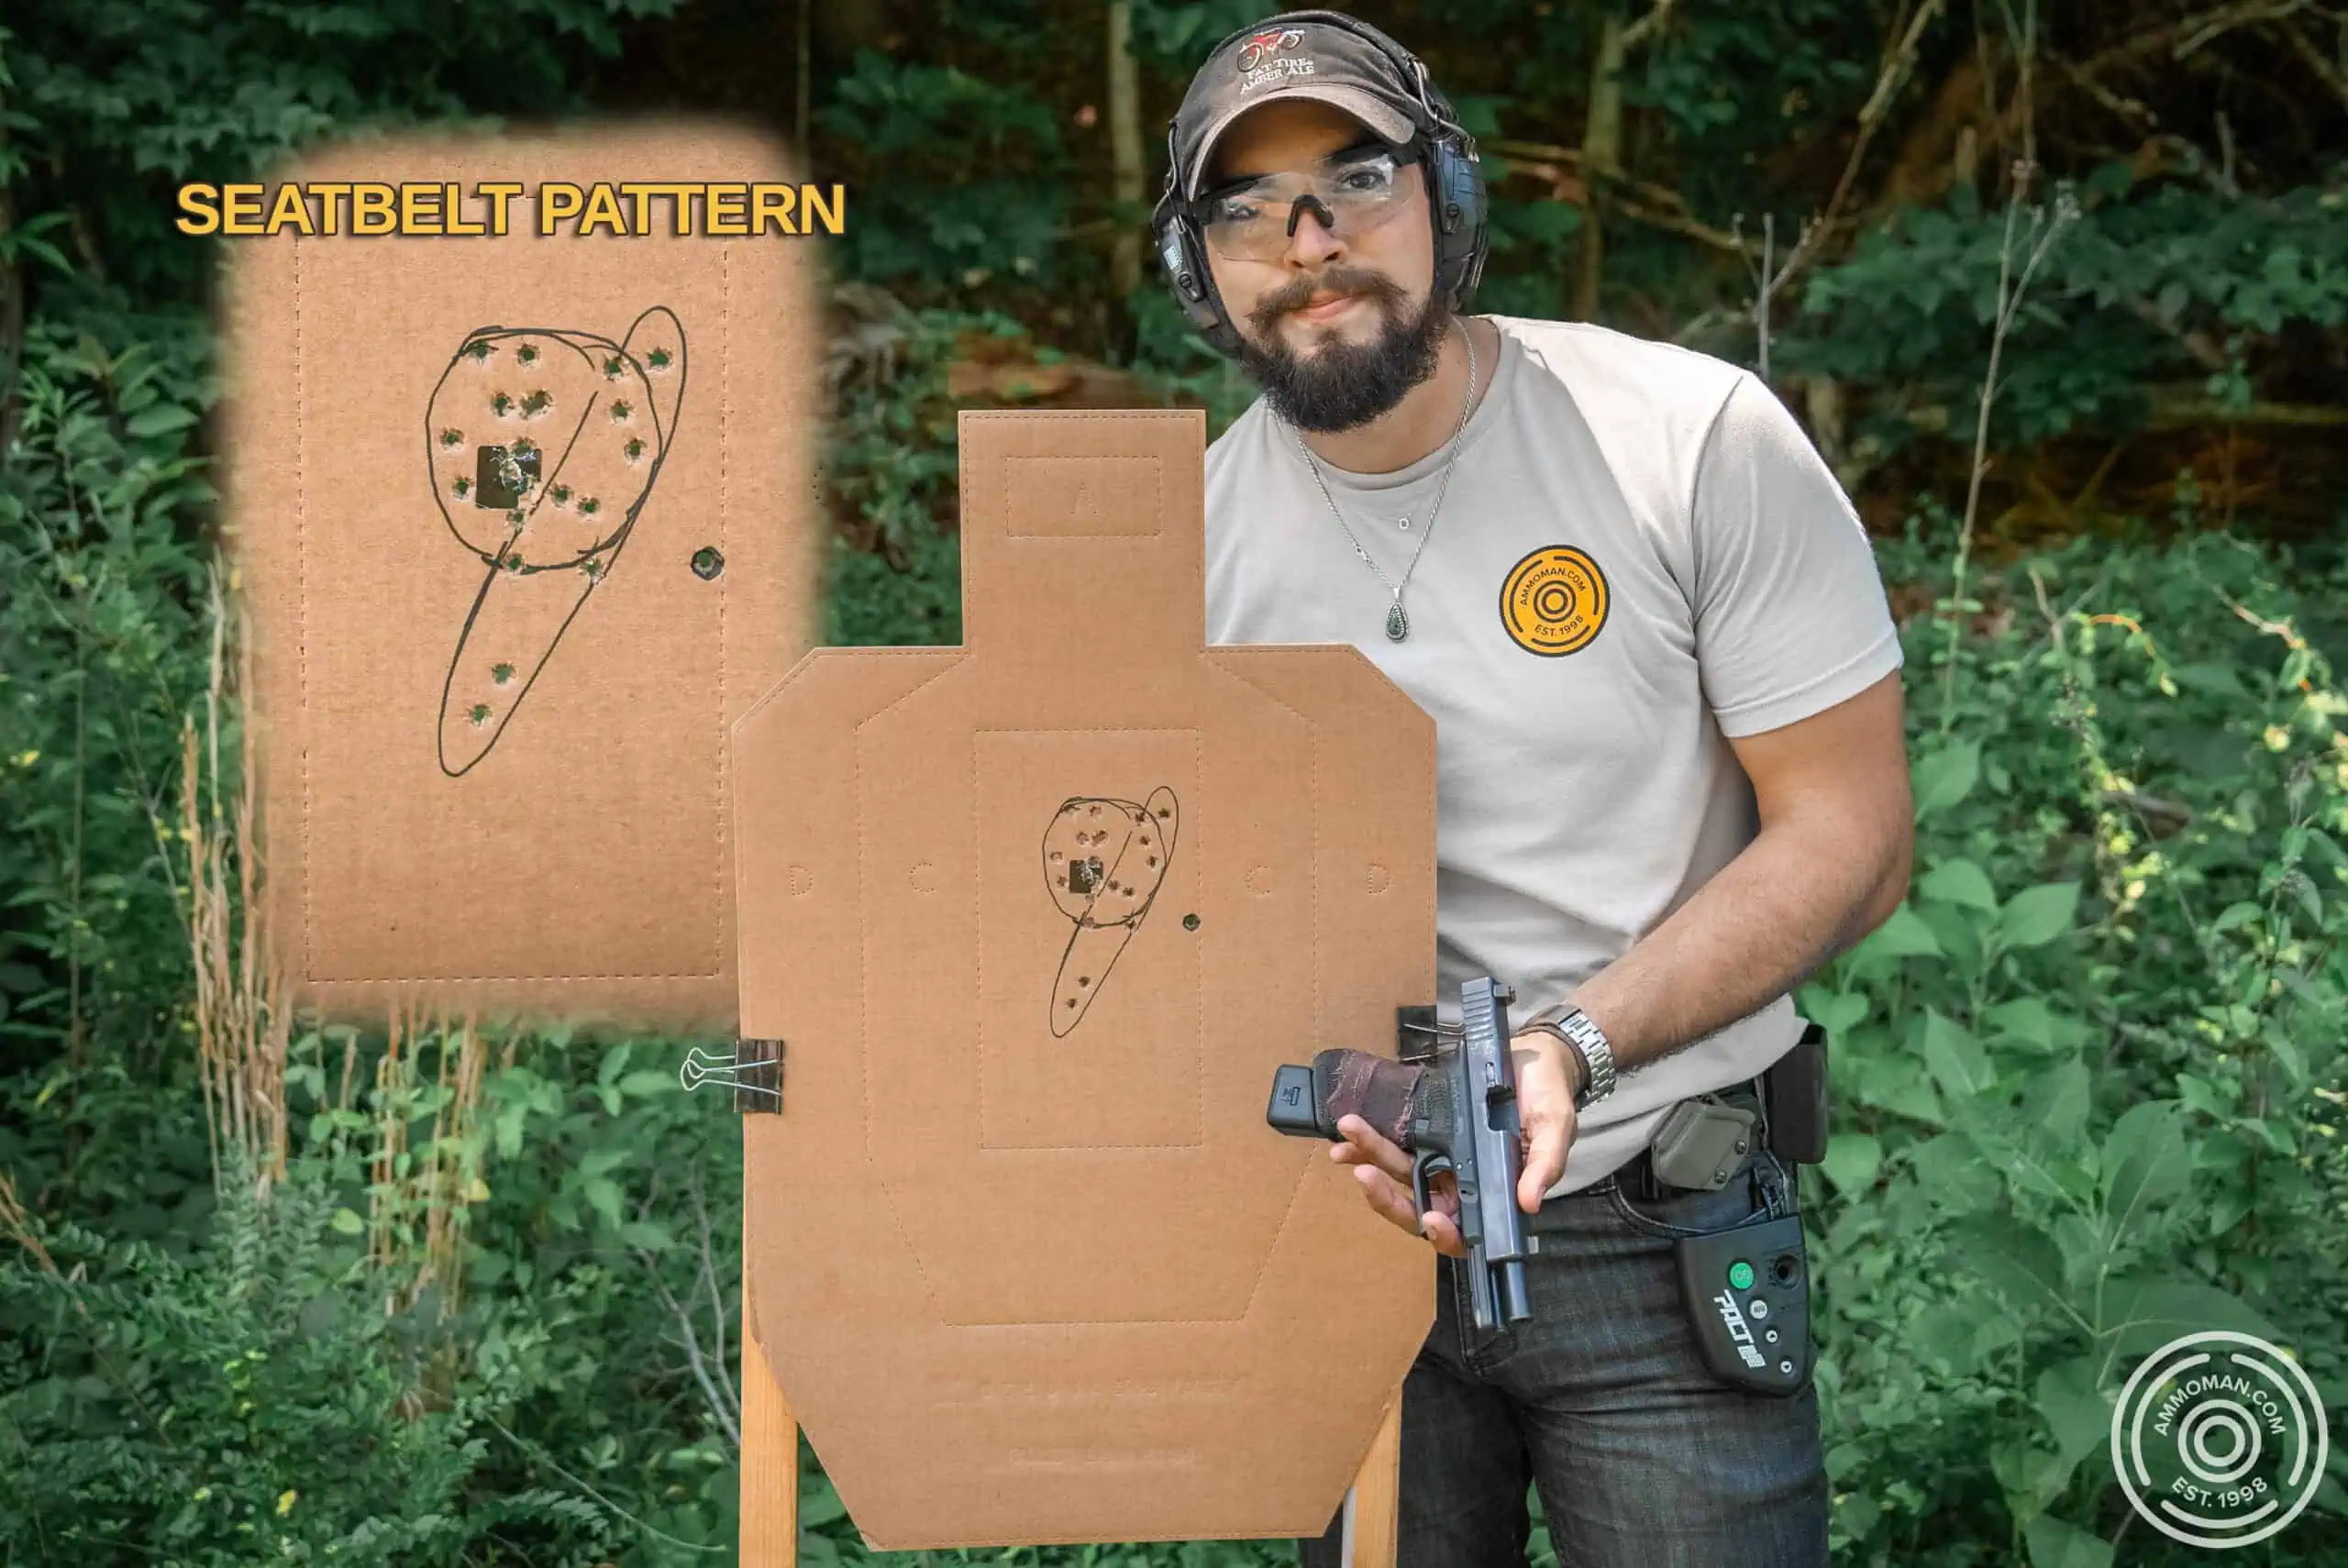
Notice the three separate outlines on the target. #1 Good fundamentals resulting in a consistent group. #2 Mixture of tension in strong hand and insufficient pressure in support hand. #3 Low right shot from excess-tension in support hand.
Diving the Gun Down: Pushing in Recoil
If you see a mix of some shots in the center and low on the target, this is an indicator of pushing the gun down in an attempt to fight recoil. To help with this, reset your grip pressures so that there is less muscular tension and focus on the target reference point instead of front sight or red dot.
Often less = more. This might be a good opportunity to try the “one shot return” drill. This aids to learn how much grip is required for consistent return with your particular firearm.
Staring at the Sights
If you are seeing shots go high, this is an indicator that you may be staring at your red dot or sights.
Modern practical shooting techniques taught by experts affirm that the most effective way to shoot fast and accurate is not to stare at your sighting system, but to instead monitor them passively and focus on your target of choice.
The Bakersfield Police Qualification
Lastly, one of my favorite drills and one I often start my range sessions with is the “Old Bakersfield P.D. Qual”. This is a 10 round qualification from the brain of Mike Waidelich.
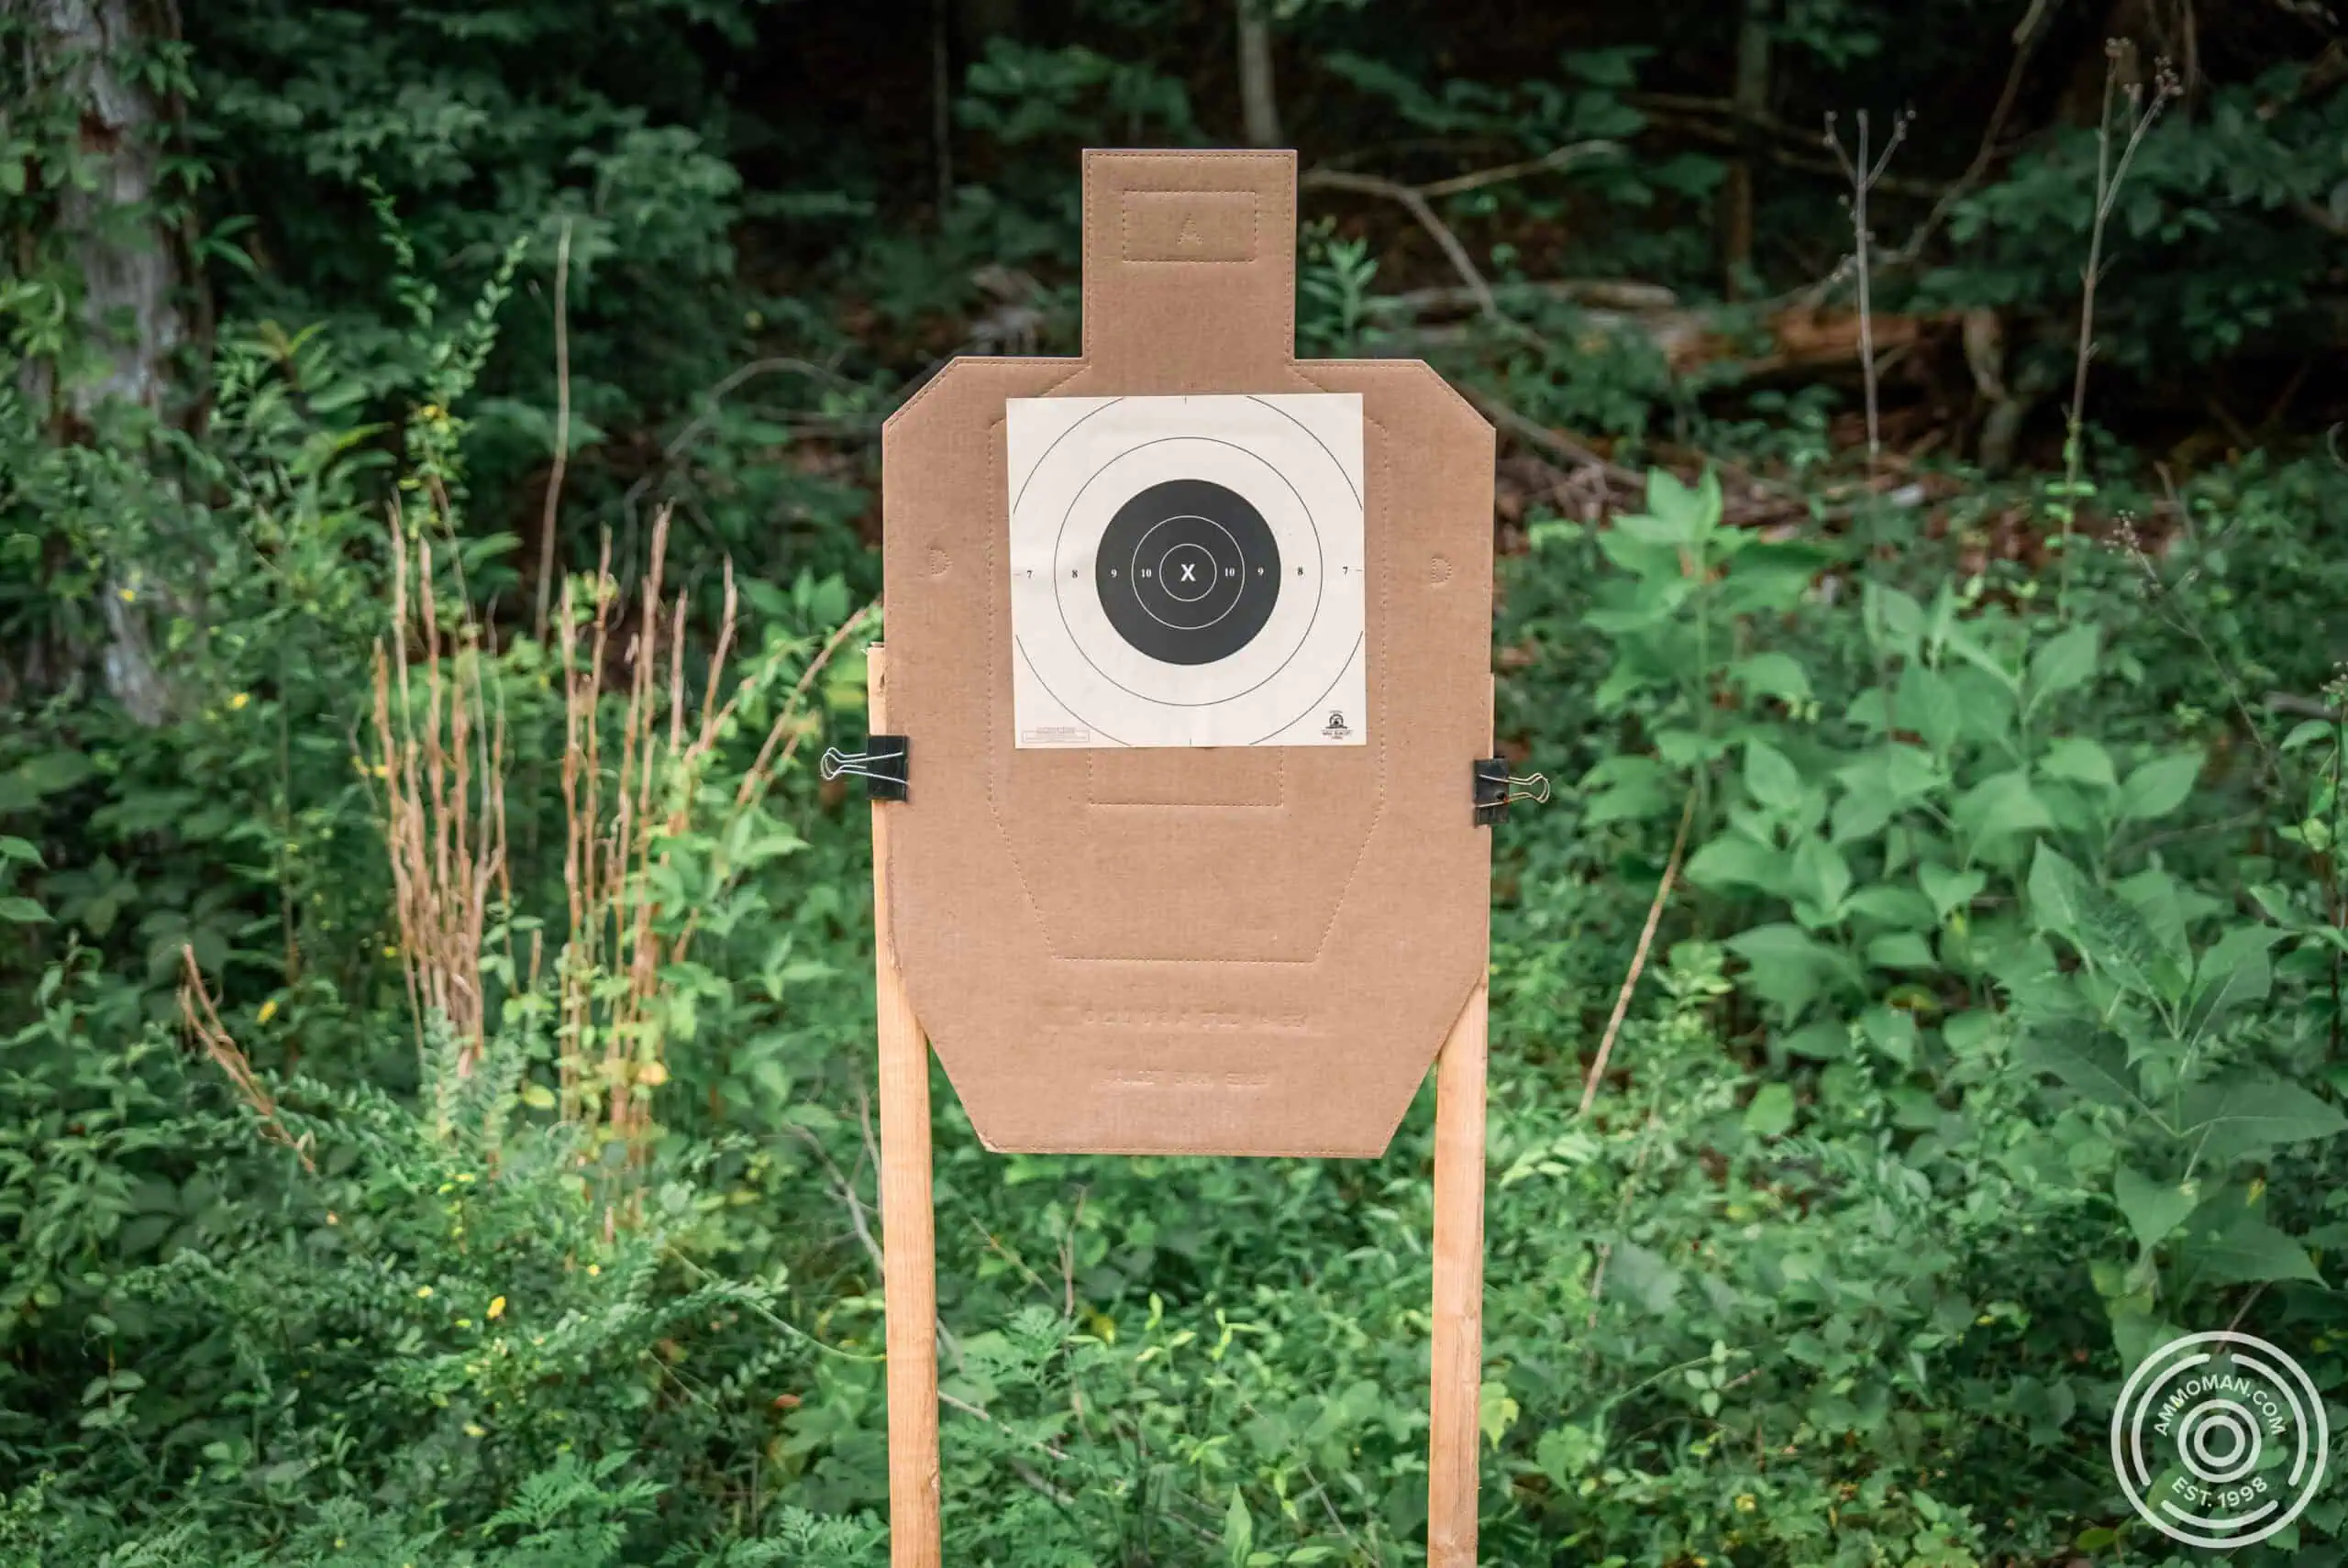
I like to use NRA B-8 targets or regular IDPA target silhouettes.
History of the Bakersfield PD Qual
Born in 1942, Mike grew up to one day serve in the U.S. Special Forces. After his career in the Army, he went on to become one of the original Gunsite instructors. Before his time at Gunsite however, he was appointed as the Rangemaster at the Bakersfield P.D. in California. This is where he developed a lessor-known but a wonderful 10-round qualification that was designed to test officers ability to shoot under tight time and accuracy constraints.
Mike put a lot of thought into each stage of the qual. If you want to read more about that, check out this article Greg Ellifritz wrote on it’s background and the reasonings Mike had behind the test.
How to Shoot The Bakersfield P.D. Qual
- 2 rounds in 1.5 seconds at 10 feet (≈ 3 yards)
- 2 rounds in 2 seconds at 20 feet (≈ 7 yards)
- 2 reload 2 in 6 seconds/8 for revolvers) at 30 feet (≈ 10 yards)
- 2 rounds in 3.5 seconds at 60 feet (≈ 20 yards)
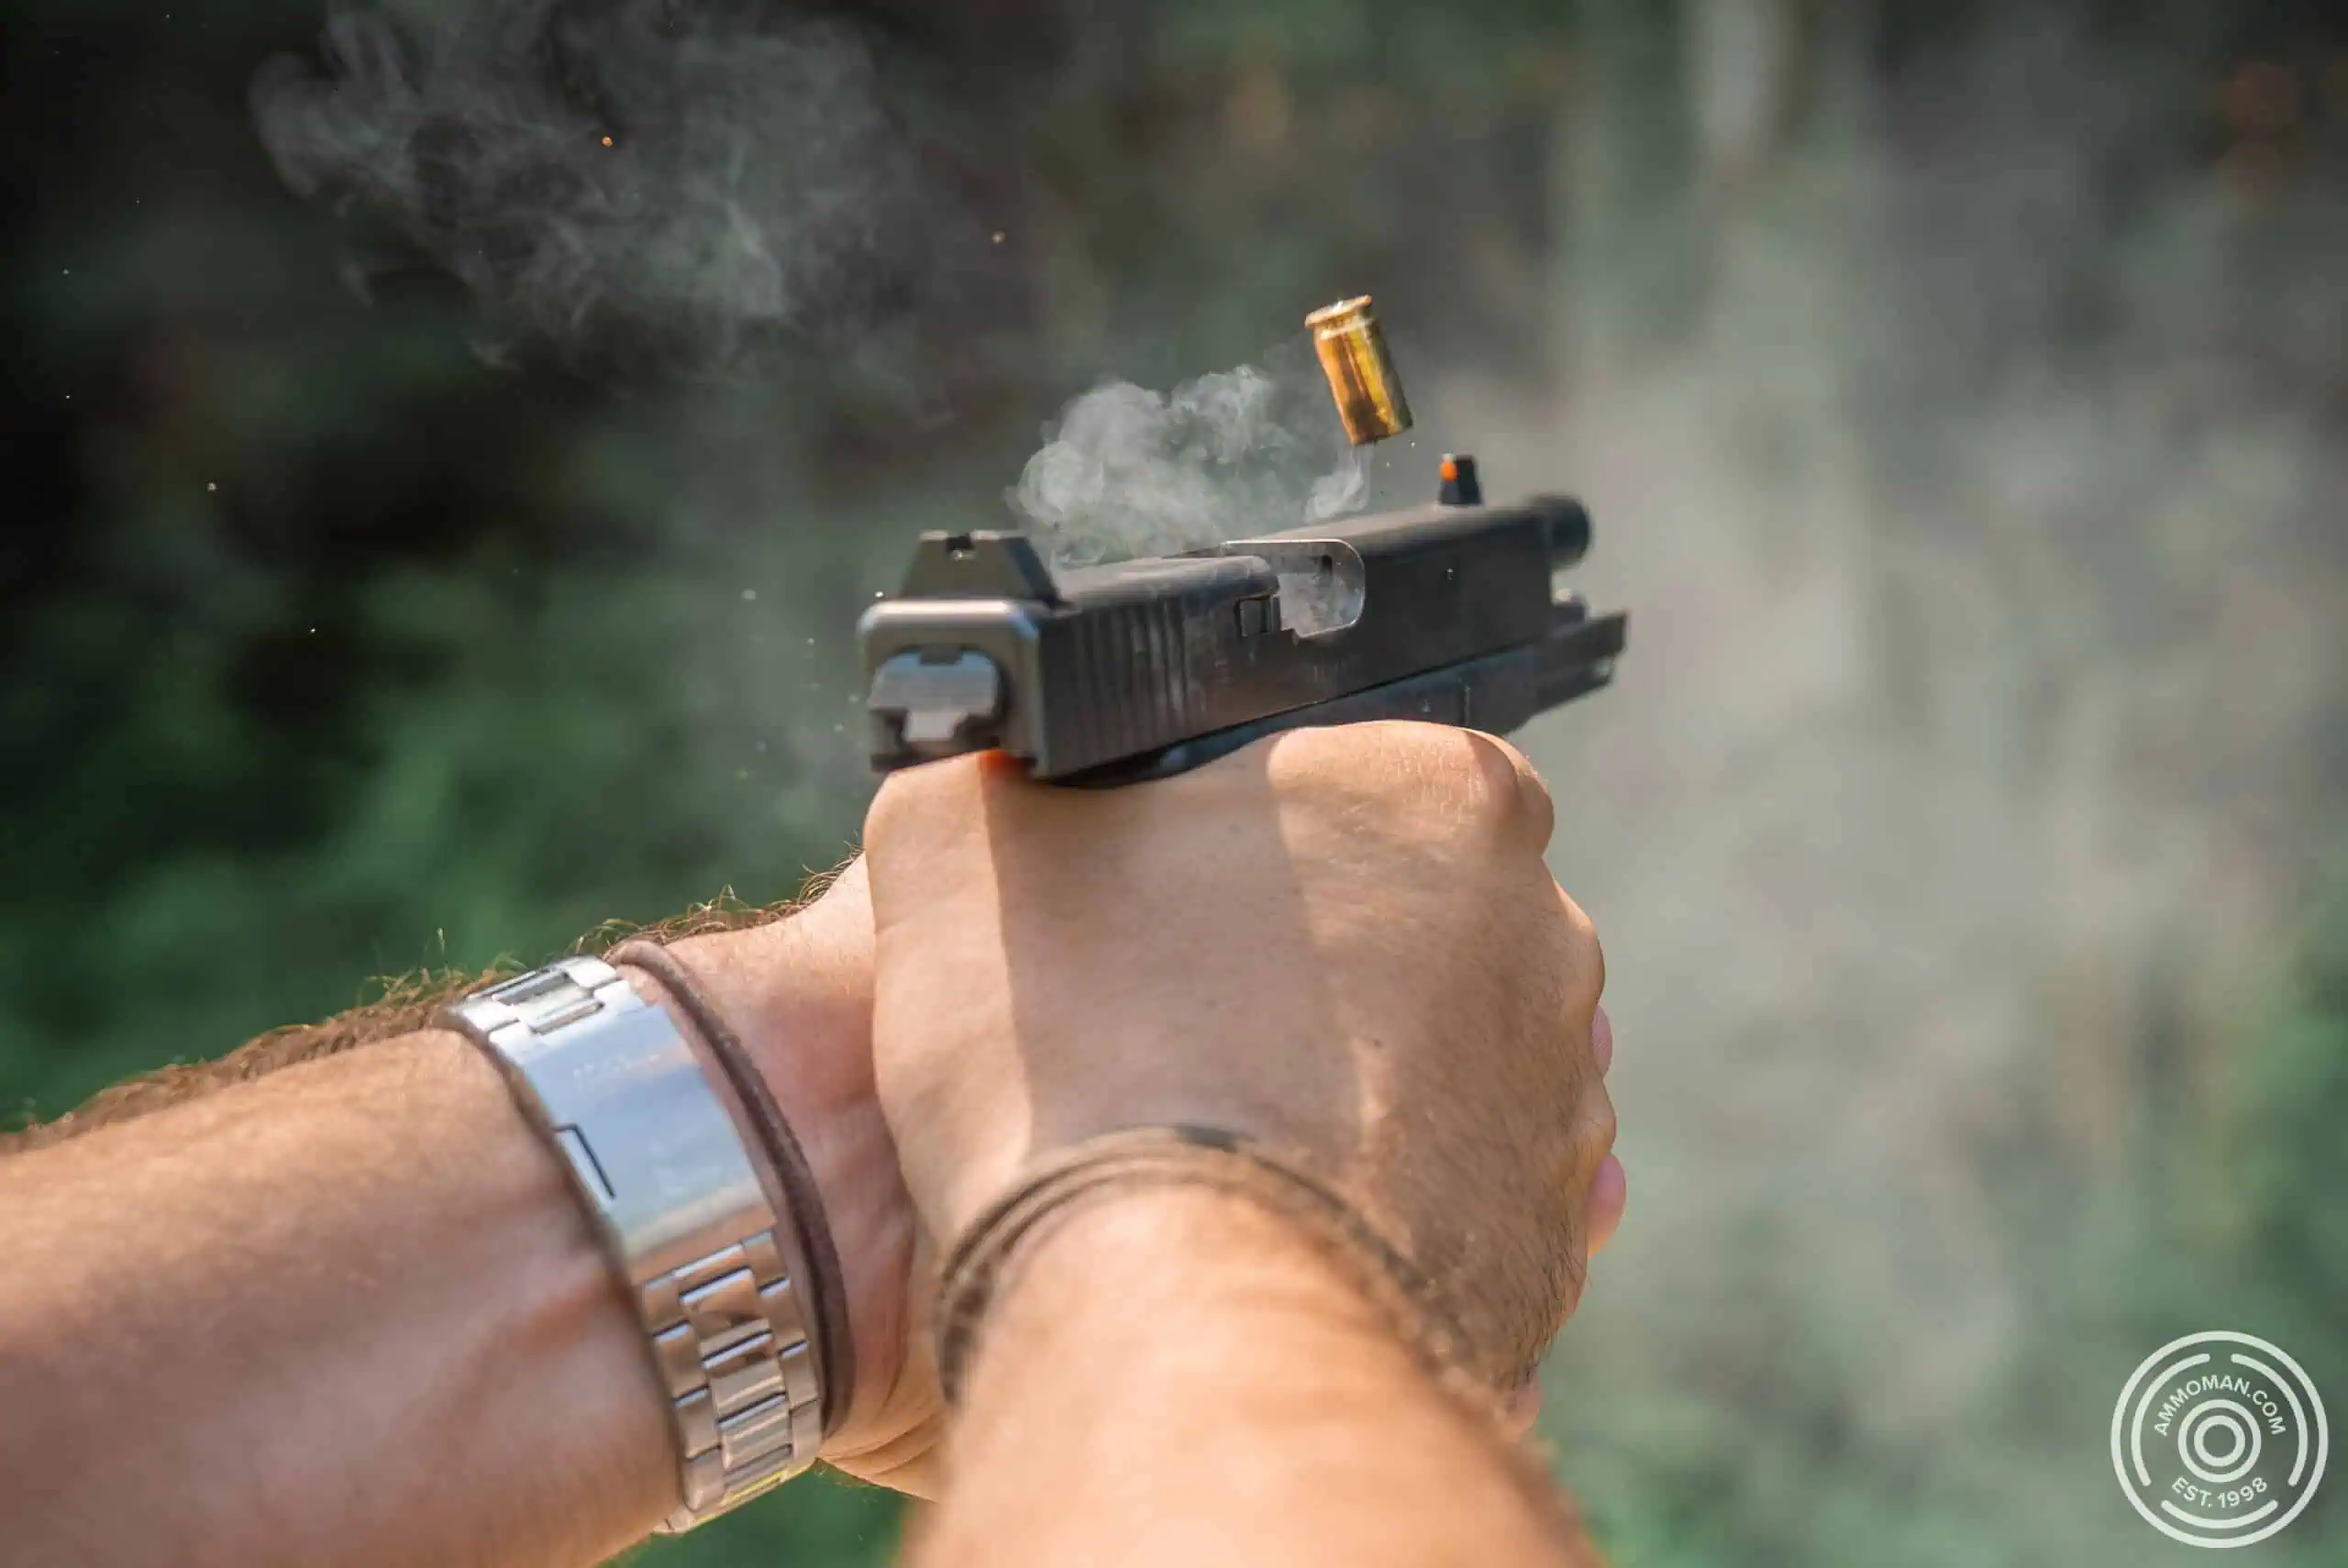
Scoring
Documents say that the 10-point zone on the target was a 7″ circle, the next best was 9 points measuring 9×13 inches. Any hits wider on the target was worth 6 points.
My Results Shooting the B.P.D. Qual
I shot this qual from concealment since that is my everyday carry position. This day, I had my Phlster Enigma holster with Gen 3 Glock 17 in 9mm from the appendix.
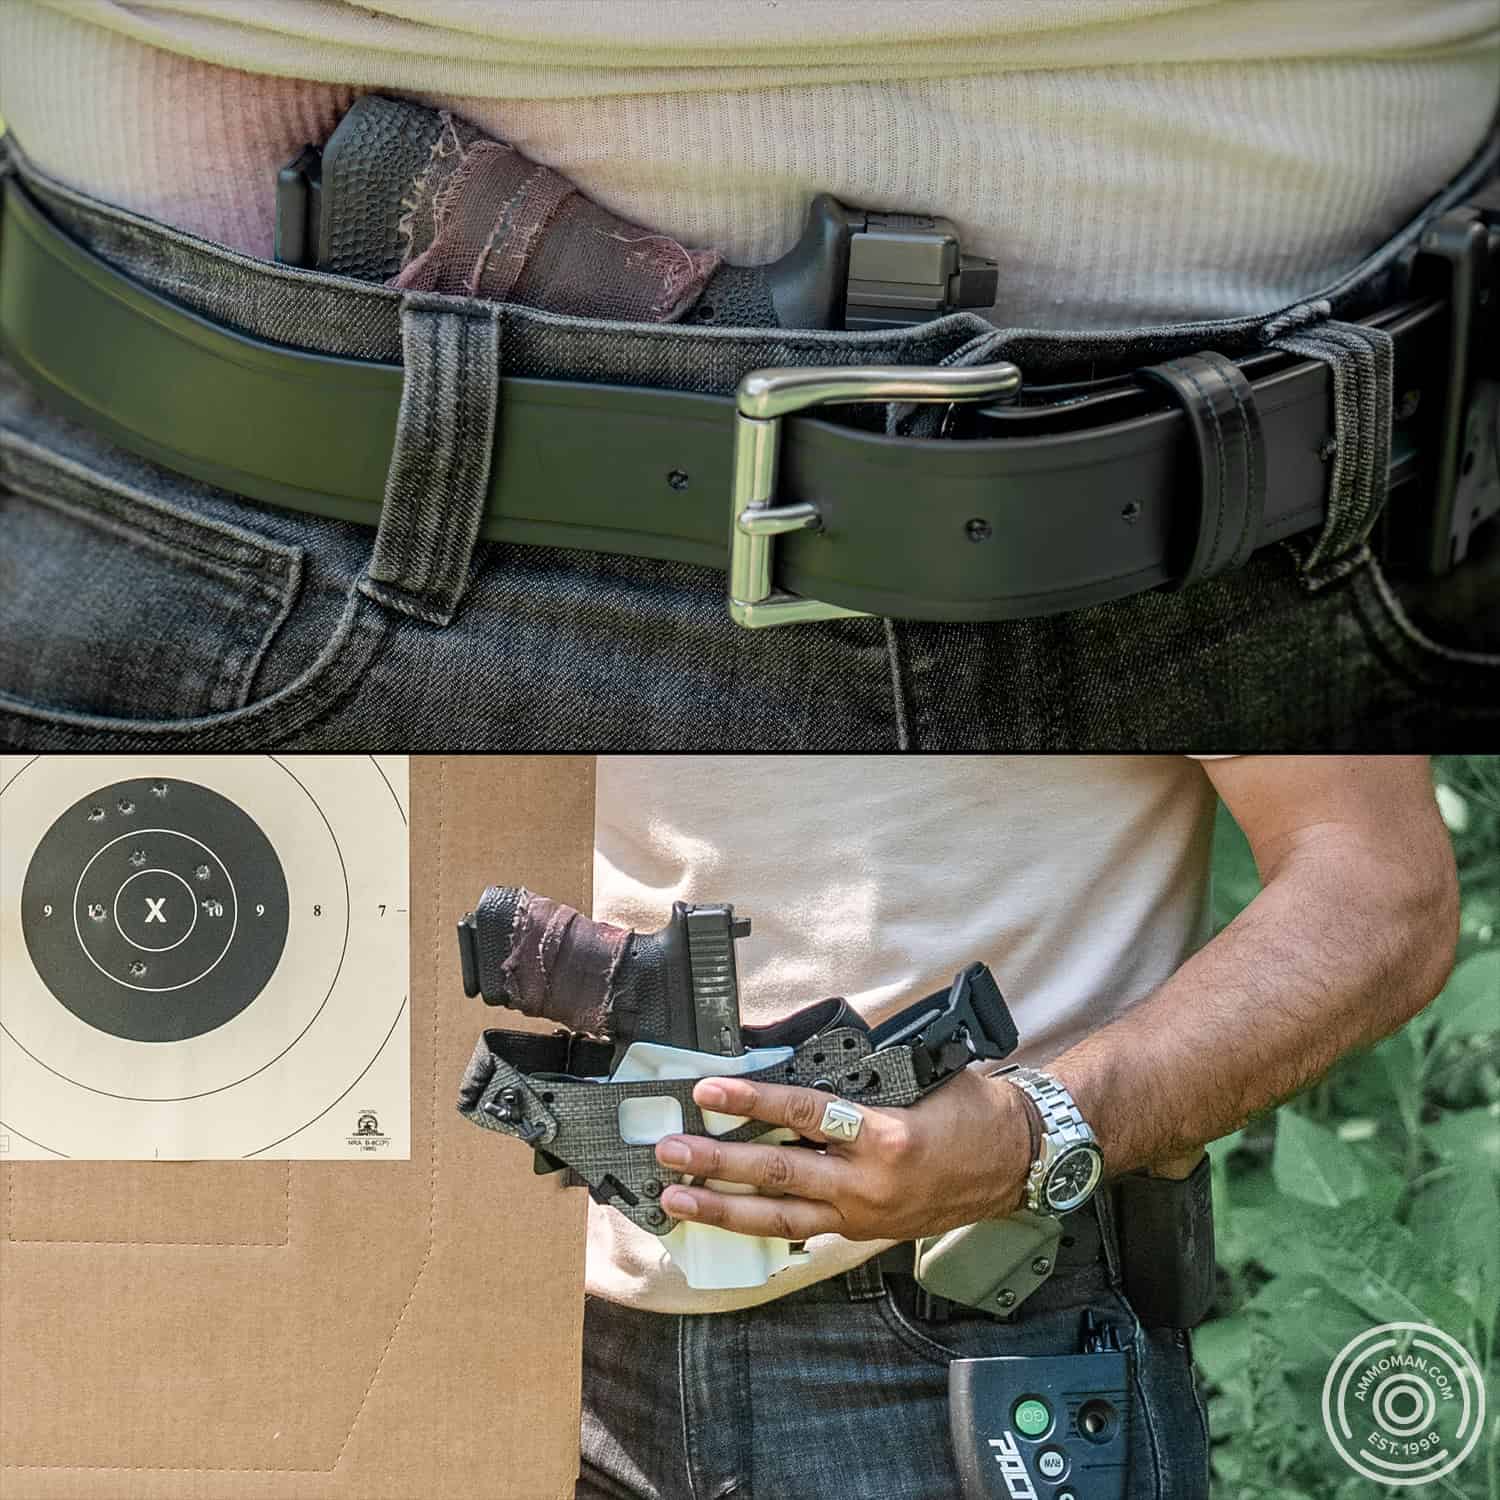
Kenneth’s Phslter Enigma holster setup.
My Modifications of the Bakersfield Qual
I modified a few things due to what I had access to. Let me explain how I decided to do it, starting with what I mentioned above with the par times.
Target and Scoring
Next, the target I used was the NRA B-8, which is similar in size to the original B.P.D target but has different points for each zone. To make it as even as possible, I scored anything in the black as 10 points. Everything inside the 8 ring I counted as 9 points, and anything outside of the 8 ring but still on the silhouette was worth 6 points.
Distances
For myself, I find it easier to measure distance in yards, so I did shoot the qualification a bit differently that it’s true to life setup, but it does not make enough difference to change the results.
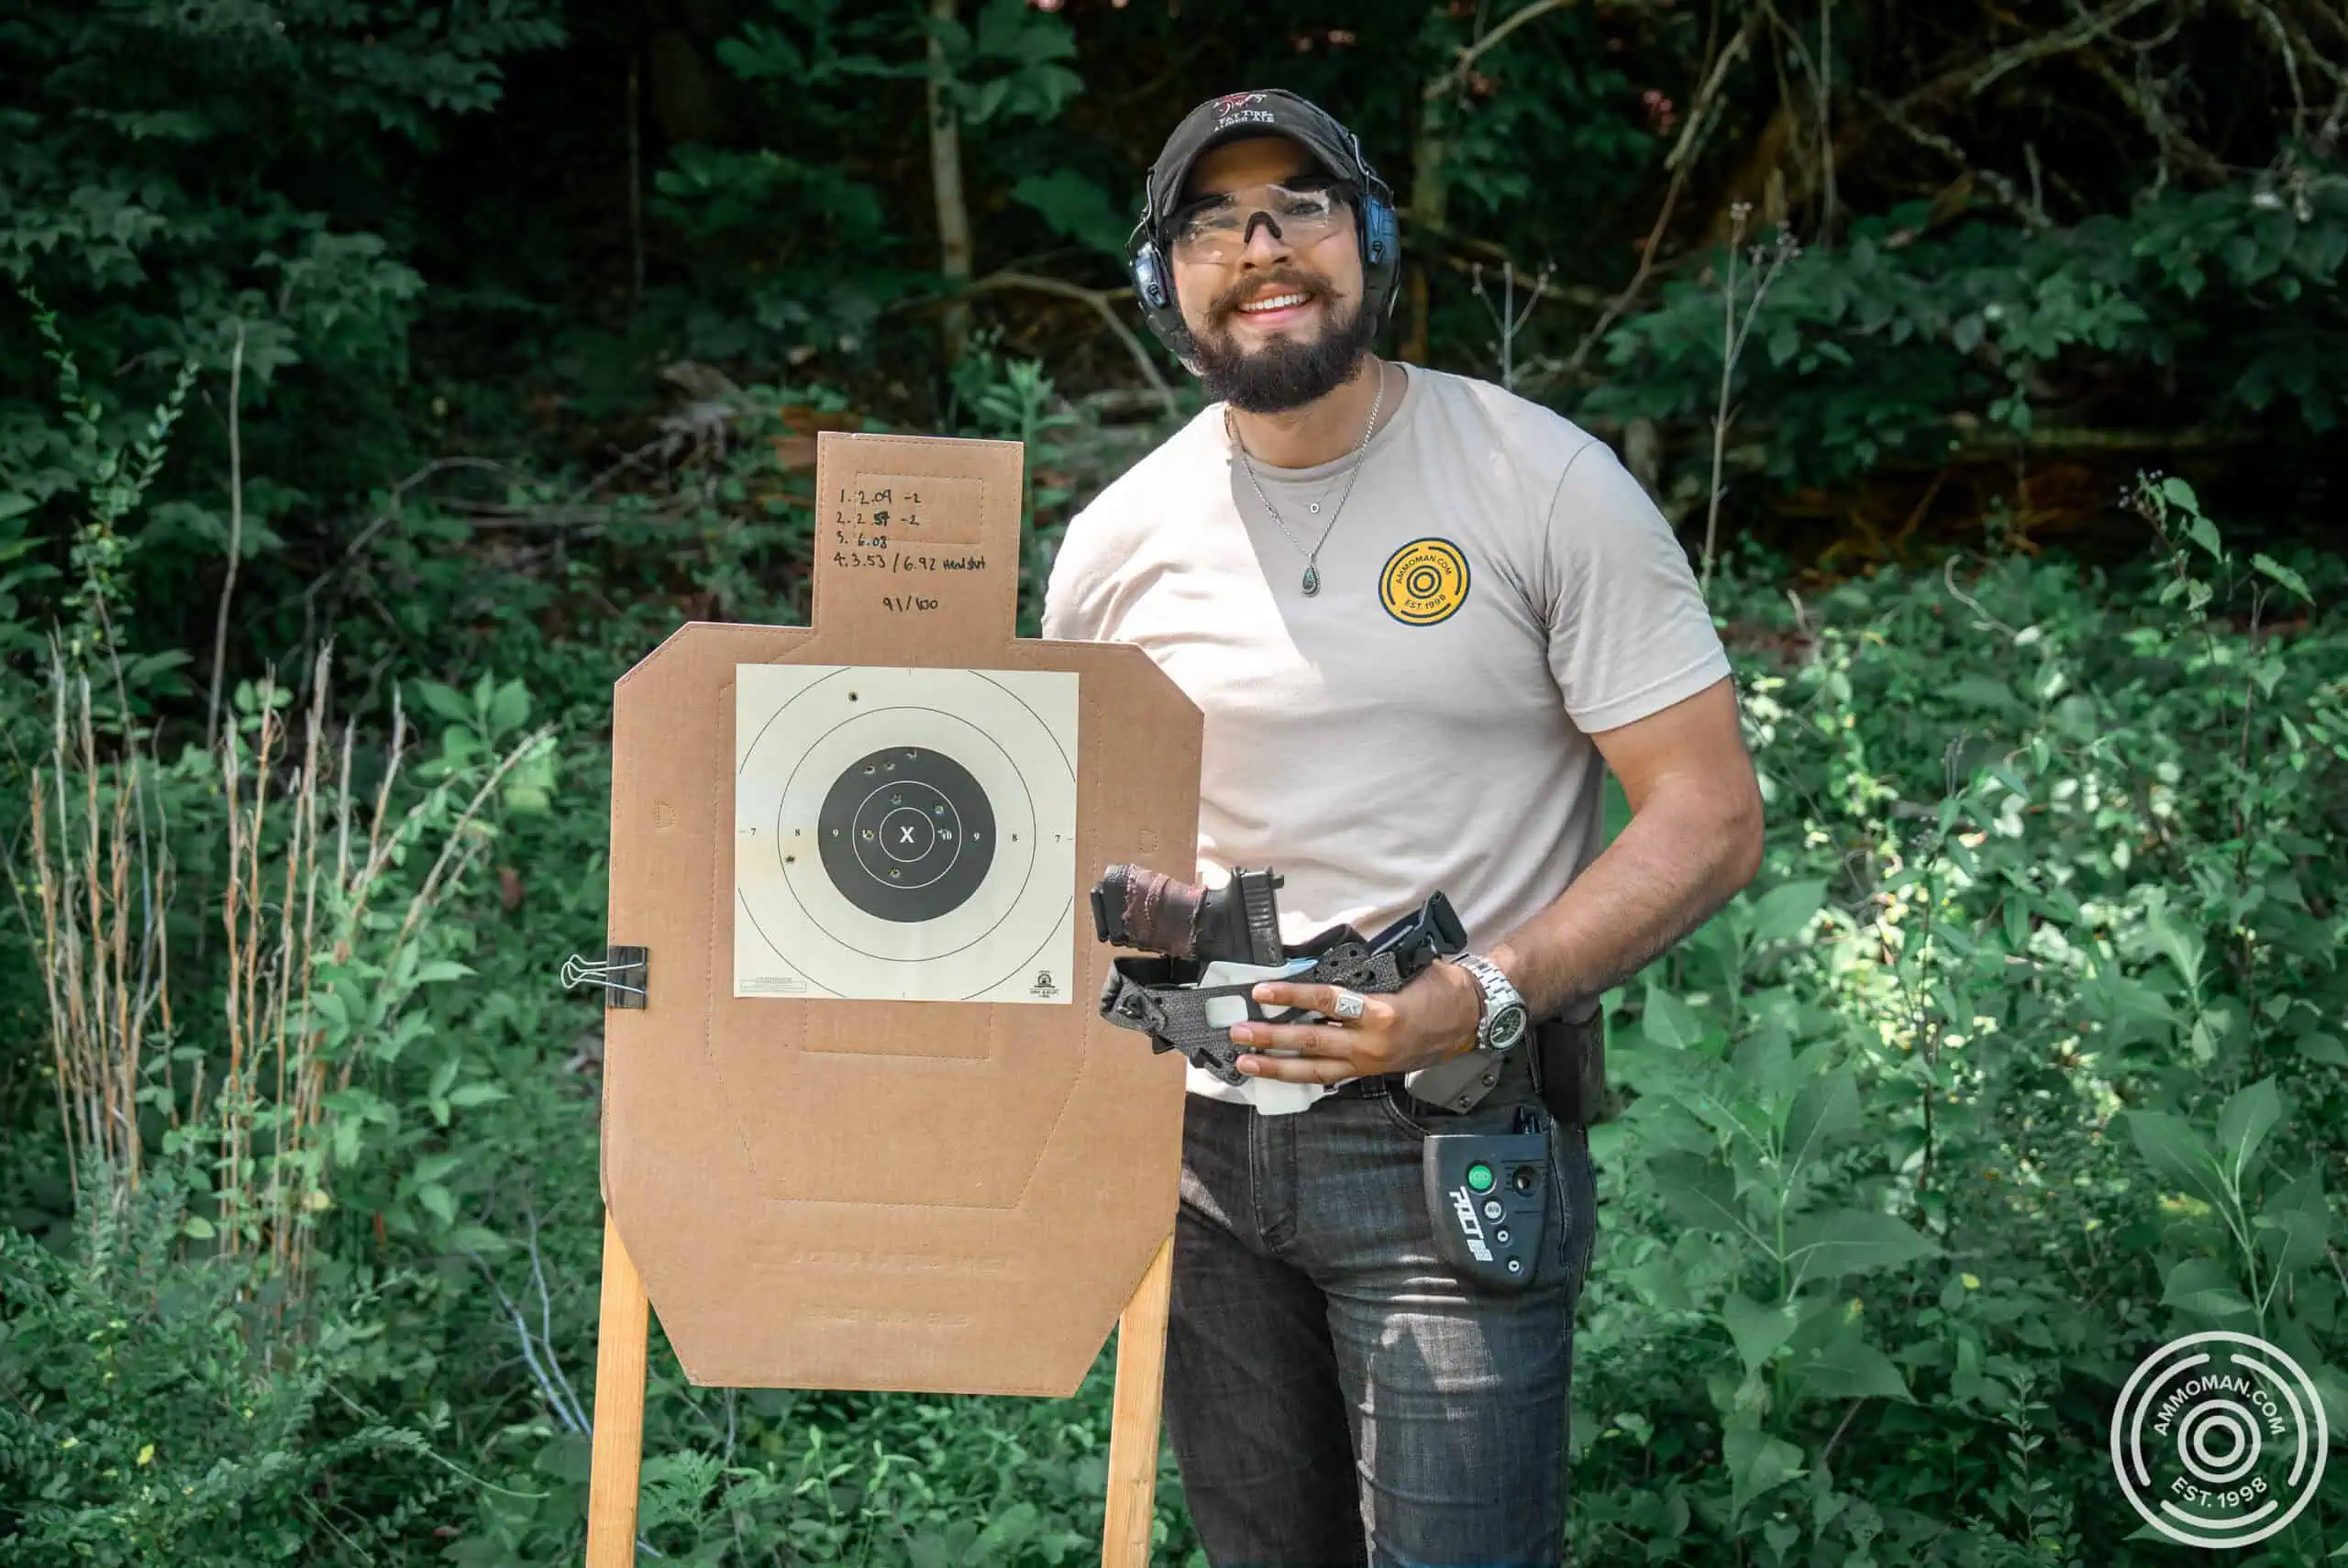
I scored a 91, which is greater than the 80 point minimum.
On the last stage, I wanted to get an extra repetition of a reload, so I made it an 11 round qualification and did one more reload after the two shots, and made a head shot at 30 feet. (See photo for my times)
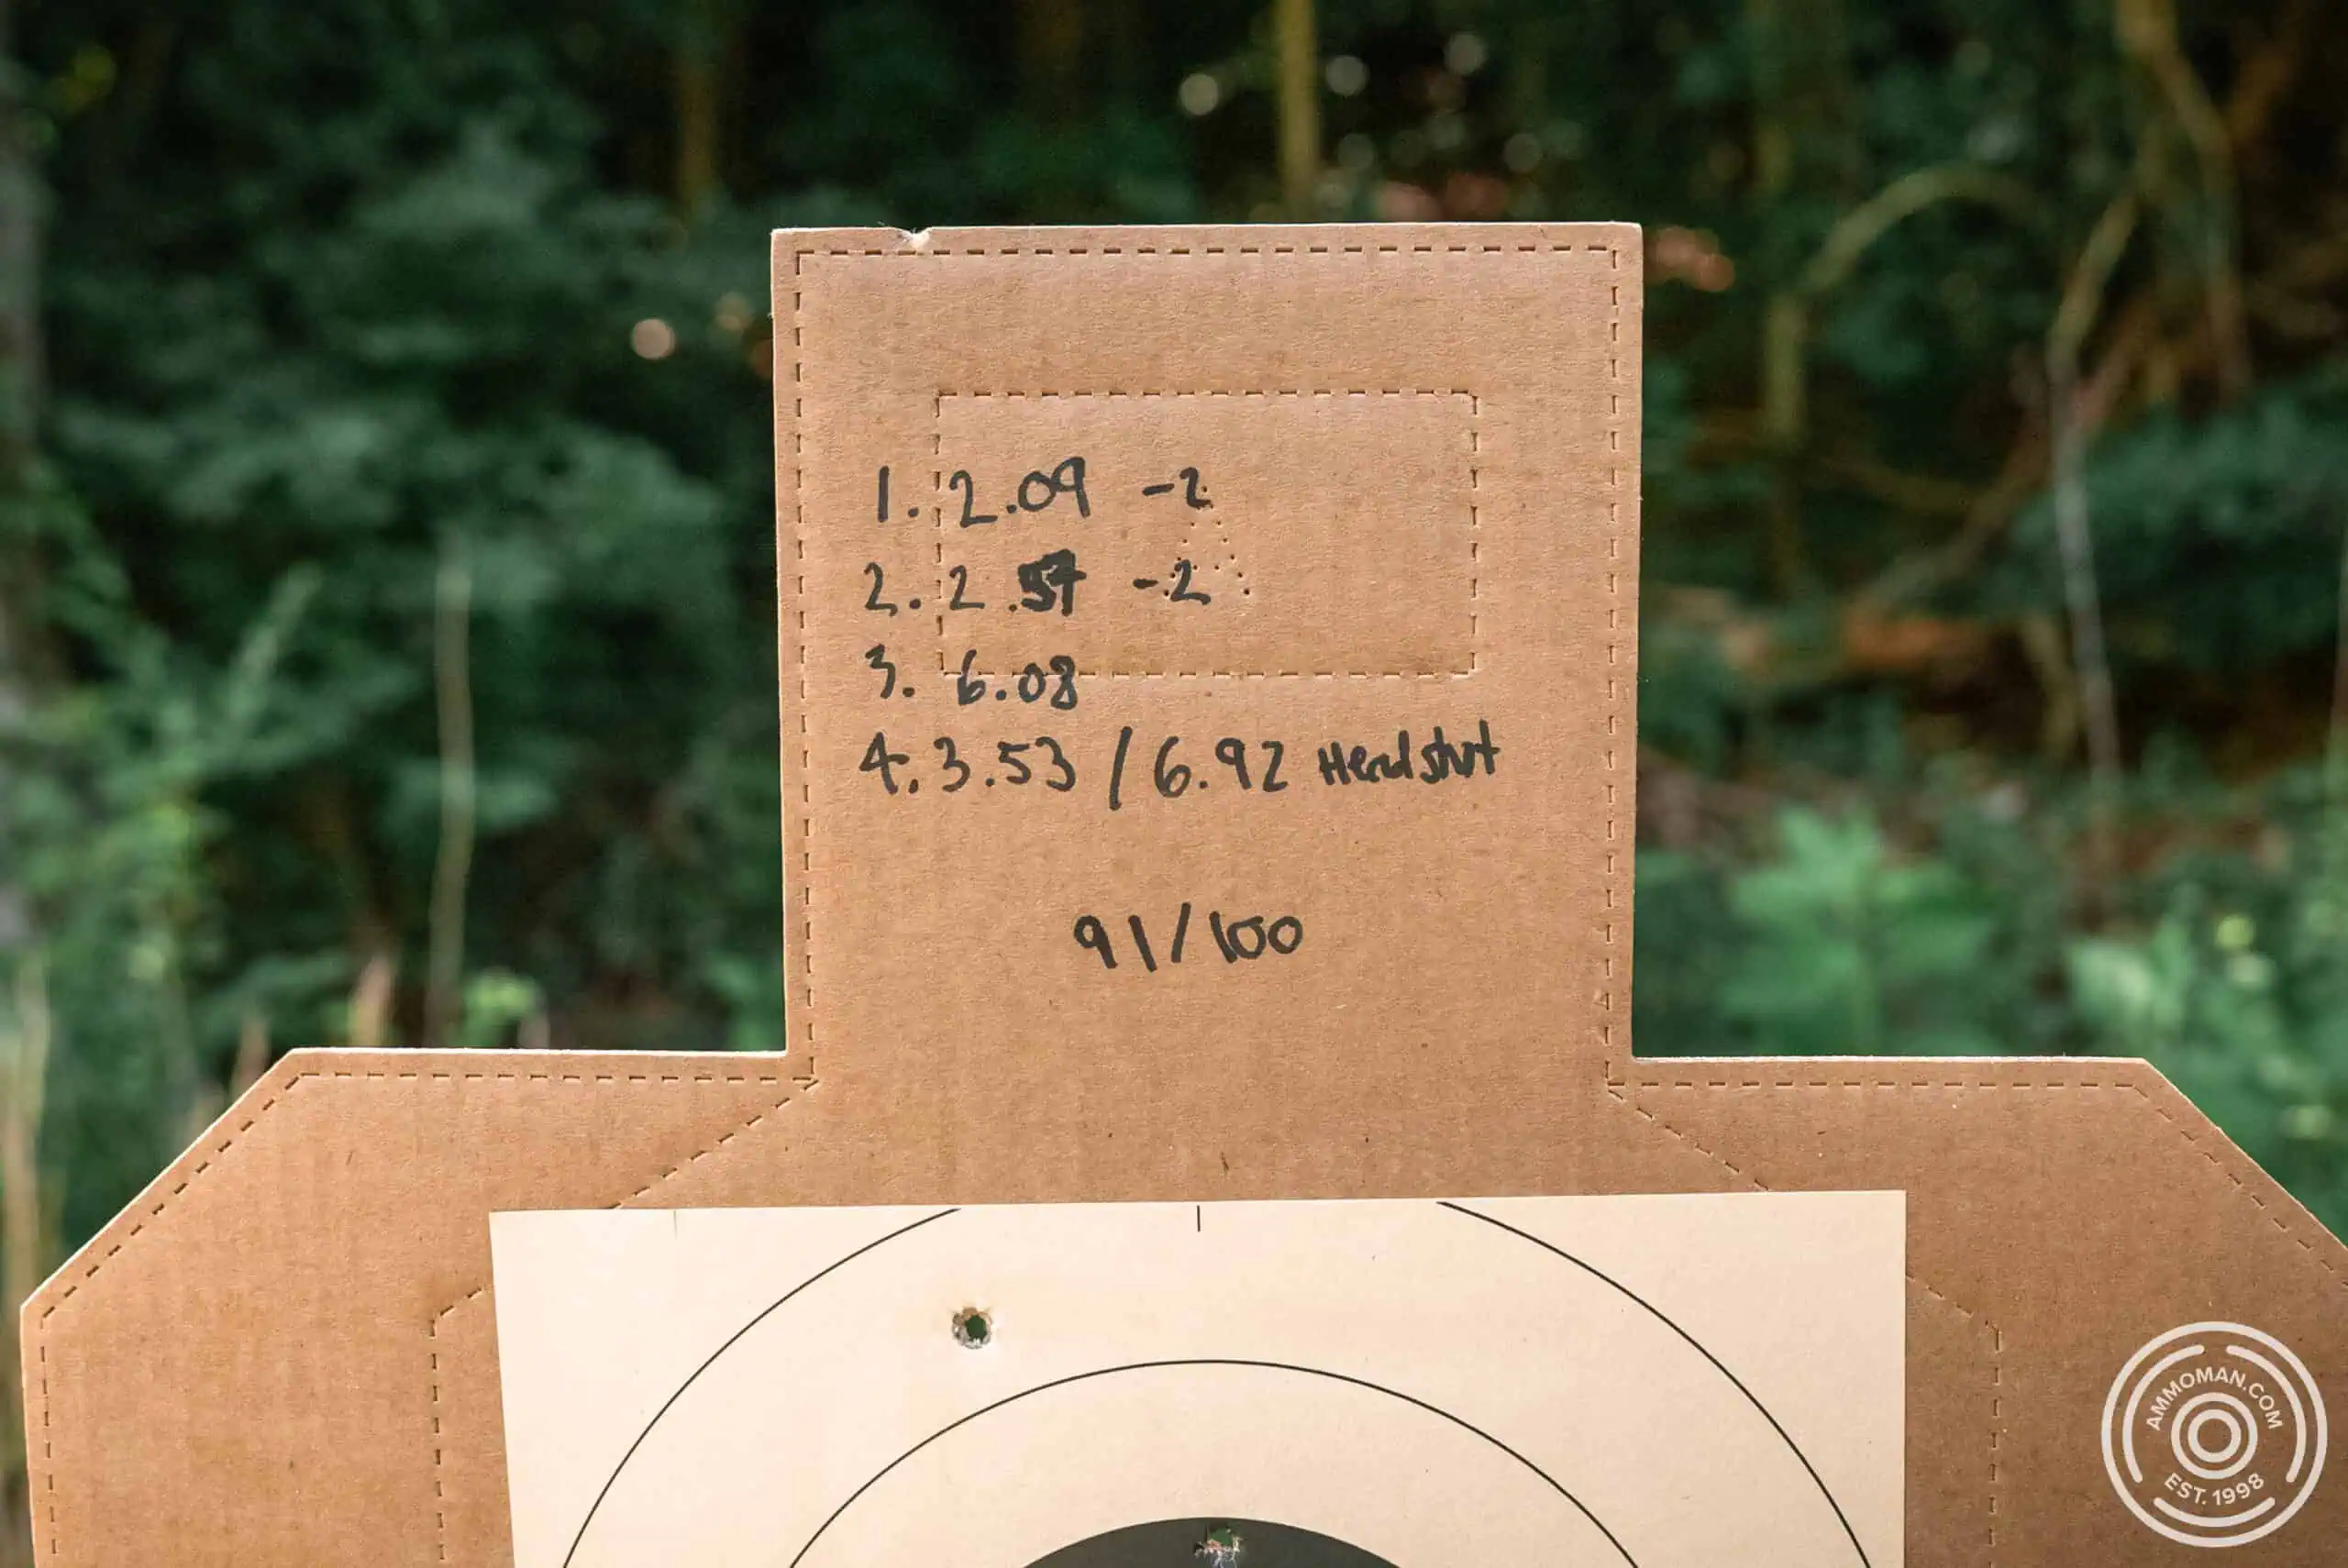
Kenneth’s modified Bakersfield results.
I was able to get a 91 on the qual and I’m happy with that shooting from this concealment setup but I would like to clean up my hits and have gotten a 96, only dropping points from being slightly behind the par time.
Best Pistol Shooting Drills
So, what makes a drill the “best?” It’s incredibly subjective based off of your goals but, I believe some helpful ways to determine the value of a drill is by identifying if it accomplishes a few things:
- Increases your gun handling confidence and skills
- Improves your awareness of how your sights move in recoil
- Pushes you safely
As long as you can articulate how a drill helps you in one of those areas, a good case can be made for adding it to your training regimen. When a drill is no longer helping you, feel free to seek more complex drills or harder versions of them. If you want to see more drills, we’ve written articles on many others! Here’s just a few to look at when you need extra inspiration:
Thanks for reading and be sure to comment any of your results if you try these out for yourself.

